Eazy Navi
Eazy Navi (Easy Navigation) is a browser-based tool in Cyclo Intelligence for mapping, autonomous navigation, and map editing on AI Worker. You can create maps, set navigation goals, and fix map artifacts without using RViz or the command line.
Prerequisites
- AI Worker 2.0.2 or later
- Cyclo Intelligence 1.2.0 or later
The Map Viewer is built with WebGL and requires a web browser with hardware acceleration enabled. If the Map Viewer is not displayed correctly in Google Chrome, we recommend accessing Cyclo Intelligence using Mozilla Firefox.
Getting Started
1. Bring Up the AI Worker
Bring up the AI Worker by following the Bringup Guide or Teleoperation Guide.
2. Start Cyclo Intelligence
Start Cyclo Intelligence by following the Cyclo Intelligence Setup guide.
3. Open the Navigation Page
From the Cyclo Intelligence sidebar, click Navi. The Eazy Navi page opens as shown below.
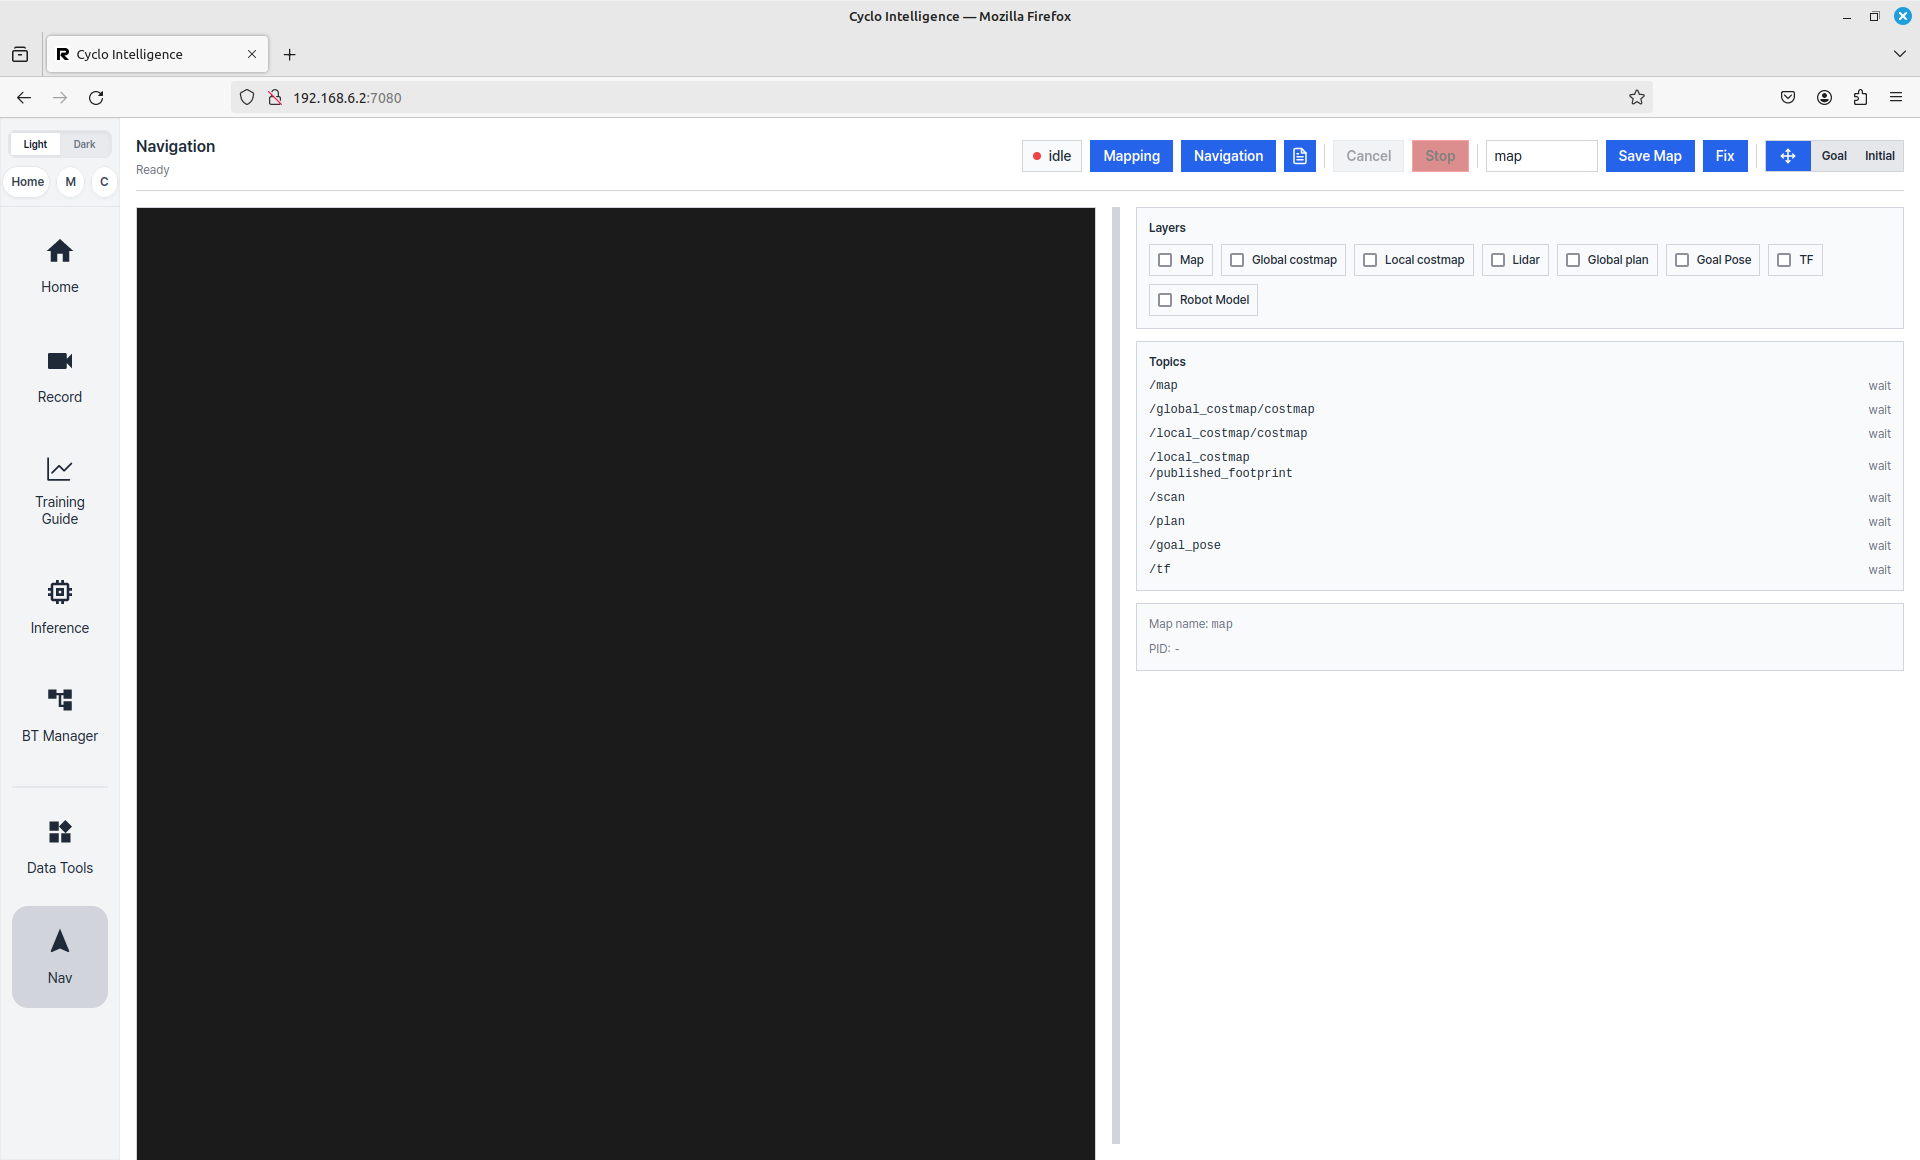
Interface Overview
| Button | Description |
|---|---|
| Idle | Shows that the navigation system is waiting. The status changes to Running while mapping or navigation is active. |
| Mapping | Starts the mapping process. |
| Navigation | Starts autonomous navigation using an existing map. |
| Log | Opens the navigation log window. |
| Cancel | Cancels the current navigation goal and stops the robot. |
| Stop | Stops the currently active mapping or navigation process. |
| Save Map | Saves the current map using the specified map name. |
| Fix | Opens map editing mode. |
| Goal | Sets a navigation goal. Click and drag on the map to define the target position and orientation. |
| Initial | Corrects the robot's estimated position on the map. Click and drag on the map to define the initial position and orientation. |
Mapping
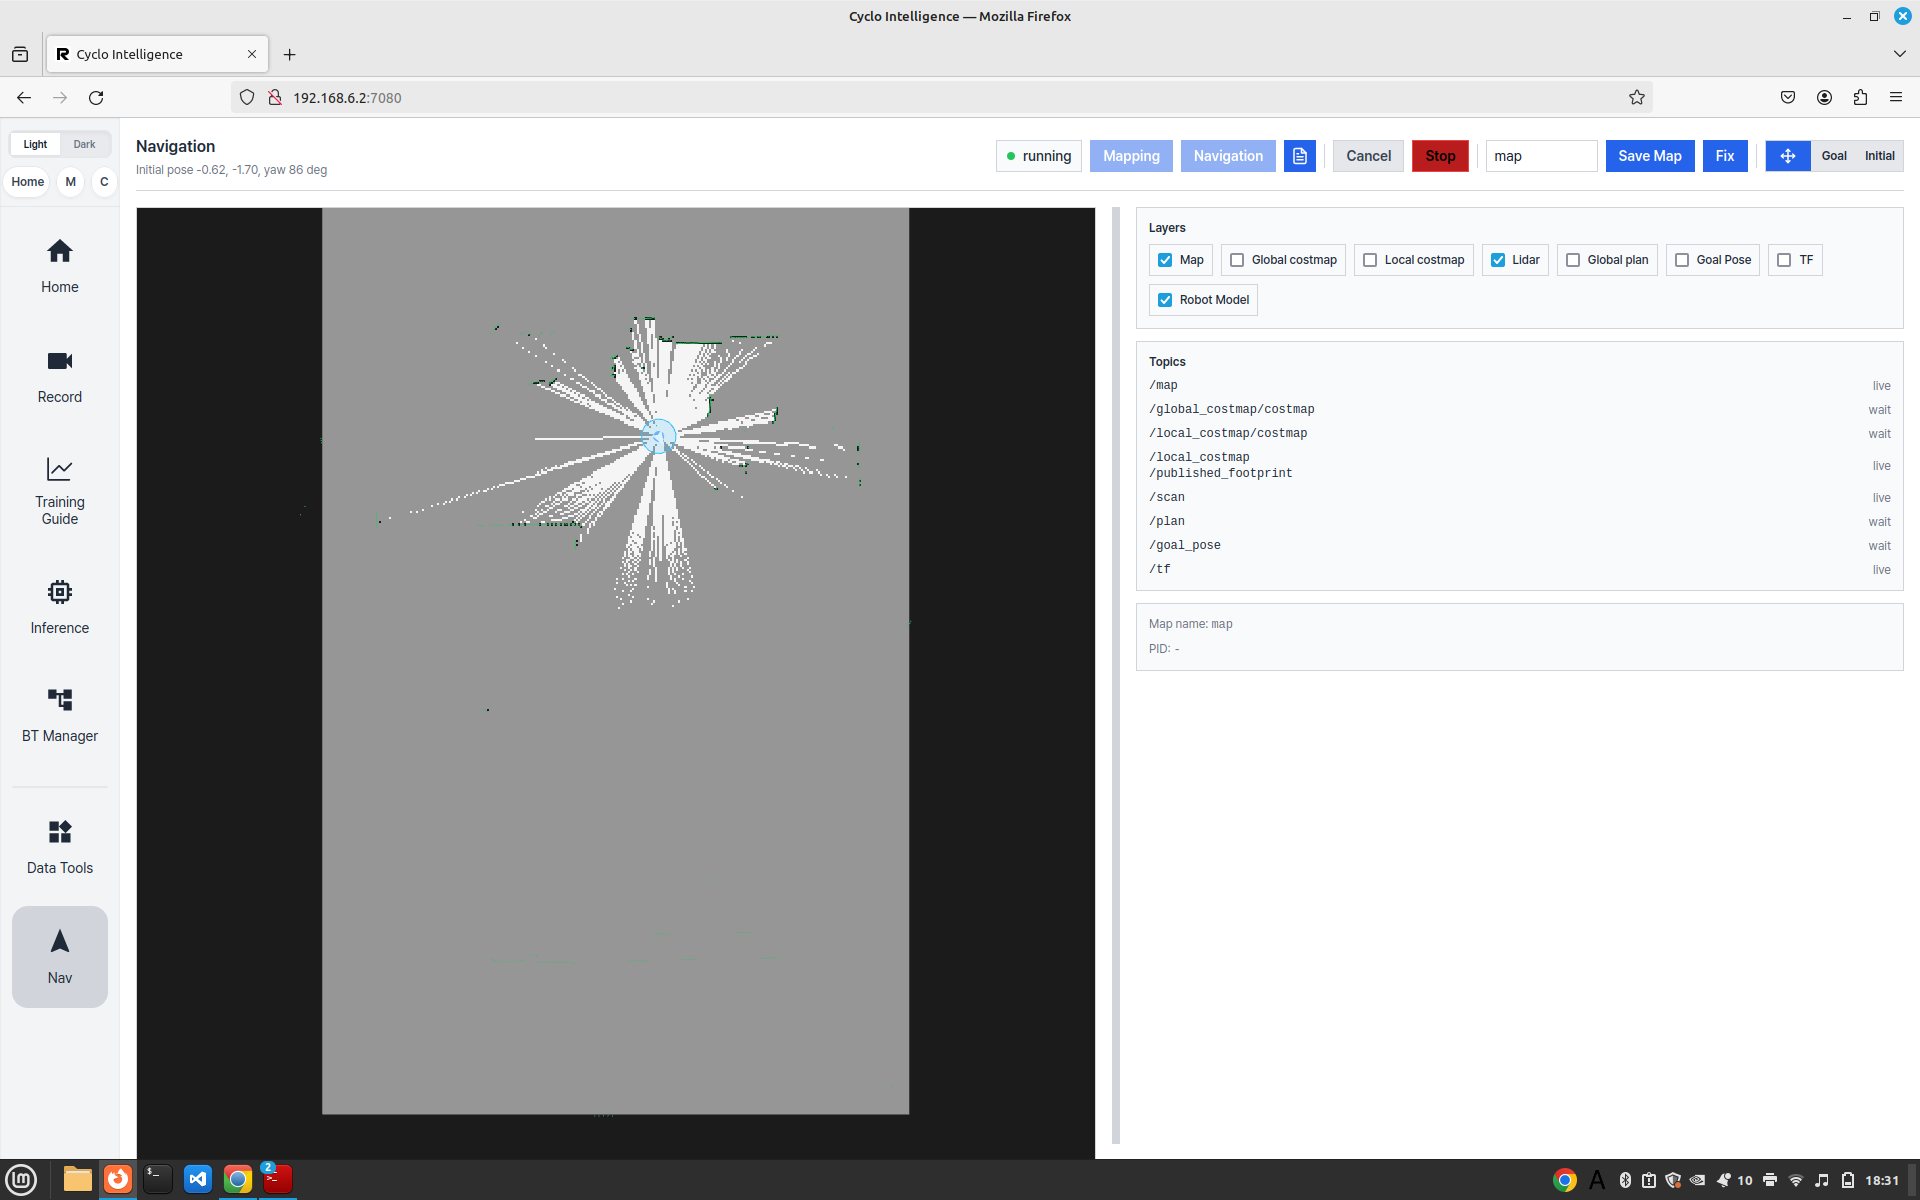
- Make sure the AI Worker bringup process is running.
- Click Mapping to start creating a map.
- Move the robot around the environment using one of the following methods:
- The Jog function in Cyclo Manager
- The default keyboard teleoperation function from the Teleoperation Guide
- Continue moving the robot until the required area has been mapped.
- Enter a map name.
- Click Save Map to save the generated map.
Navigation
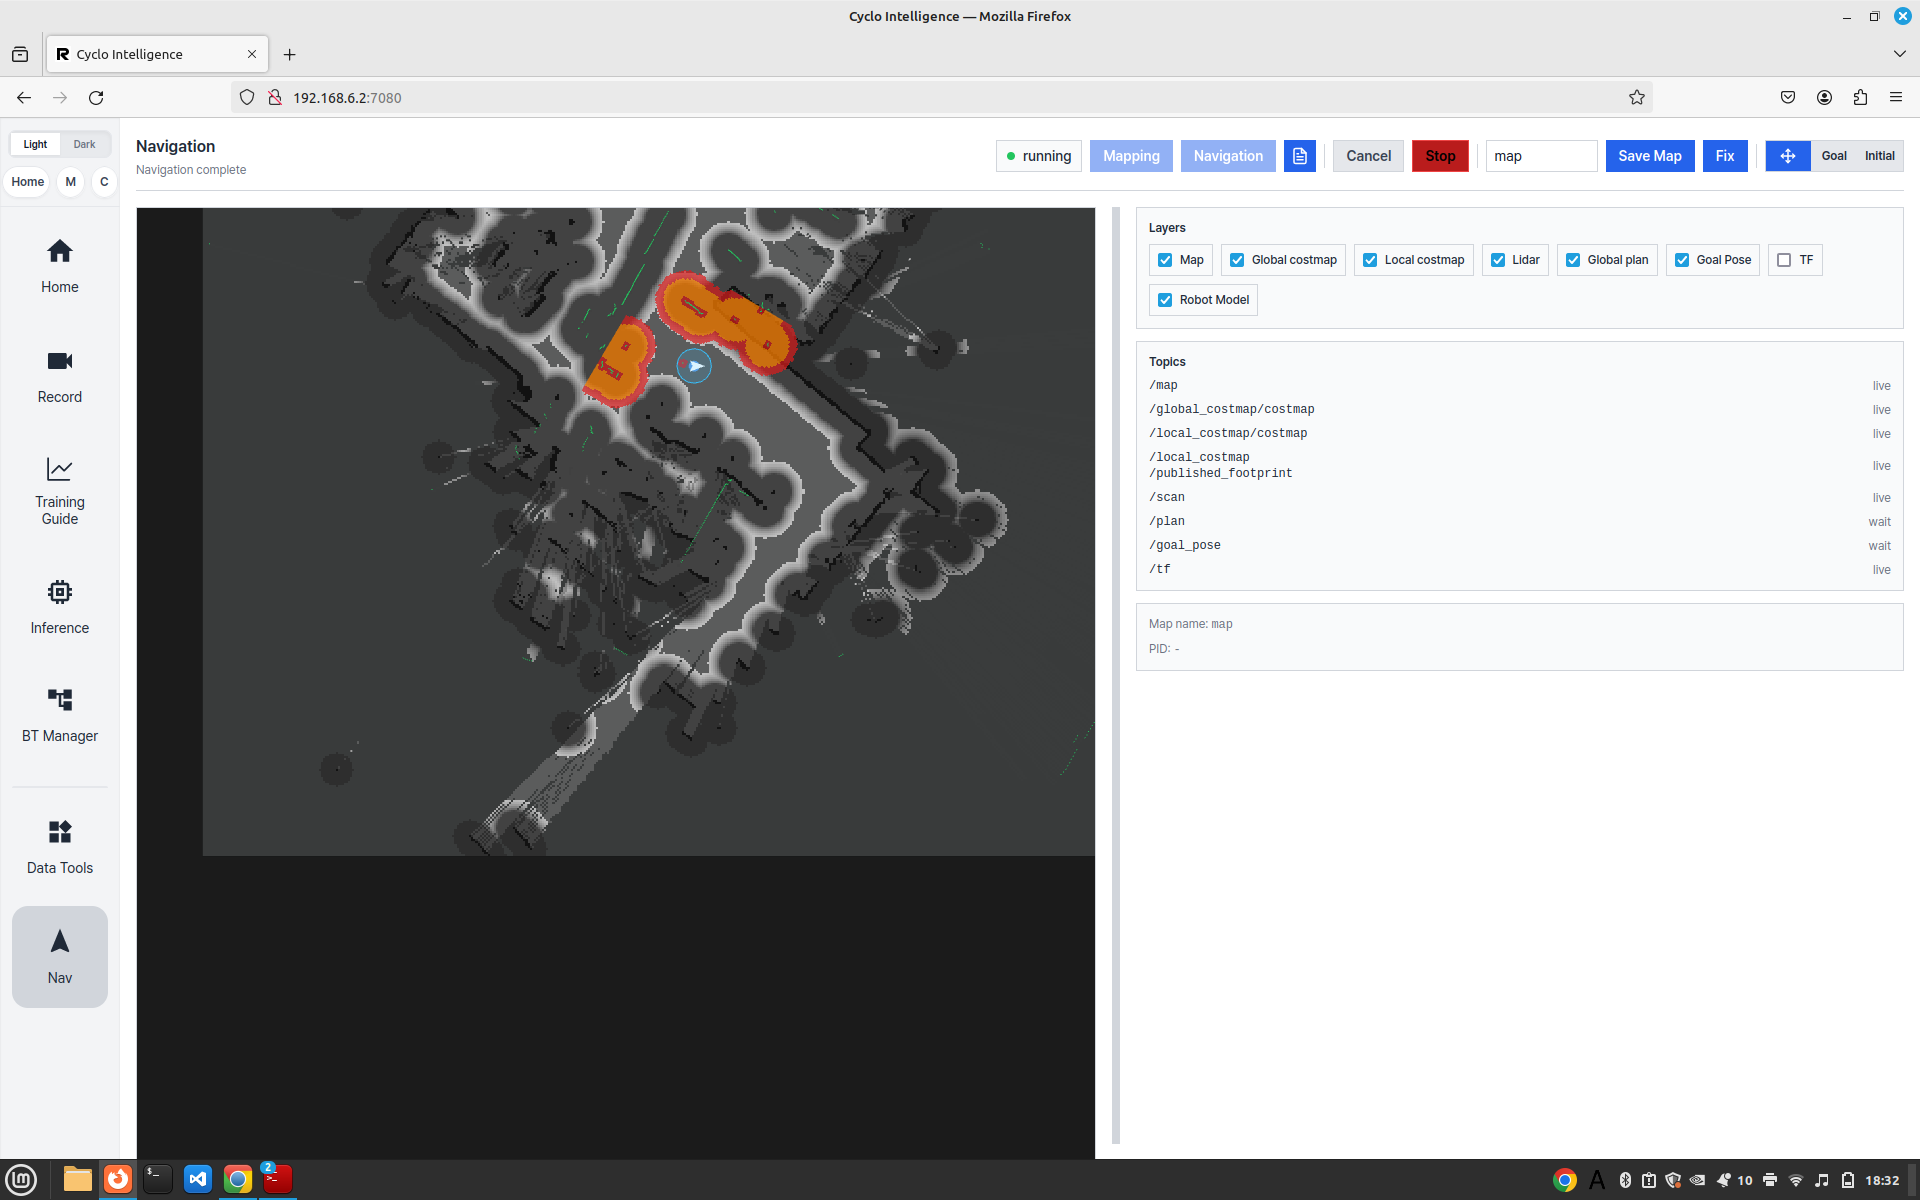
The most recently saved map is loaded automatically.
- Click Navigation.
- Confirm that the costmap is displayed in the Map Viewer.
- Click Initial.
- Click and drag on the map to set the robot's current position and orientation.
- Click Goal.
- Click and drag on the map to set the target position and orientation.
- The AI Worker begins autonomous navigation toward the selected goal.
To stop the robot while it is moving, click Cancel.
Map Editing
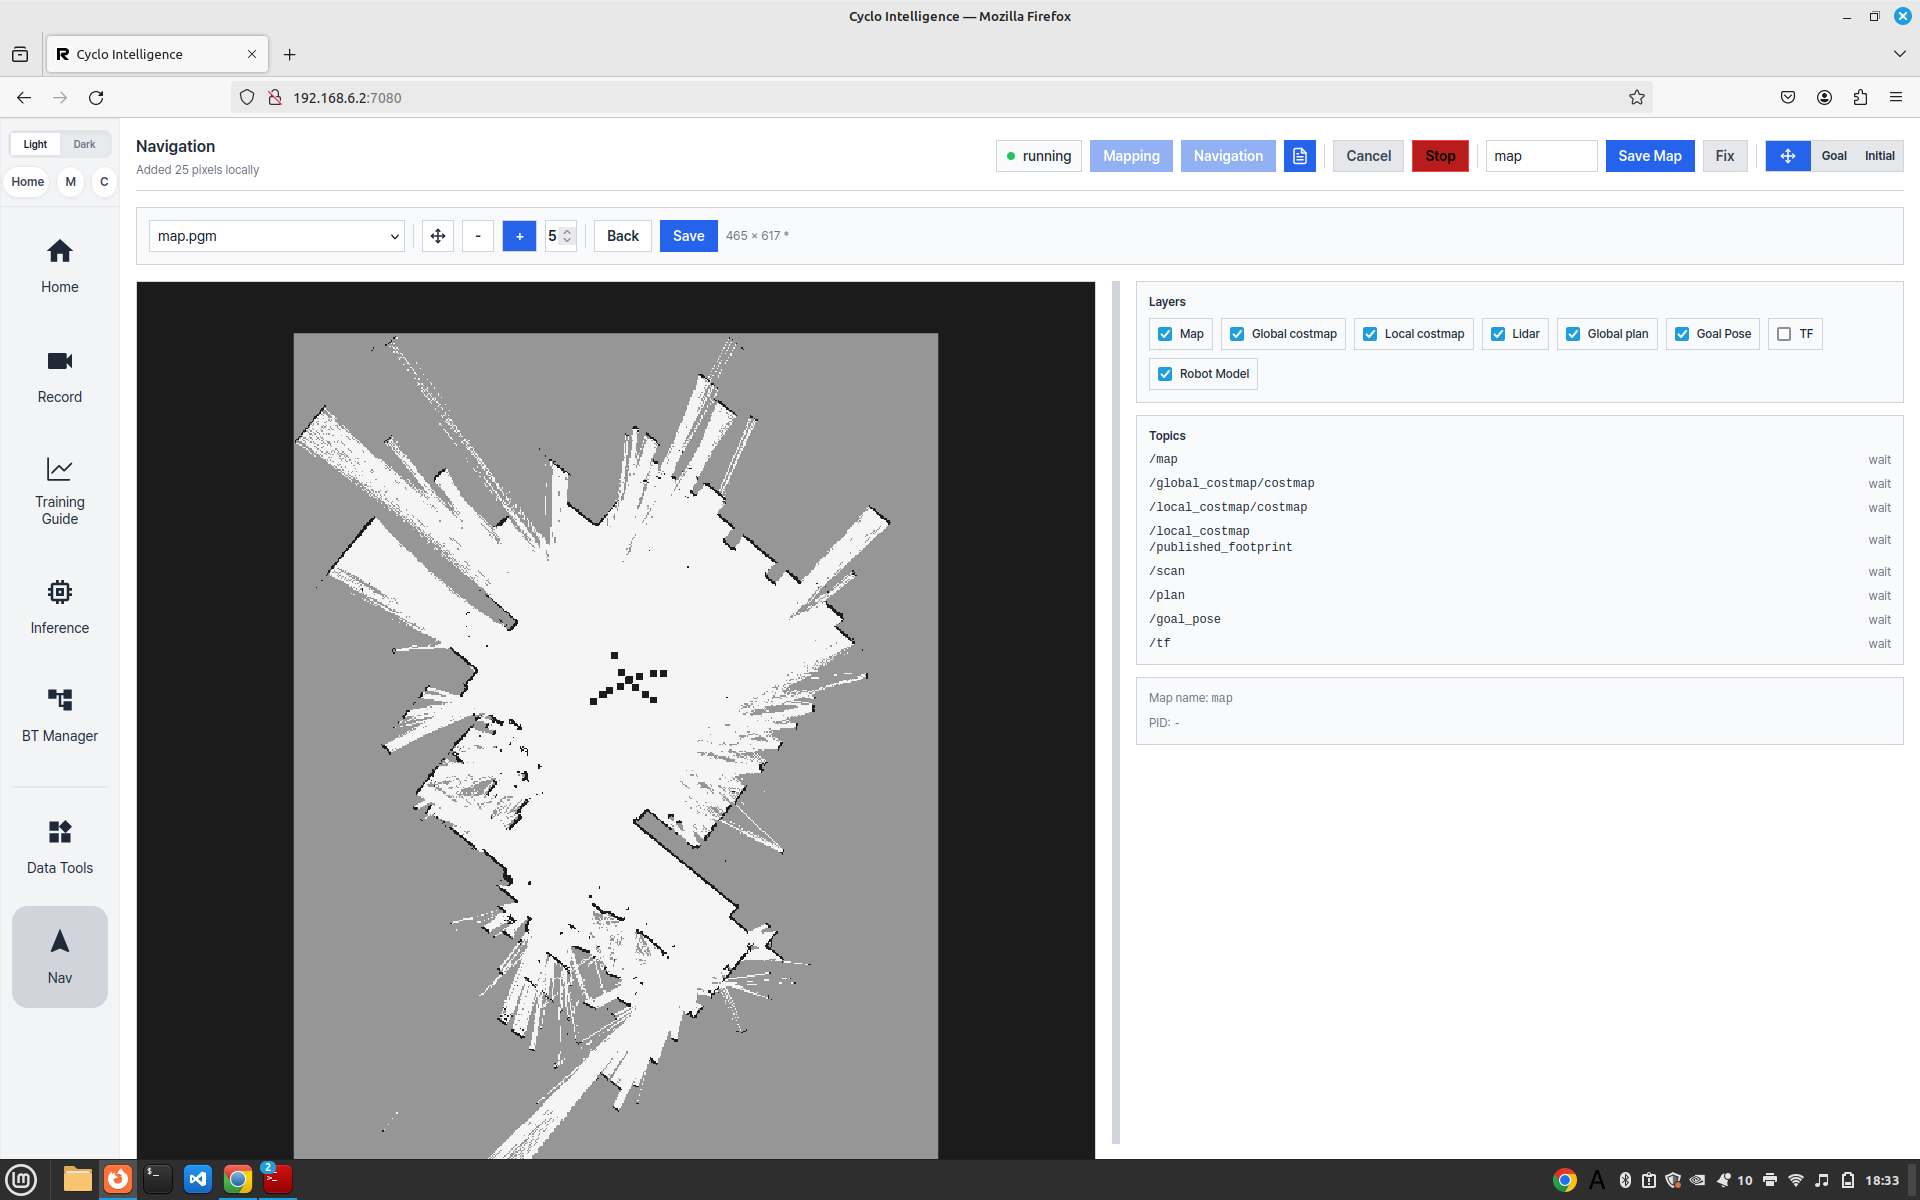
- Click Fix to open map editing mode.
- Select the map that you want to edit.
- Select one of the editing tools:
- [-]: Erases an area from the map.
- [+]: Draws an occupied area on the map.
- Adjust the numeric value next to the editing tools to change the brush size in pixels.
- Edit the required areas of the map.
- Click Back to undo the previous editing operation.
- After completing the modifications, click Save to save the edited map.
Related Guides
- Navigation — Run the Nav2 stack from the command line, including SLAM and RViz visualization