Behavior Trees
Overview
Behavior Trees (BTs) provide a modular, hierarchical, and reactive framework for designing complex robot behaviors. In AI Worker, BTs are used to structure long-horizon and multi-task robot behaviors that require multiple steps, conditional decisions, retries, recovery behavior, and a clear execution order.
Cyclo Intelligence provides a BT workflow for composing robot actions, inference commands, and repeated task logic into a visual execution graph. The goal is to combine the flexibility of learned or VLA-based policies with the reliability of rule-based control.
VLA models can be used where flexible perception, language understanding, or action reasoning is needed, while rule-based control can be used where deterministic execution, safety checks, repeated motions, or explicit task logic are required. By combining these approaches in one tree, Cyclo Intelligence can describe complex tasks as reusable decision and action nodes while keeping the execution flow inspectable and controllable.
The BT system is built into the Cyclo Intelligence orchestrator. It consists of:
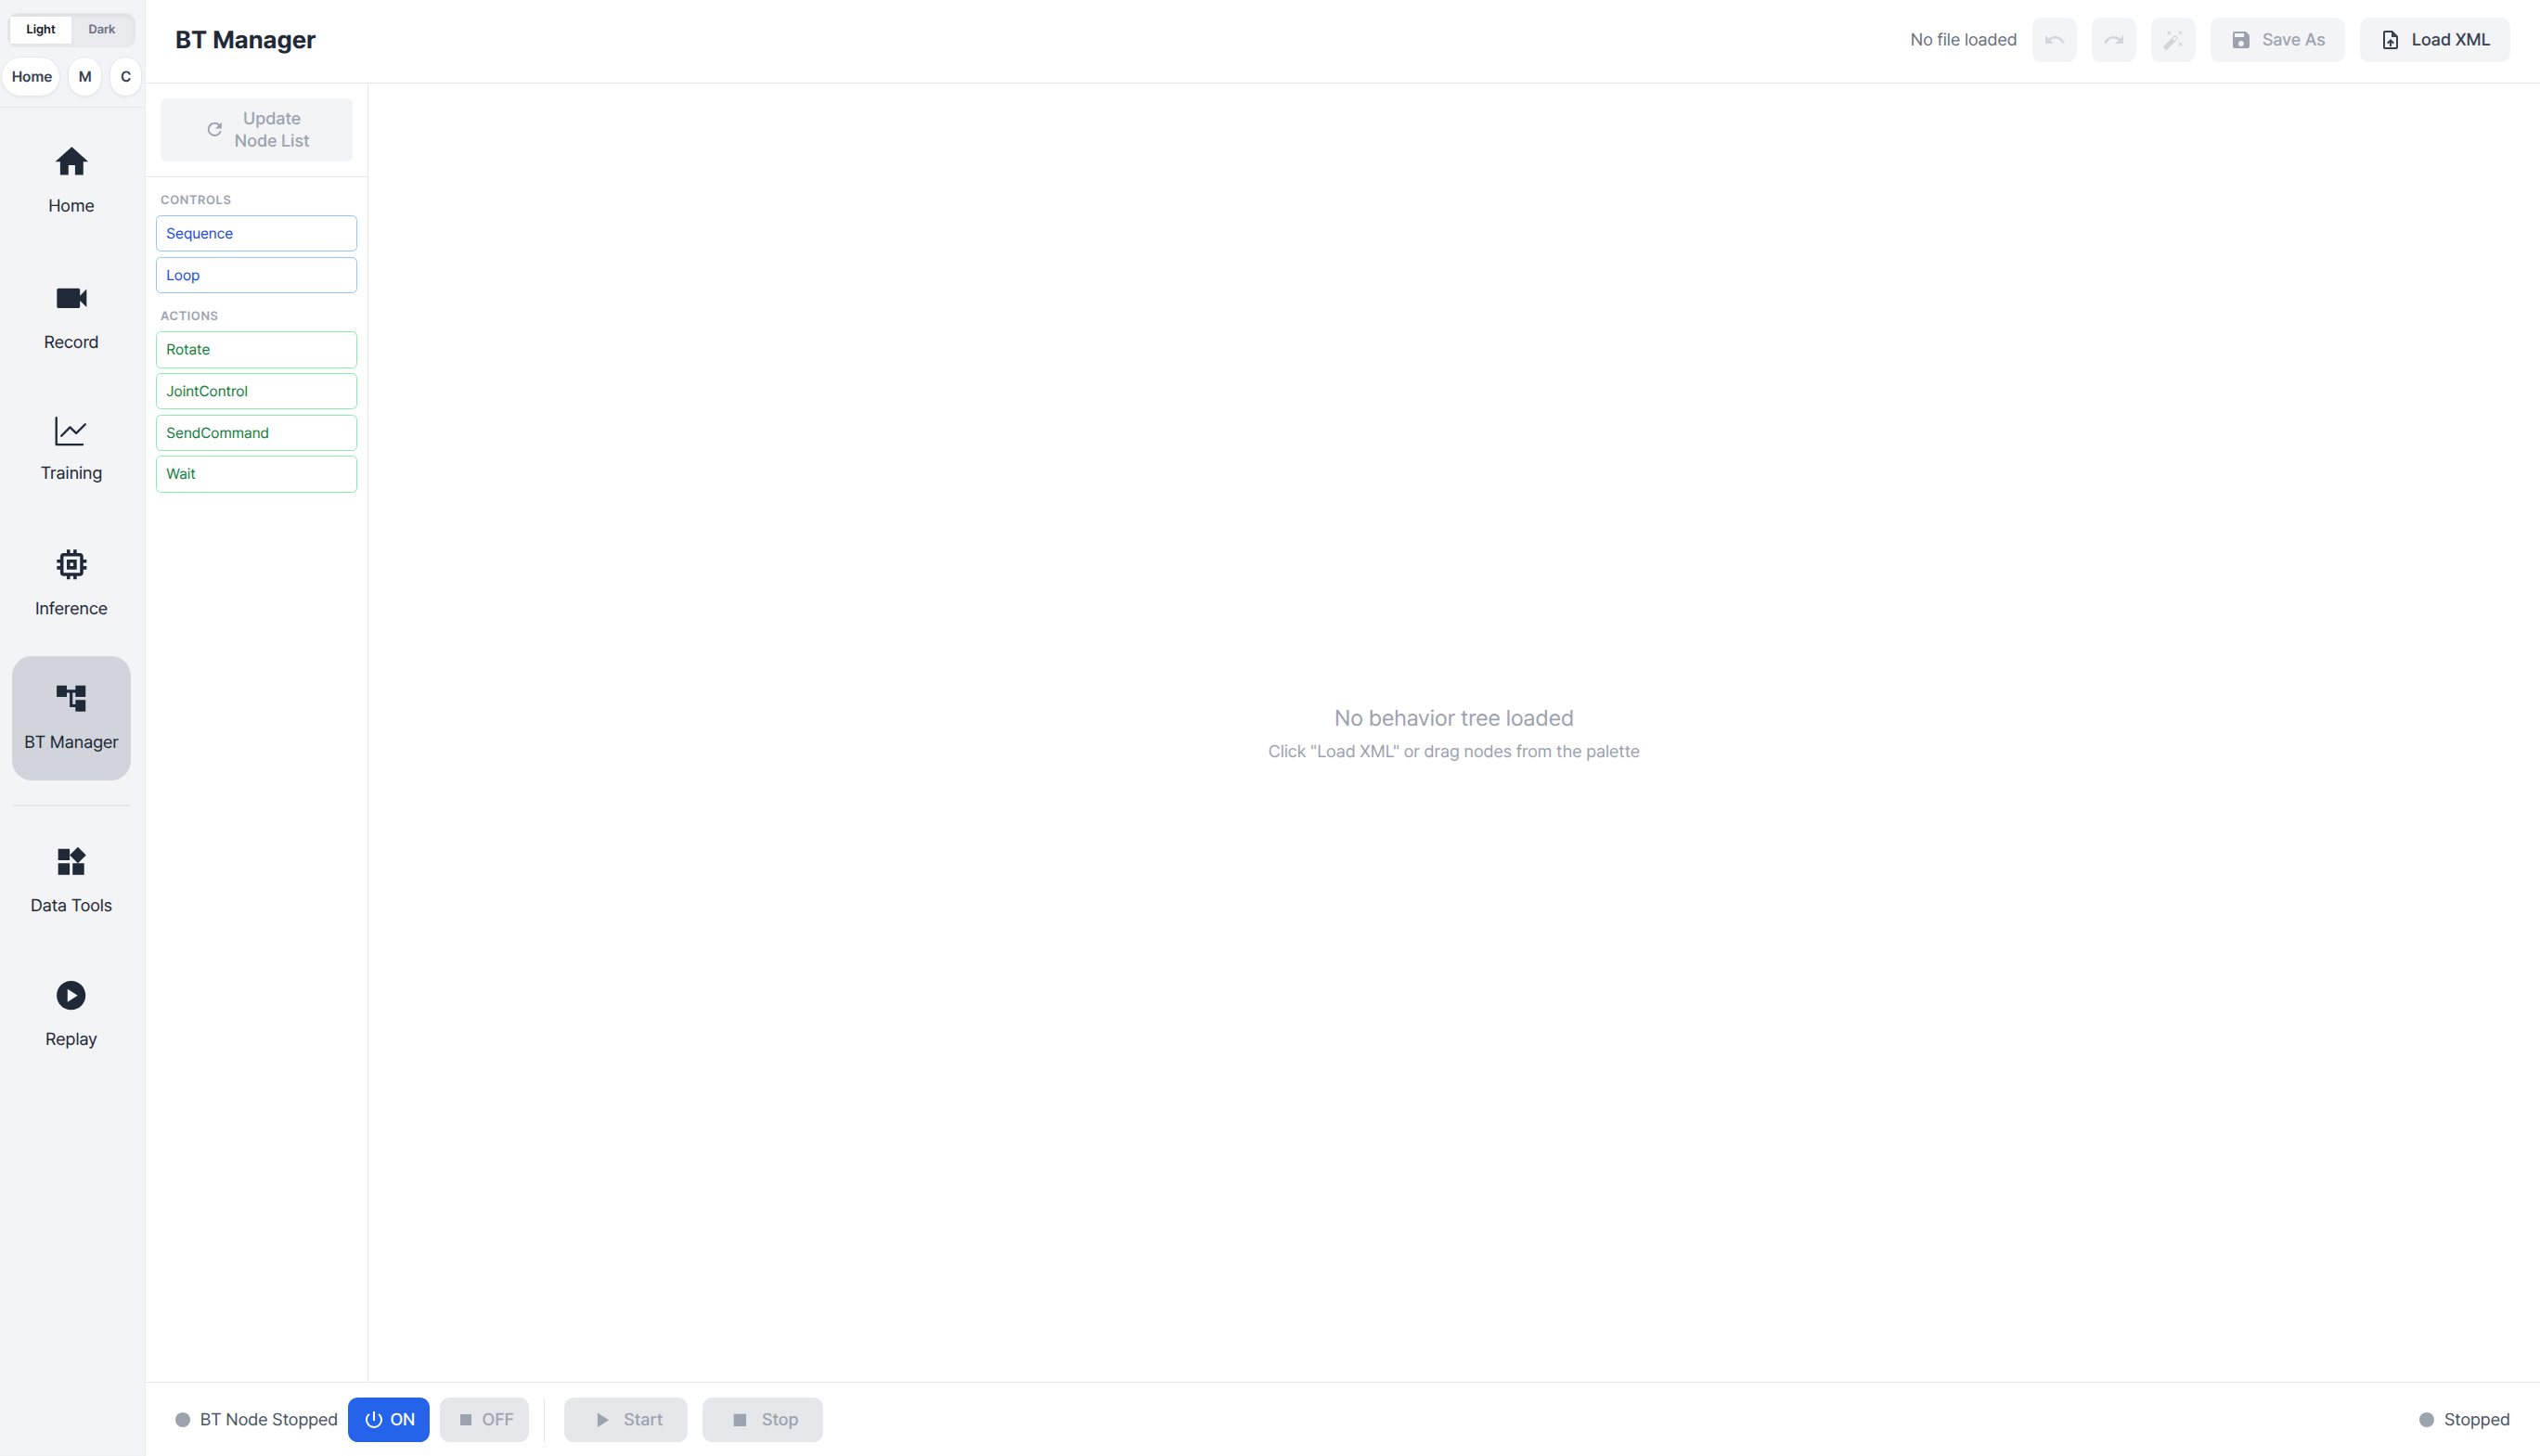
- BT Manager: A browser-based editor for creating, editing, saving, and running BT XML files. The UI shown above is BT Manager.
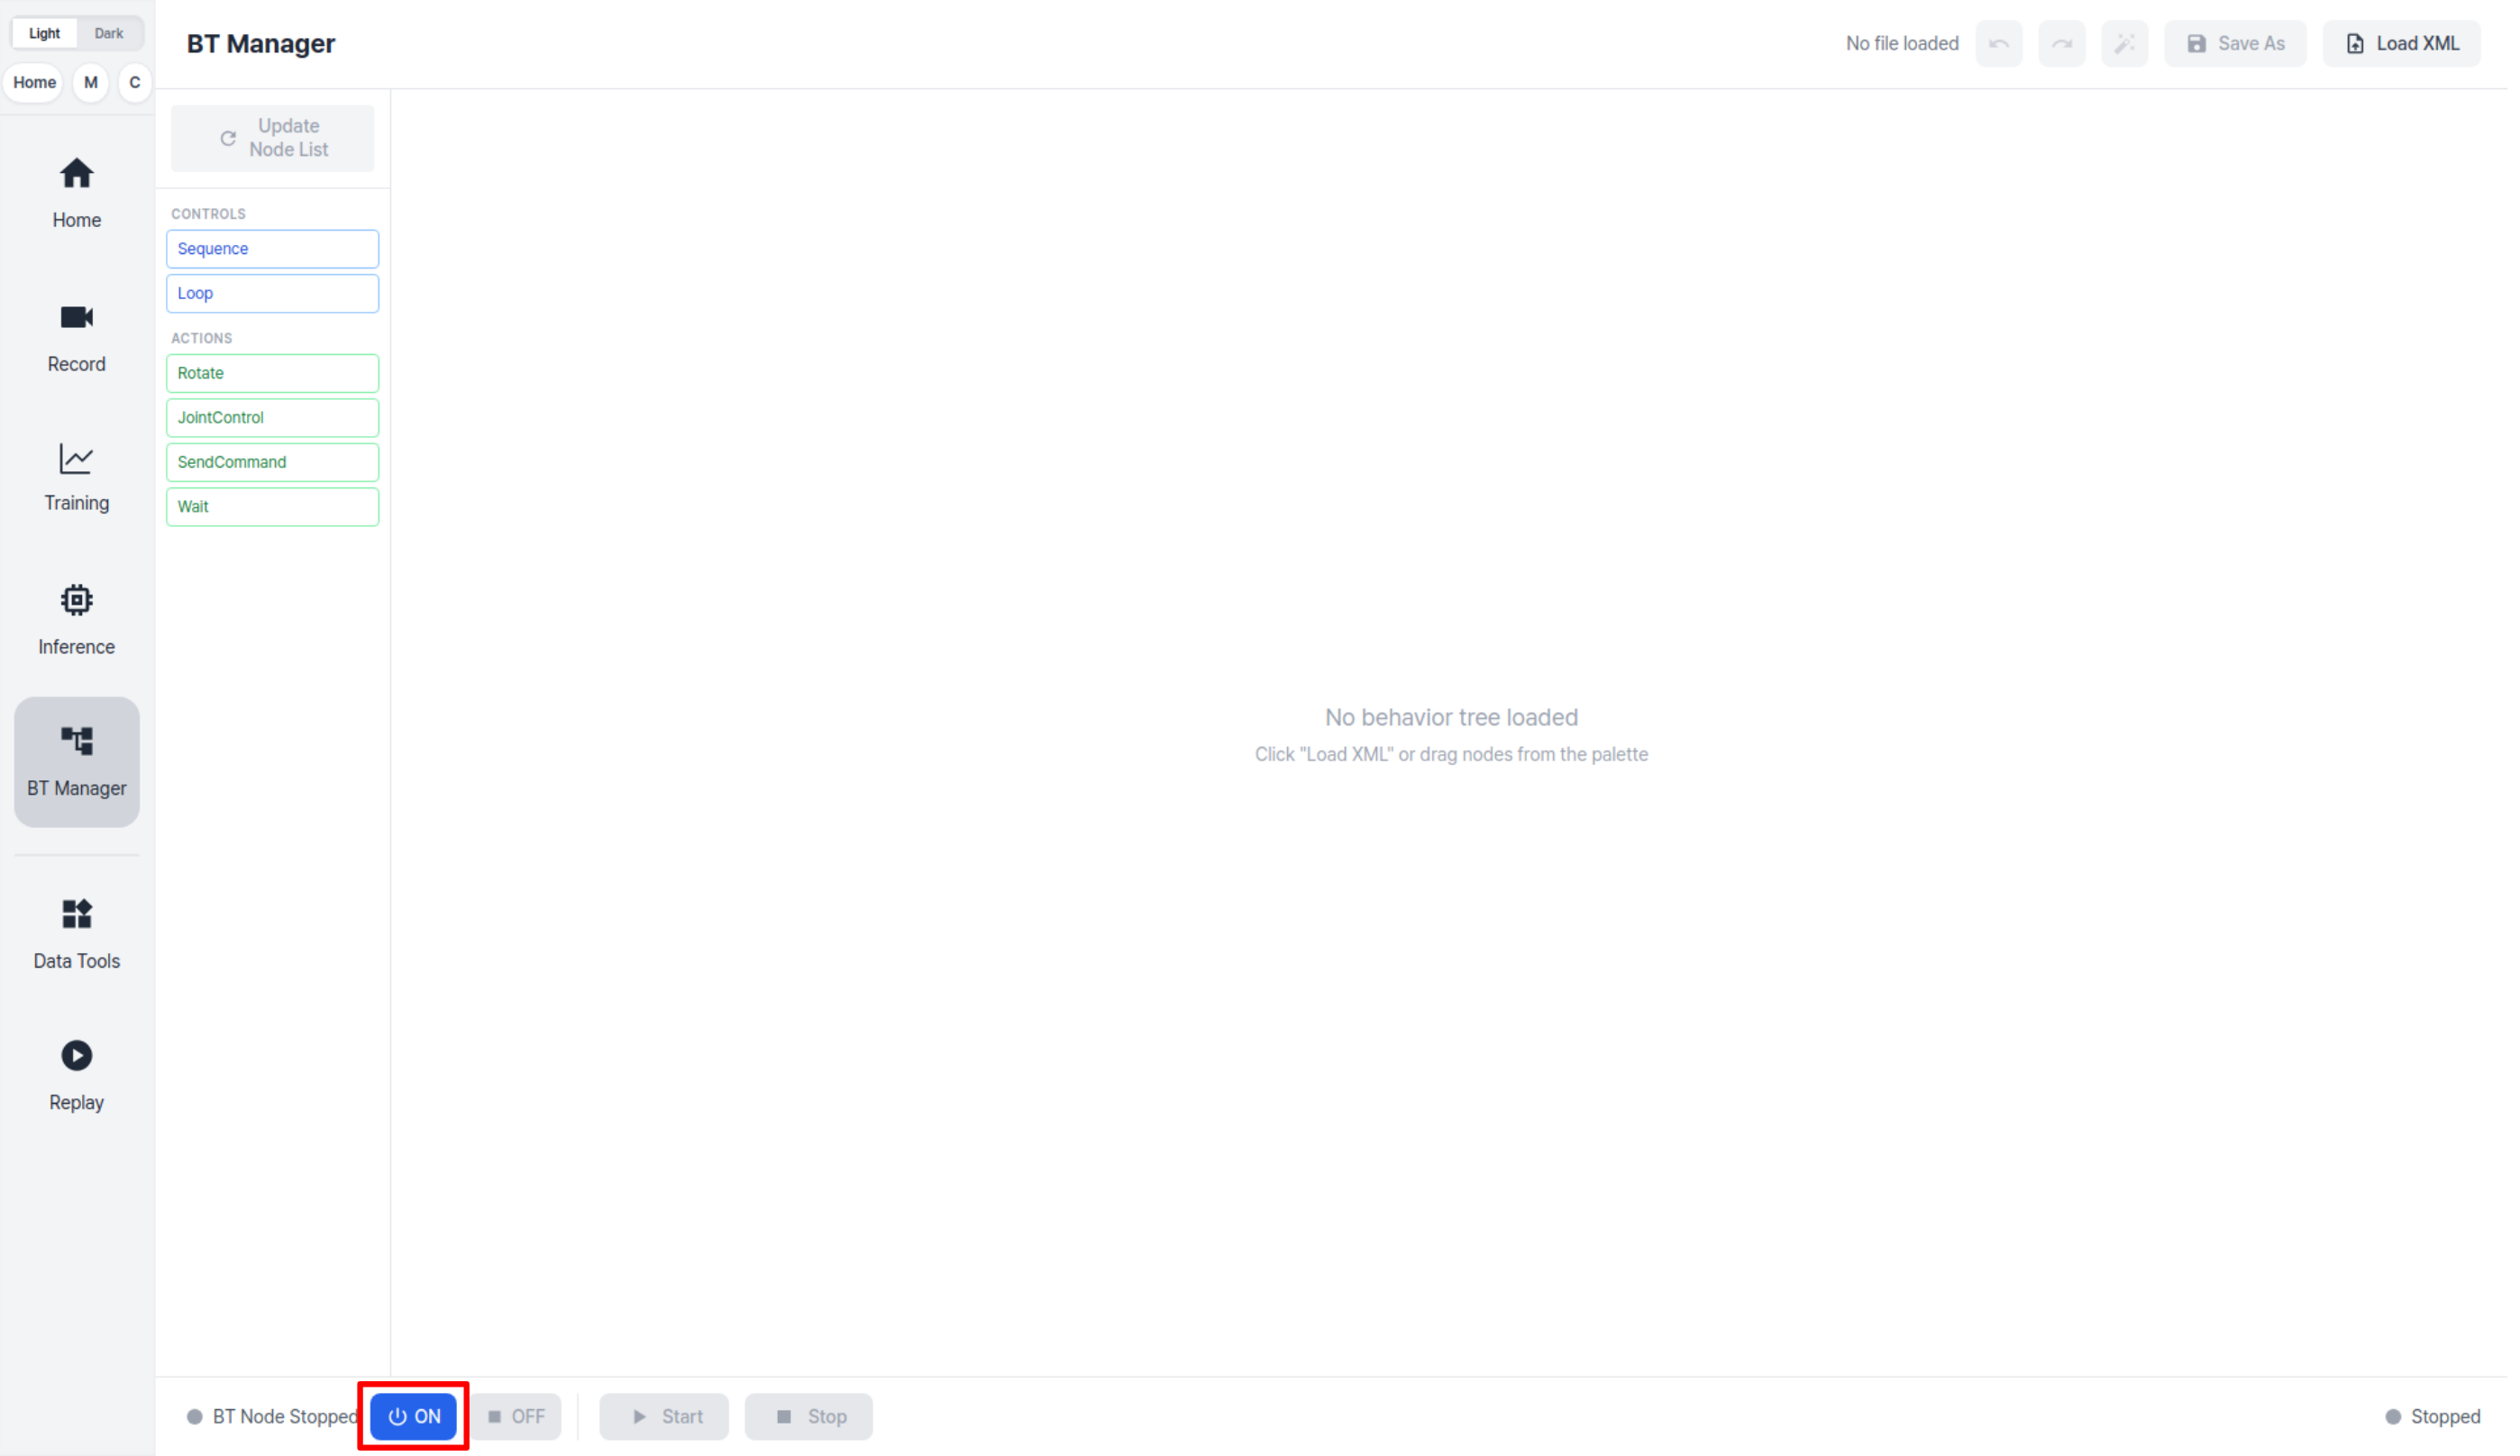
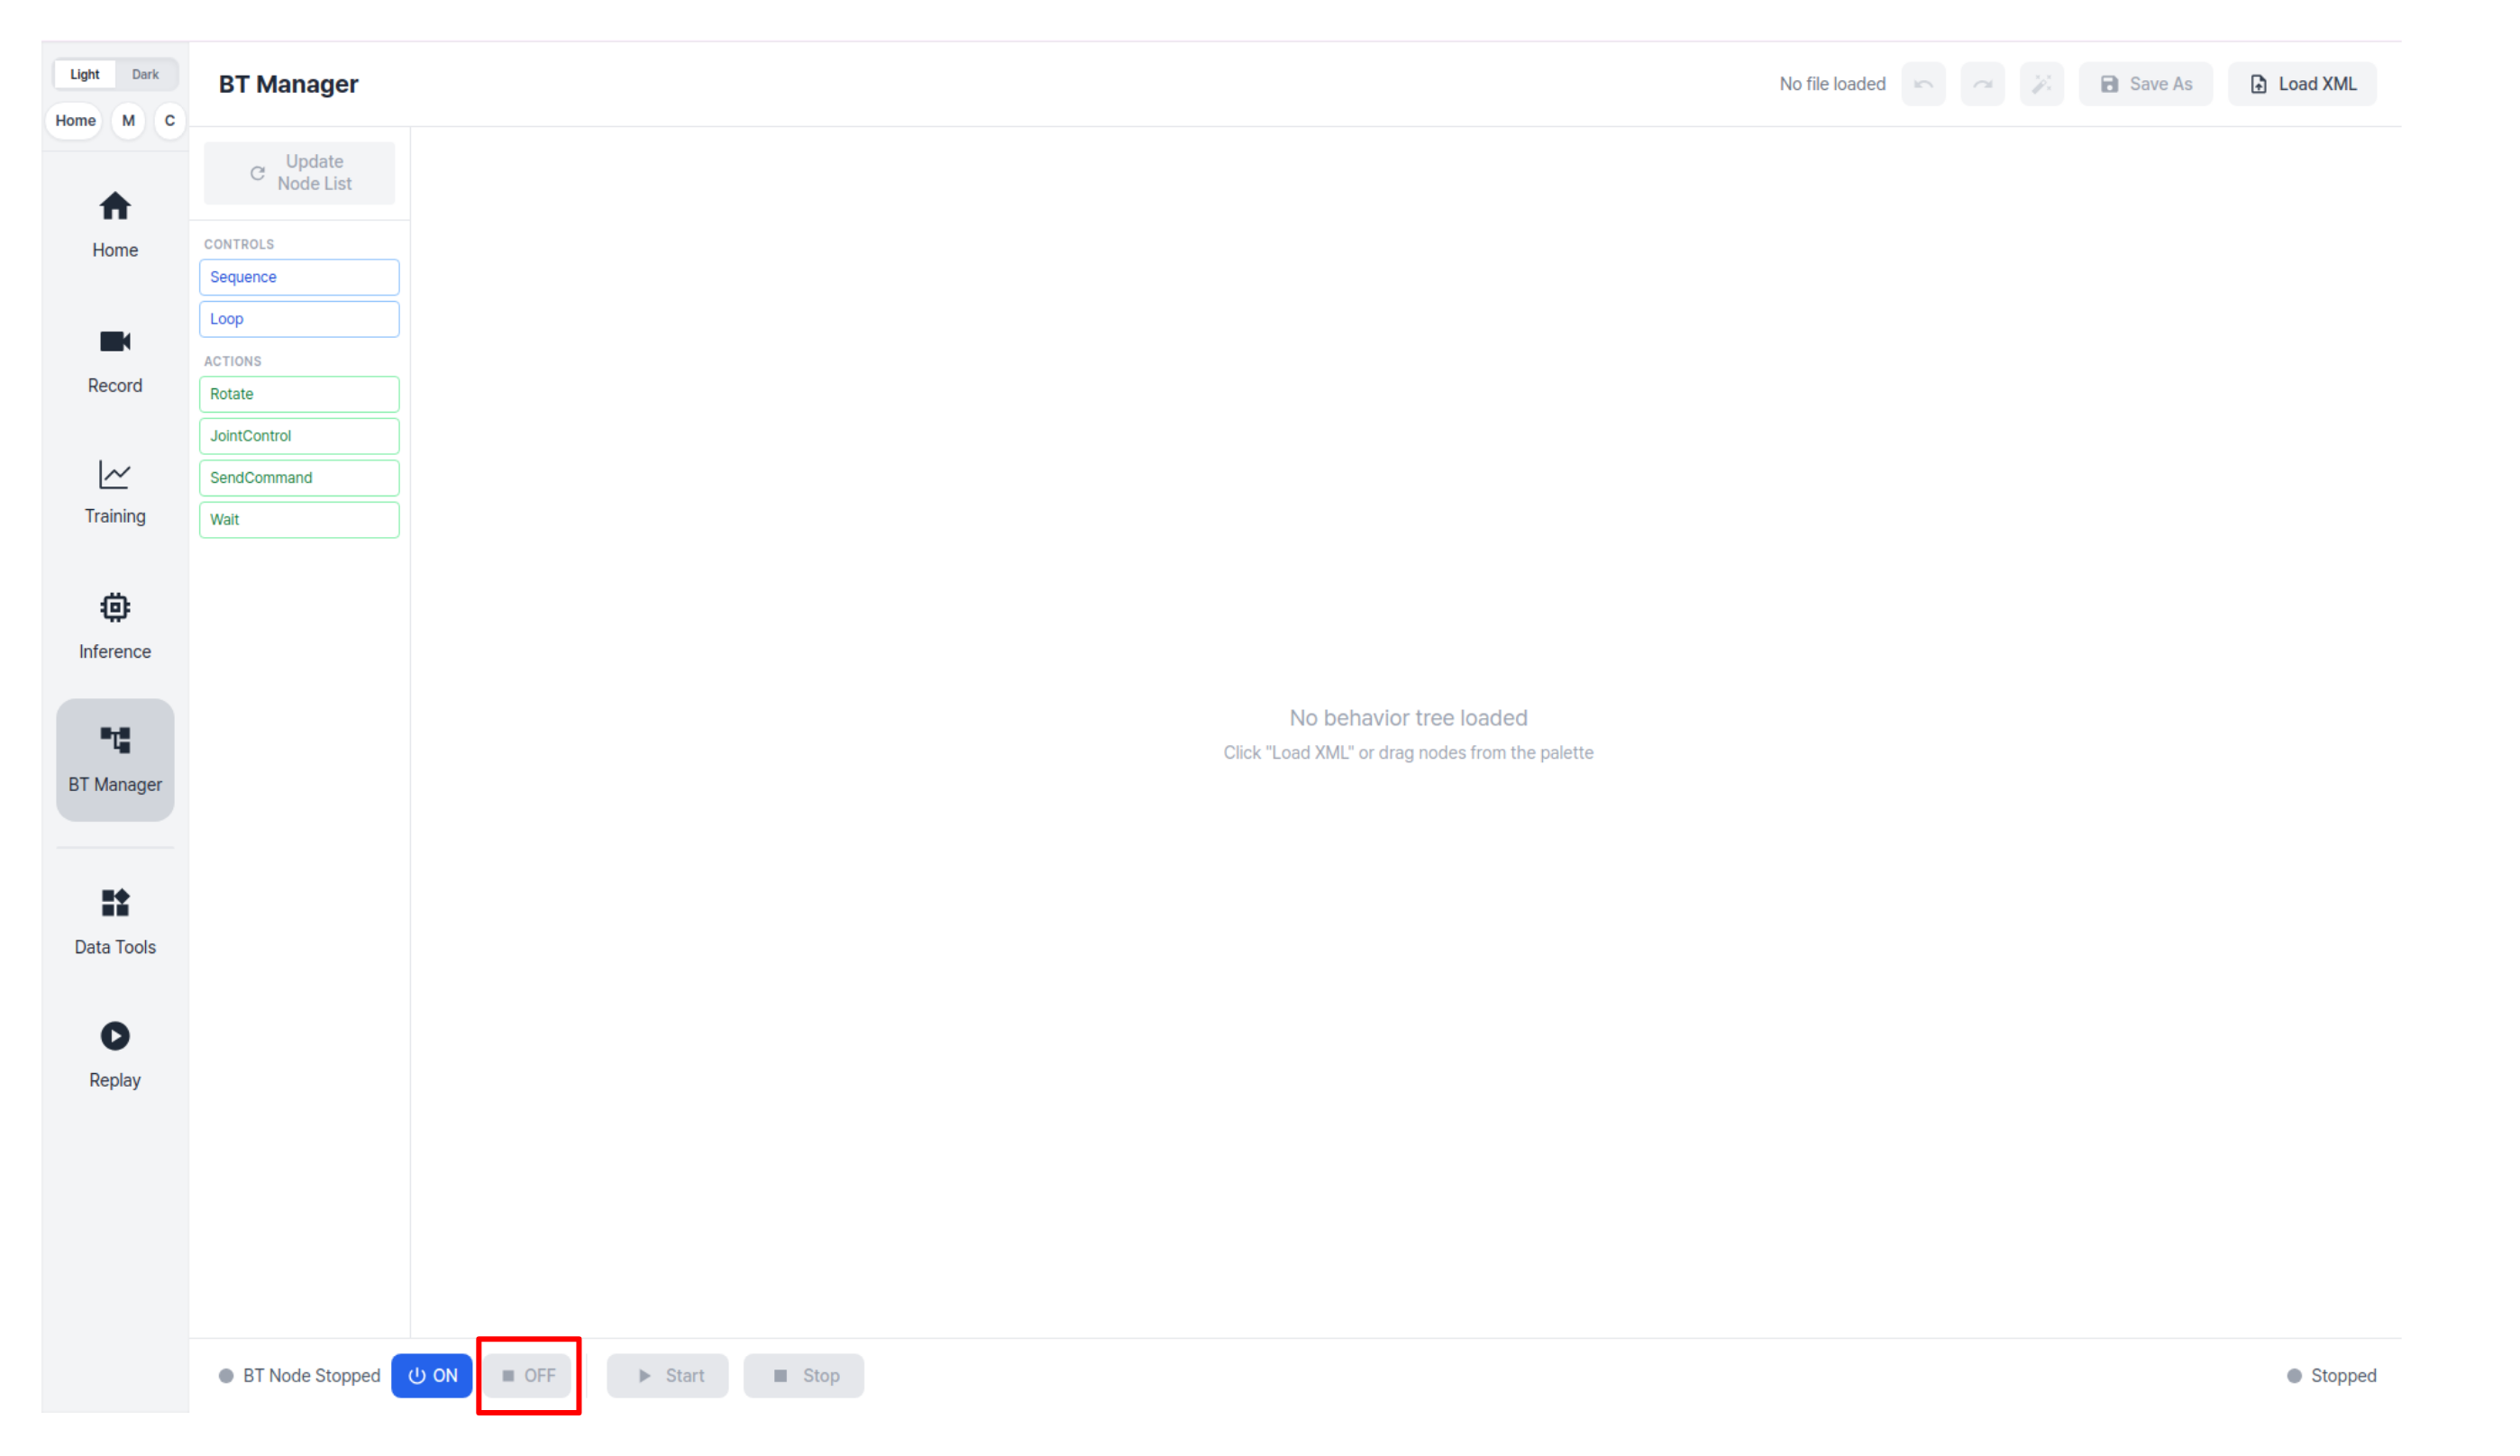
- BT Runtime Node: A ROS 2 node that loads BT XML, executes nodes at a fixed tick rate, and publishes execution status. In the lower-left corner of the BT Manager page, click the blue ON button to activate the BT node. After the node is enabled, the ON button becomes disabled and the red OFF button on the right becomes active. Click OFF to deactivate the BT node.
- Dynamic Node Catalog: A node list generated from Python action and control classes in the orchestrator package. The panel on the left side of BT Manager is the node catalog.
Architecture
The BT runtime is implemented in the orchestrator package.
cyclo_intelligence/
+-- orchestrator/
    +-- launch/
    |   +-- bt_node.launch.py
    +-- orchestrator/
        +-- bt/
            +-- bt_node.py
            +-- bt_nodes_loader.py
            +-- node_registry.py
            +-- bt_core.py
            +-- blackboard.py
            +-- actions/
            |   +-- send_command.py
            |   +-- joint_control.py
            |   +-- rotate.py
            |   +-- wait.py
            +-- controls/
            |   +-- sequence.py
            |   +-- loop.py
            +-- templates/
            +-- trees/
BT Manager Workflow
BT Manager provides the normal workflow for building and running trees.
- Open BT Manager.
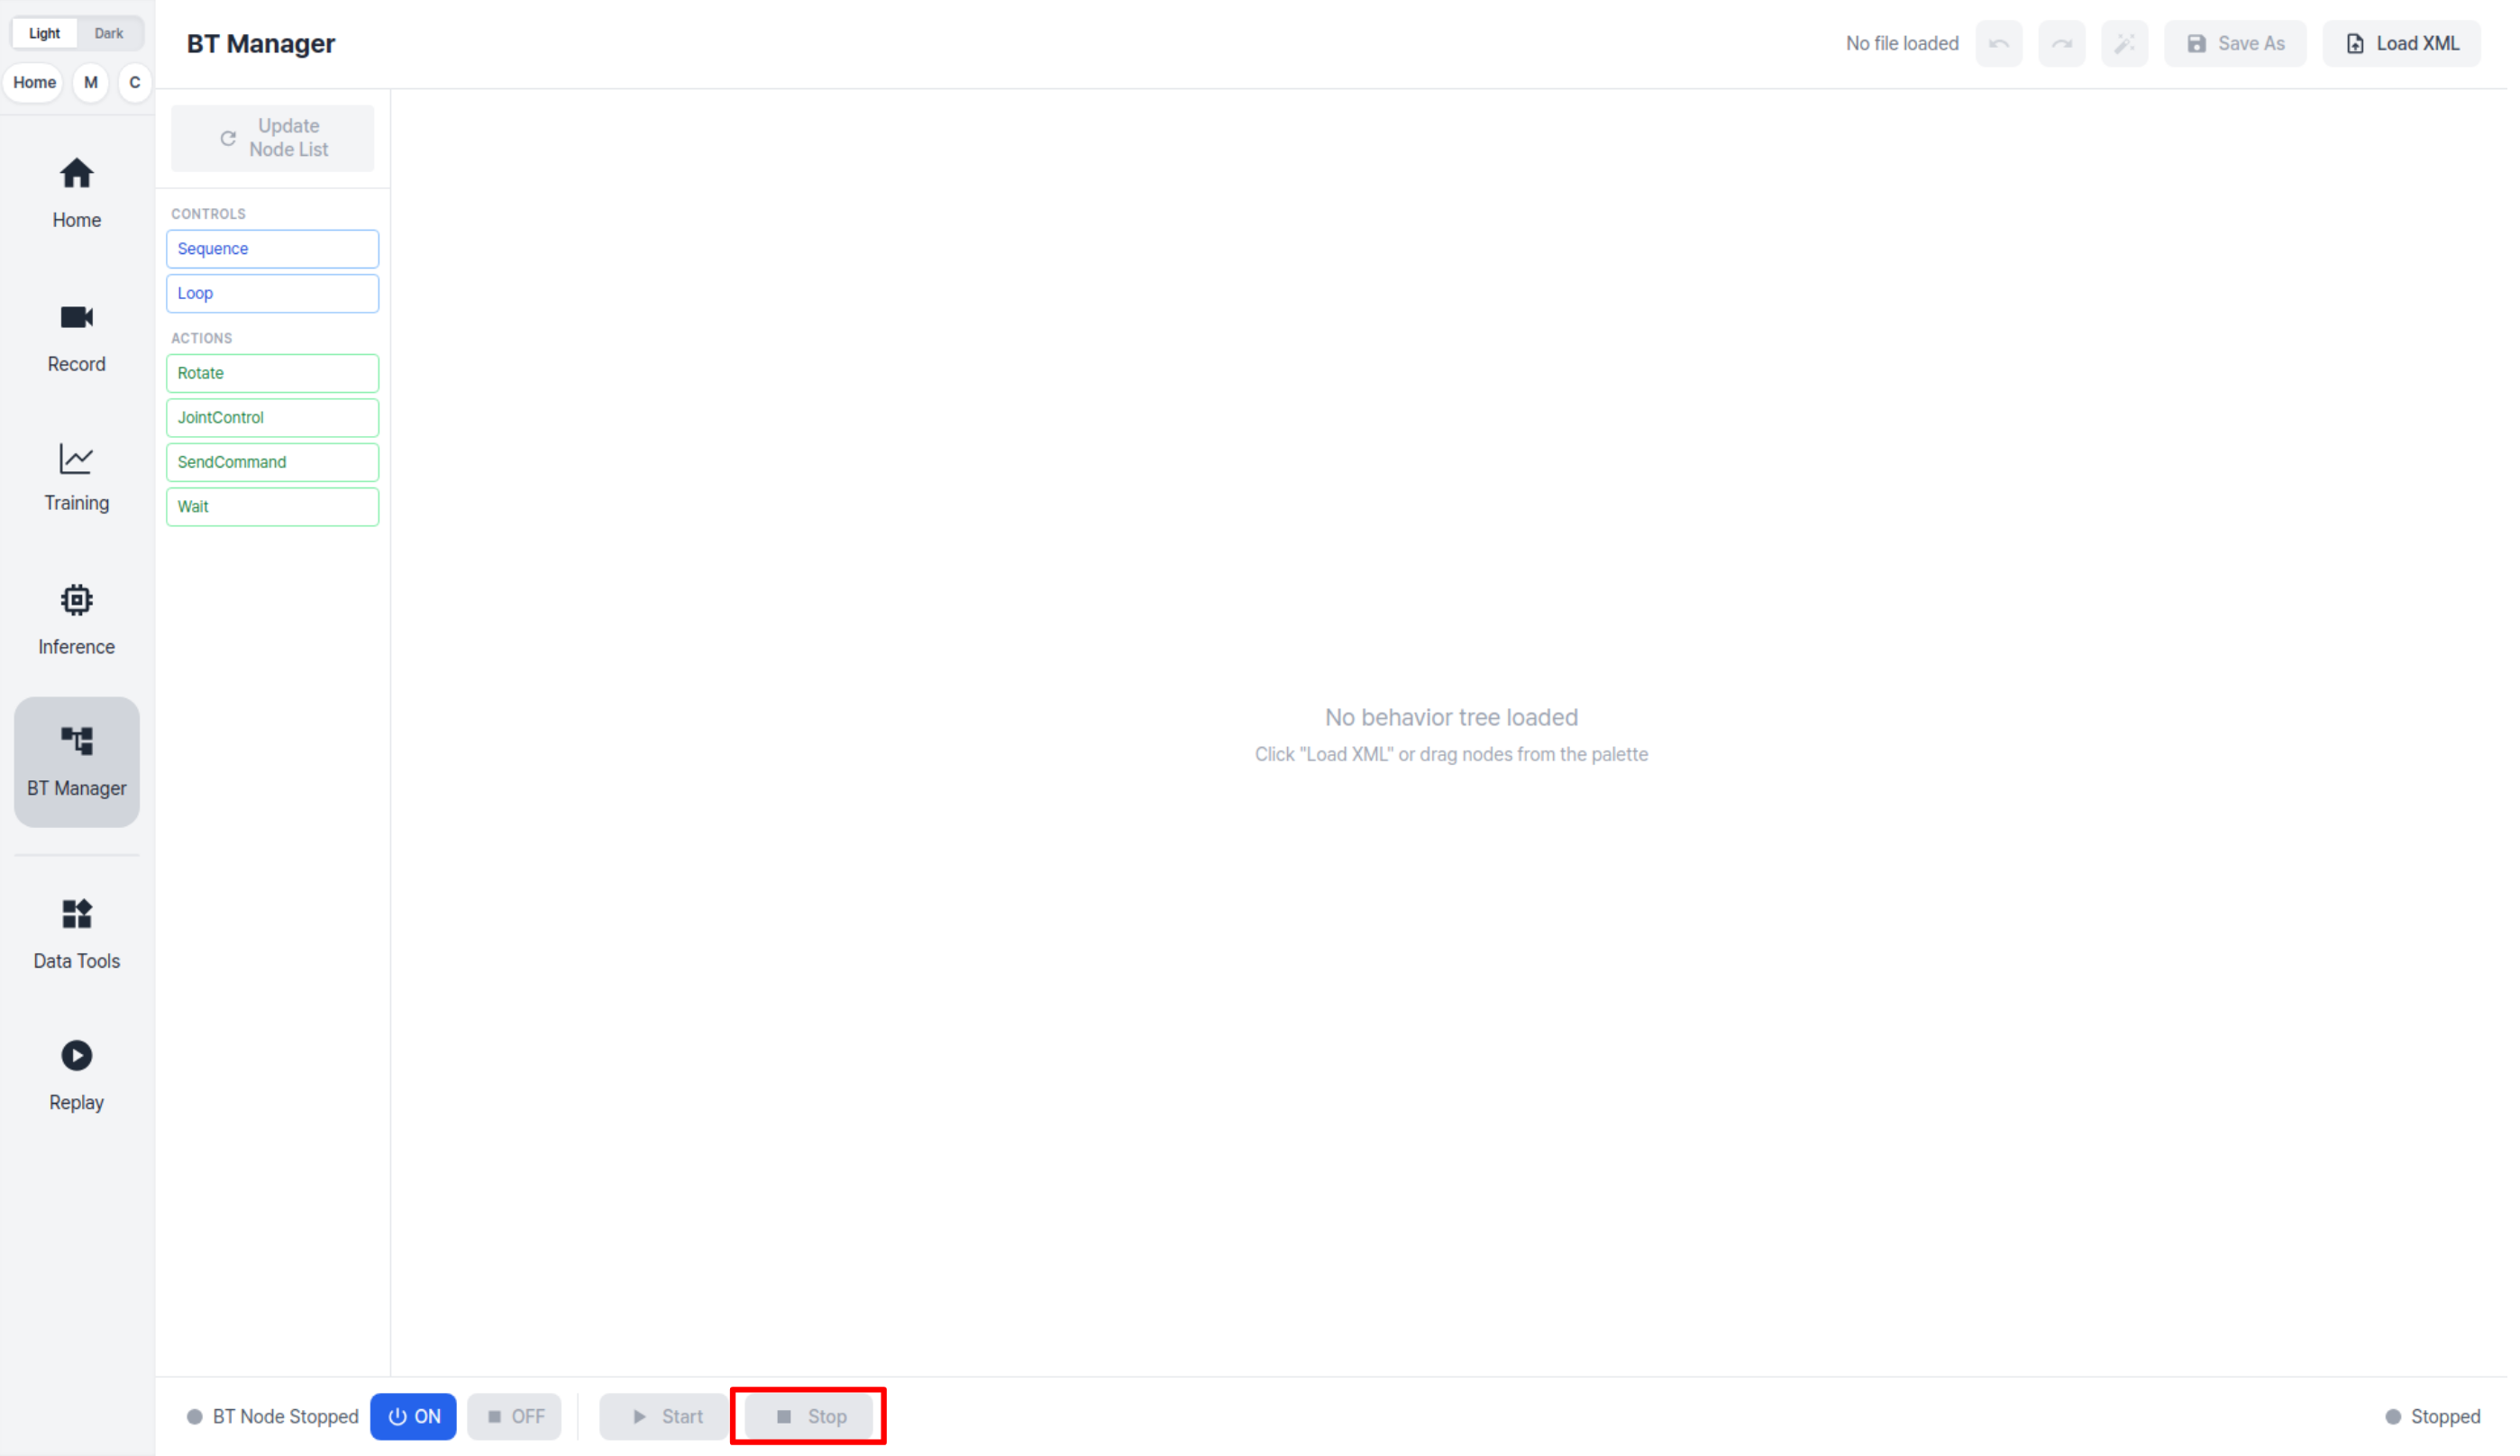
- Turn BT Node ON by clicking the button highlighted with the red box in the image below.
- Build or load a behavior tree.
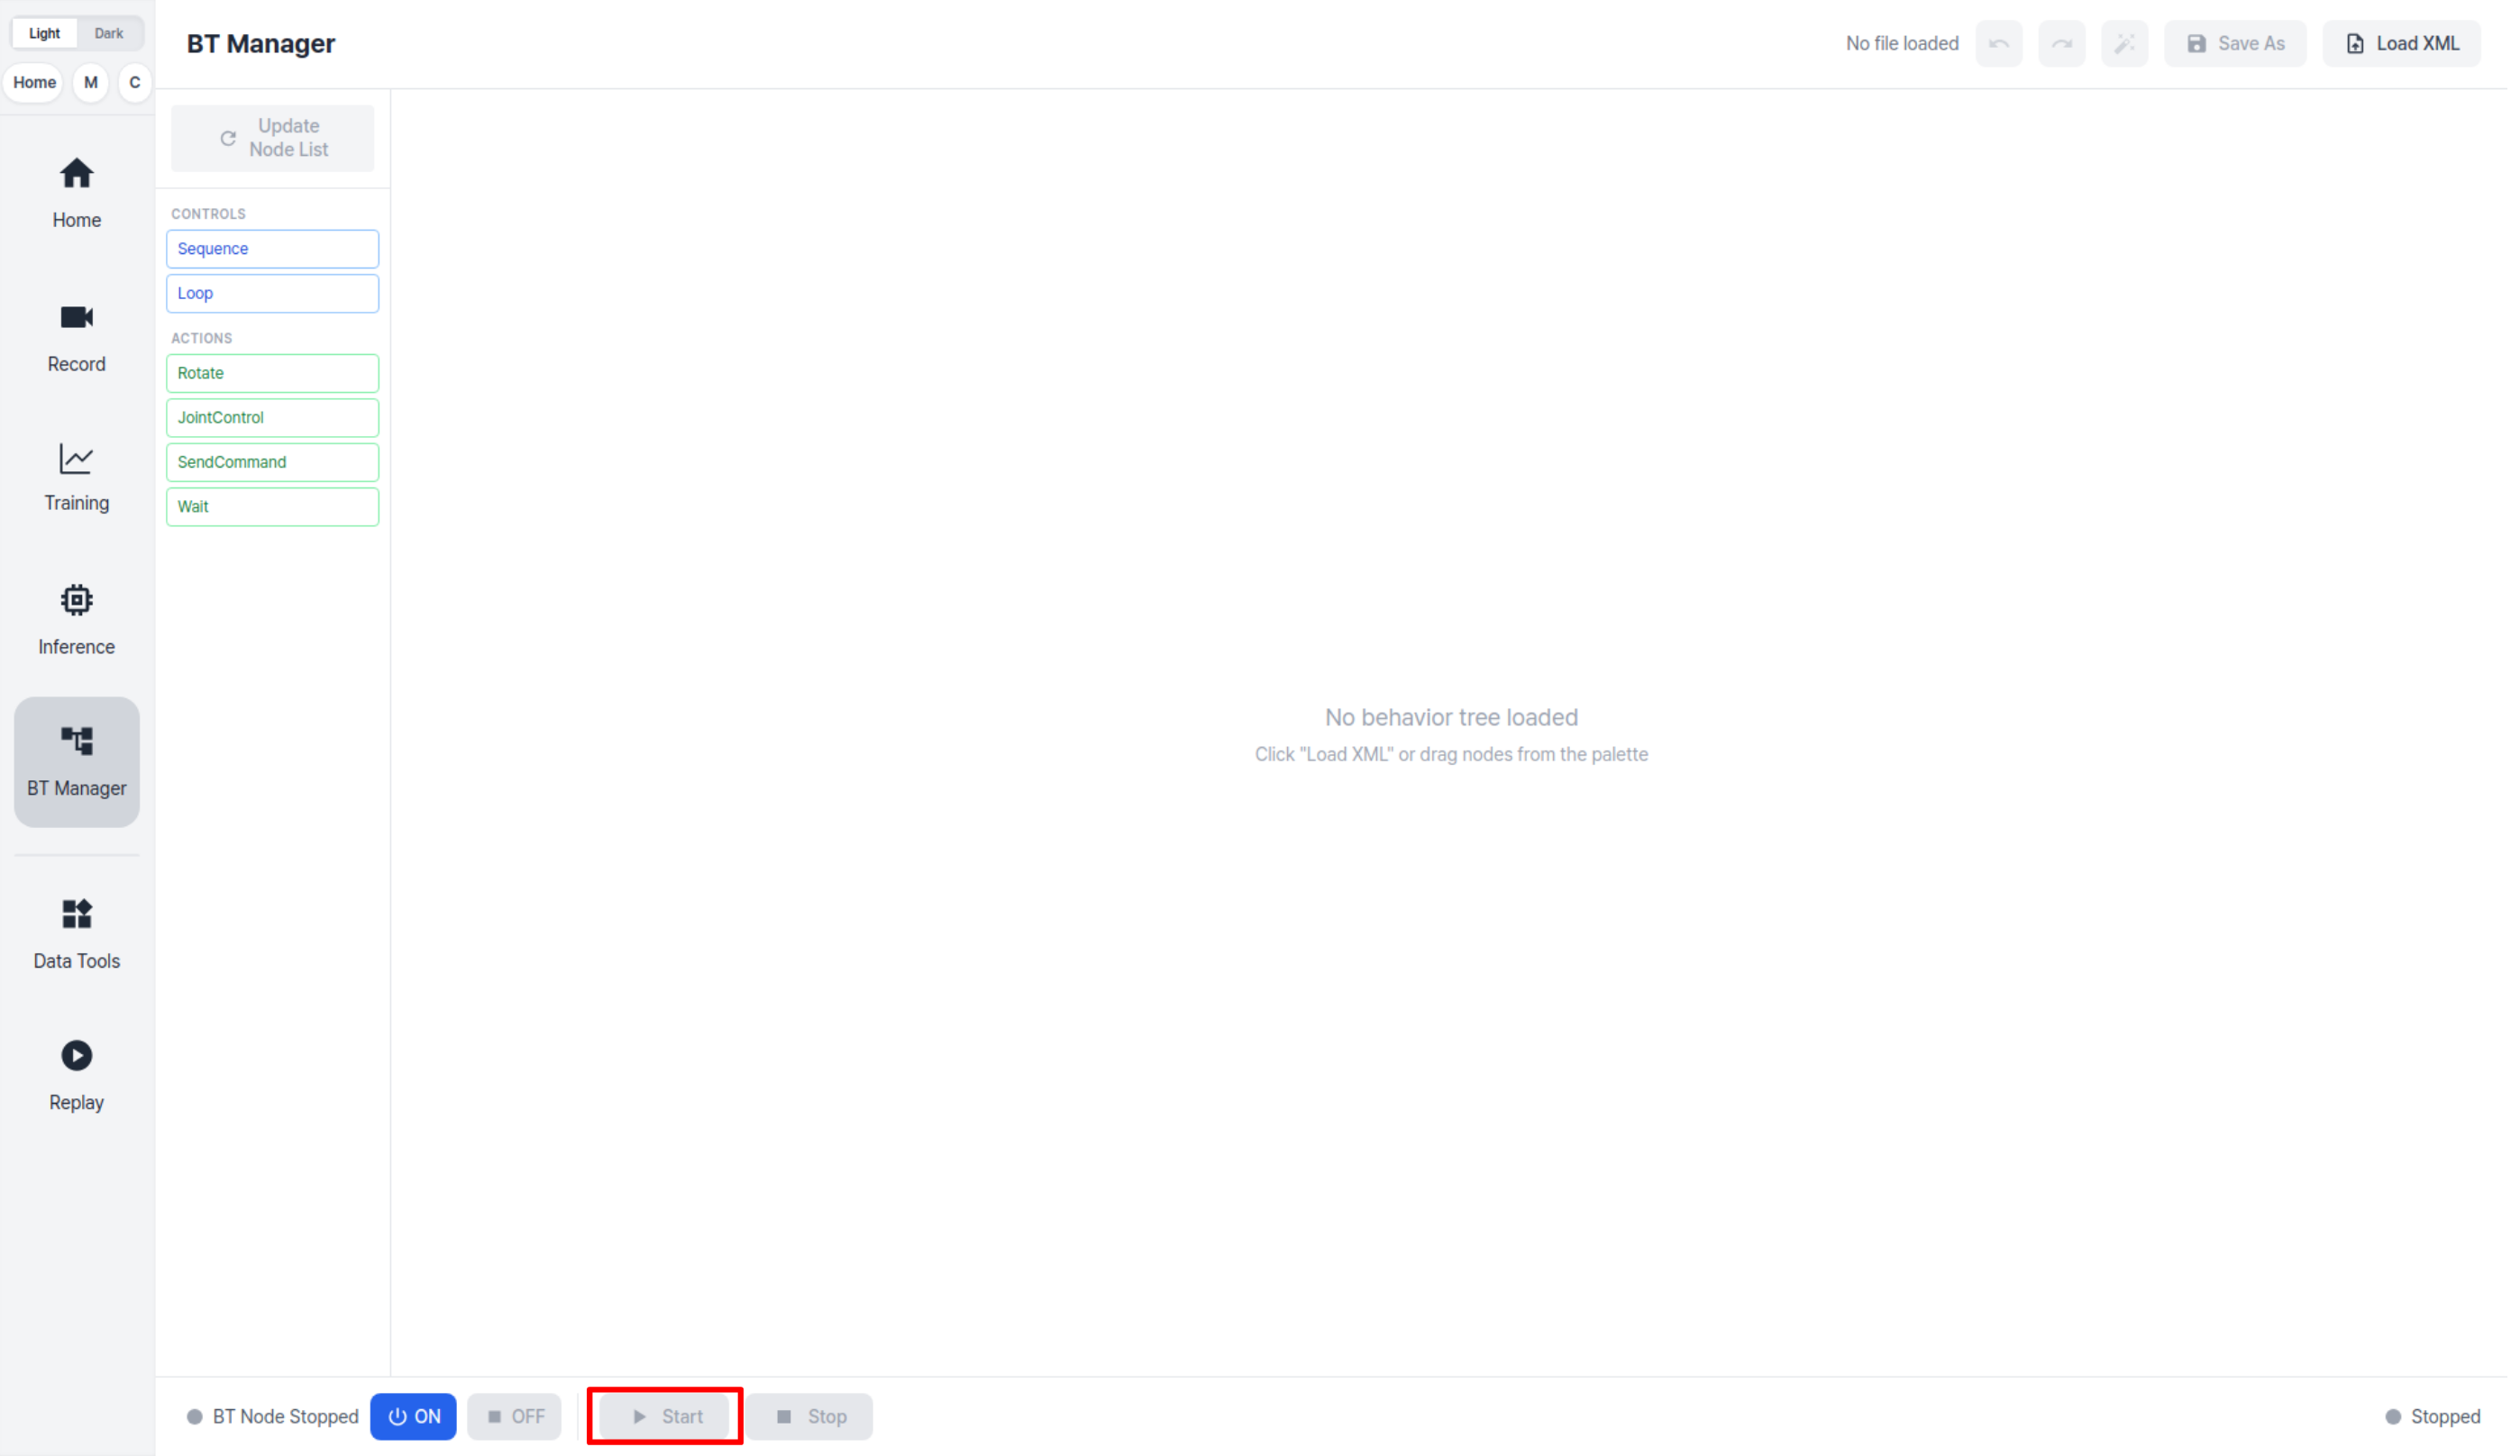
- Press Start to serialize the graph and run it.
- Press Stop to stop BT execution.
- Turn BT Node OFF after execution is stopped.
Starting a tree does not start the BT process itself. The BT node must already be running.
Behavior trees can send robot motion and inference commands. Make sure the robot is in a safe position and the surrounding area is clear before starting a tree.
Building a Behavior Tree
Use the BT Manager editor to create a tree from the node catalog, connect nodes on the canvas, edit node parameters, and organize the graph before execution.
Adding Nodes to the Canvas
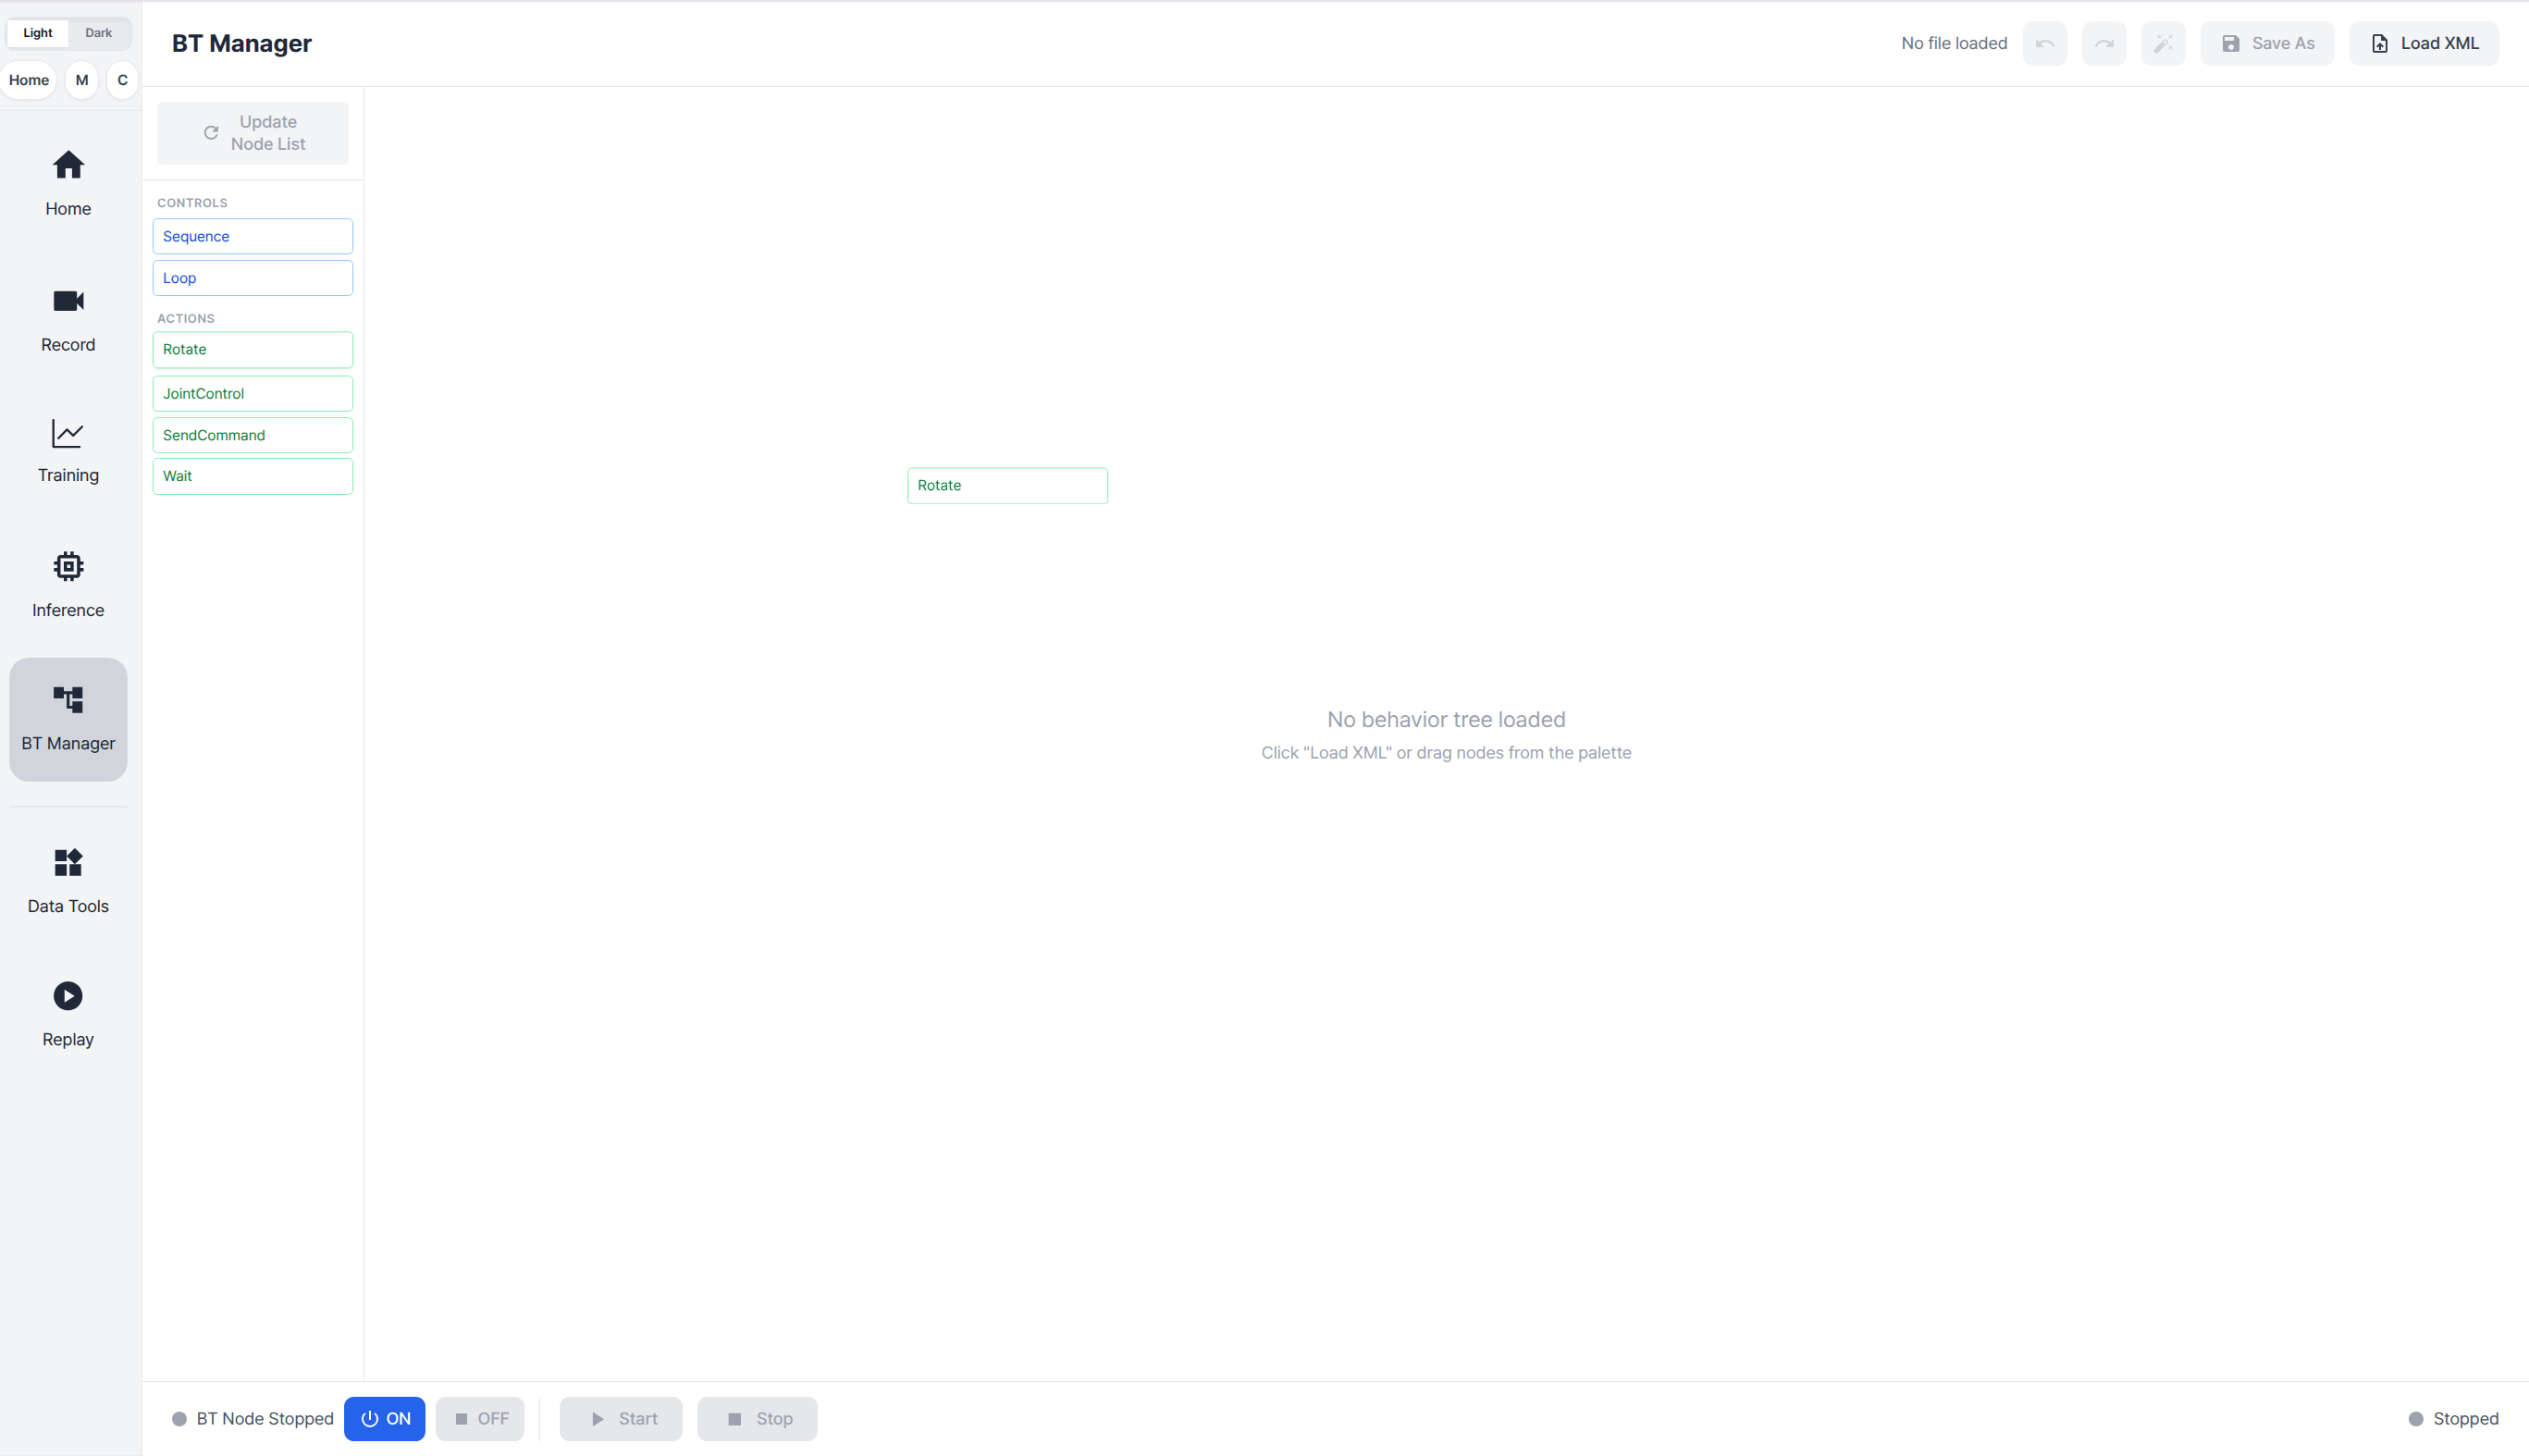
To add a node, select the node you want from the Node Catalog on the left side of BT Manager, then drag it into the workspace and drop it on the canvas.
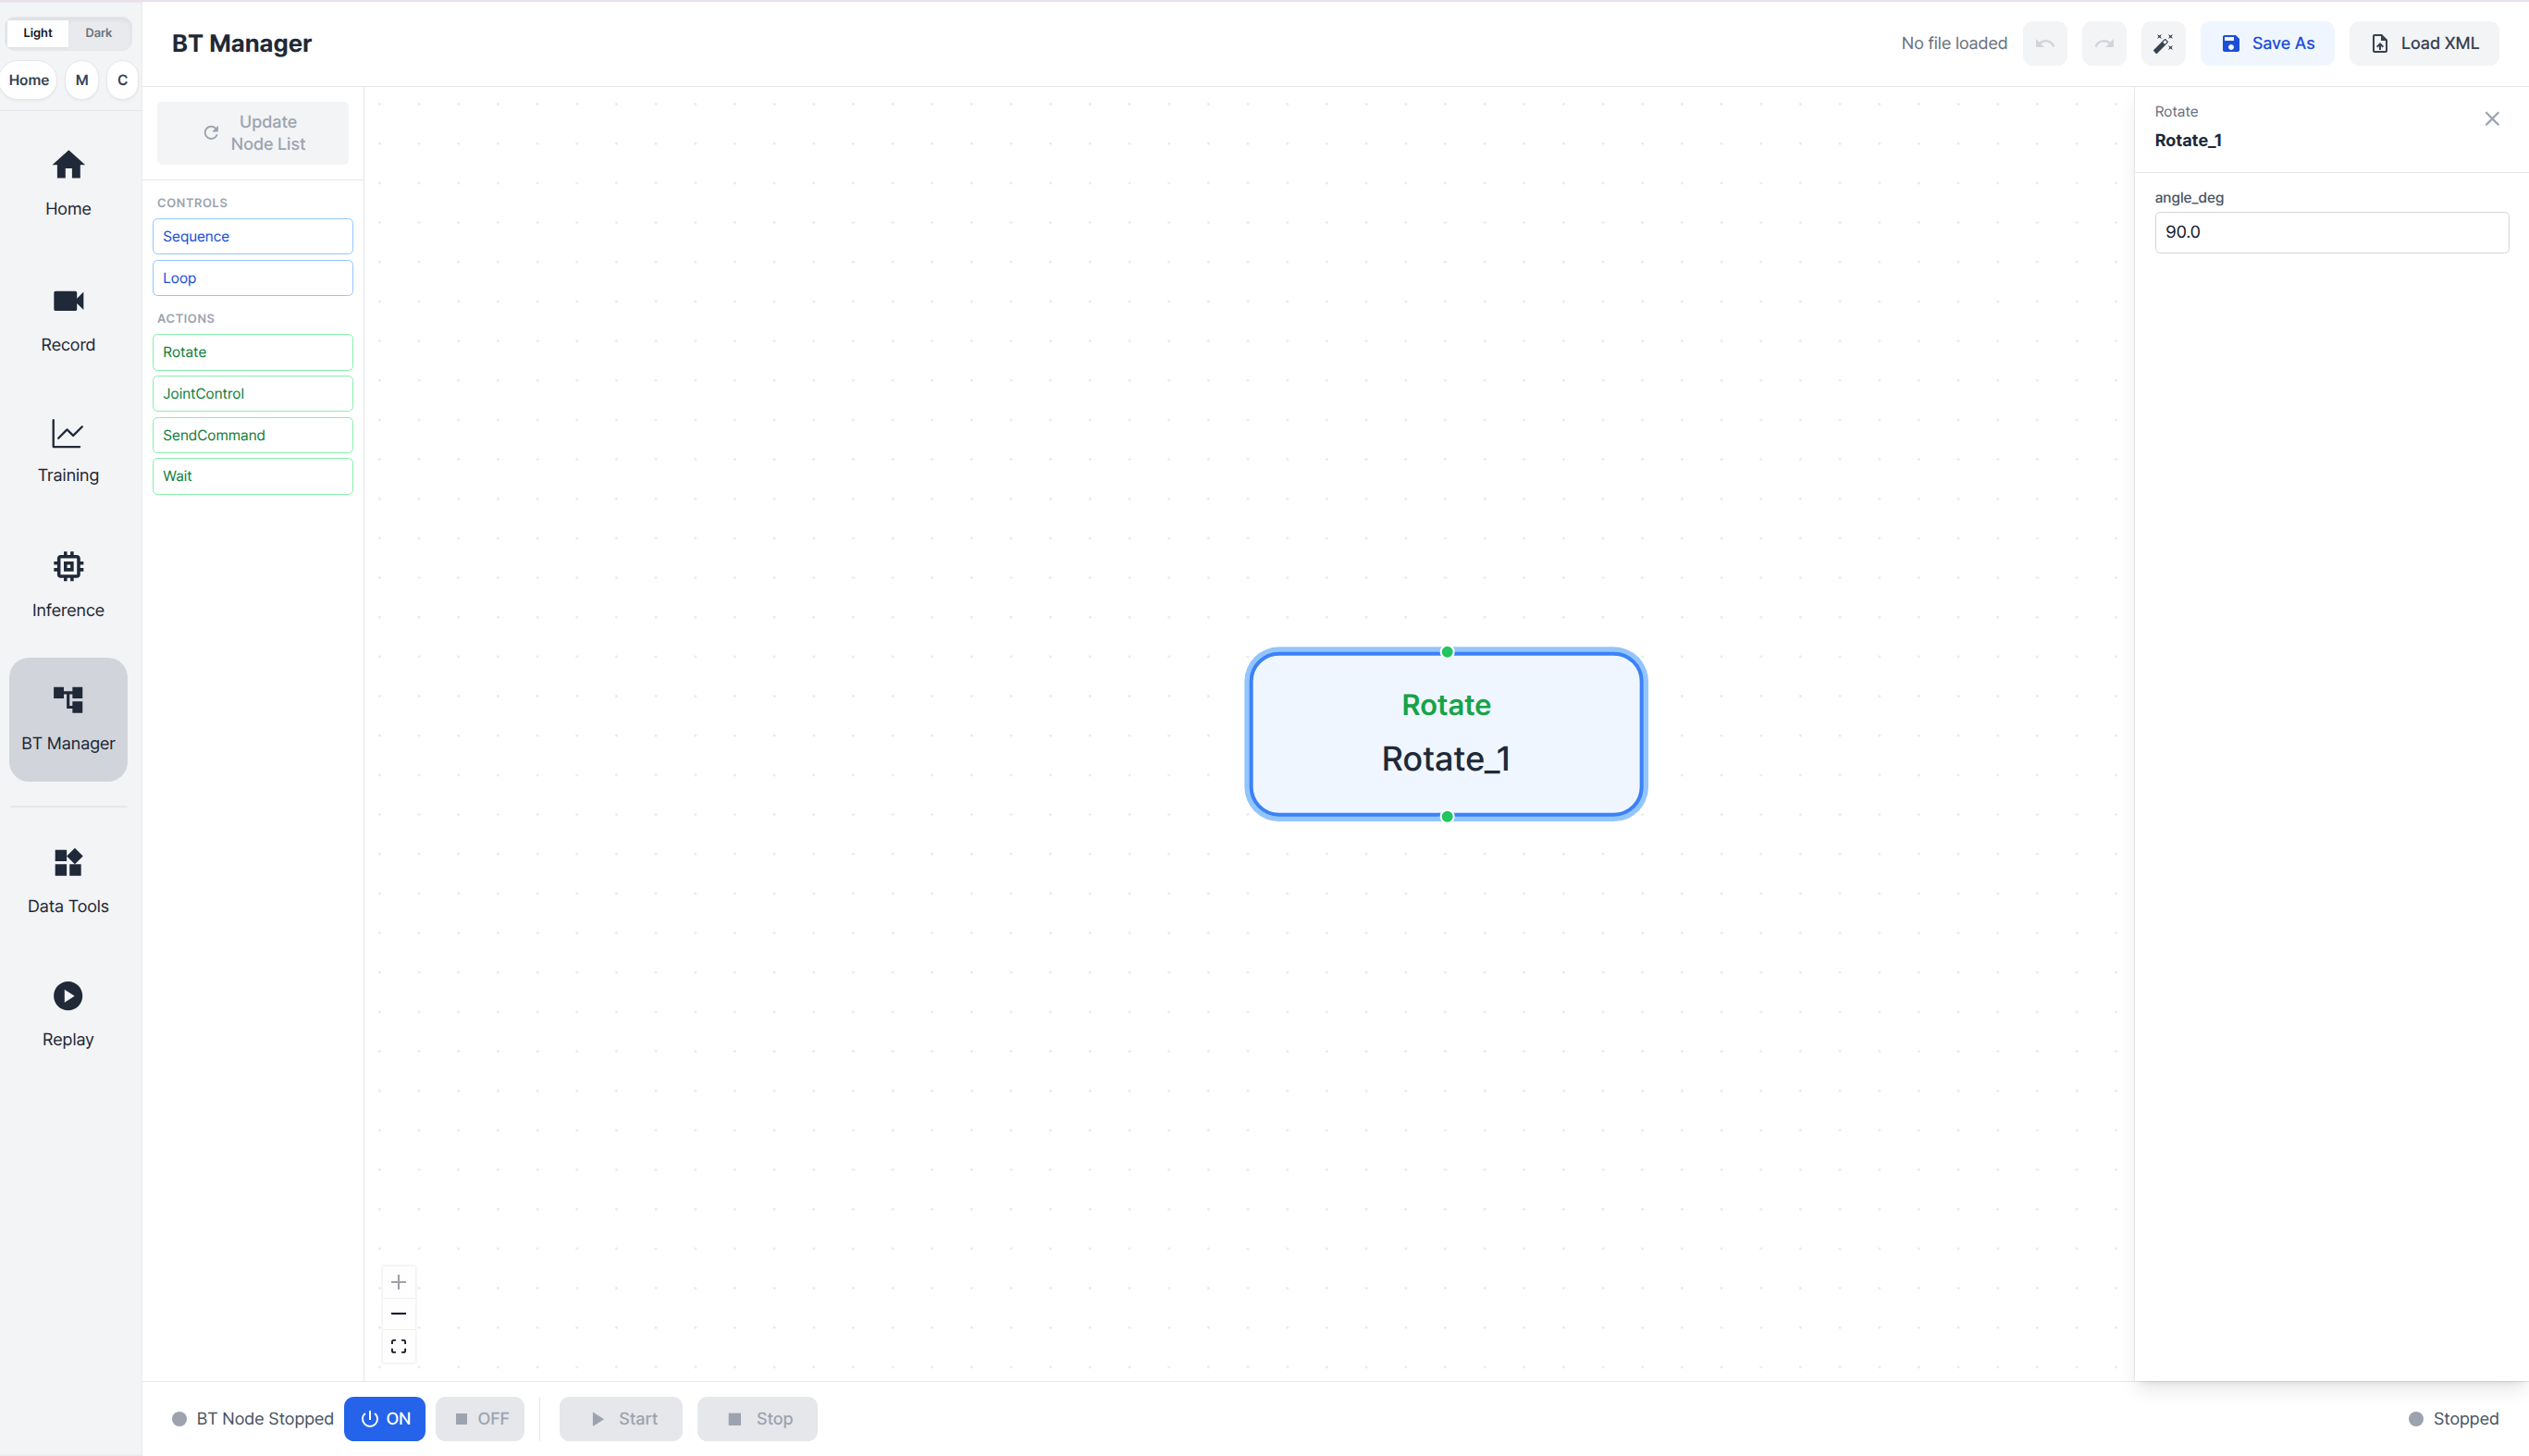
After the node is dropped, BT Manager creates a new node block on the canvas. You can then move the node by dragging it, connect it to other nodes, or select it to edit its parameters.
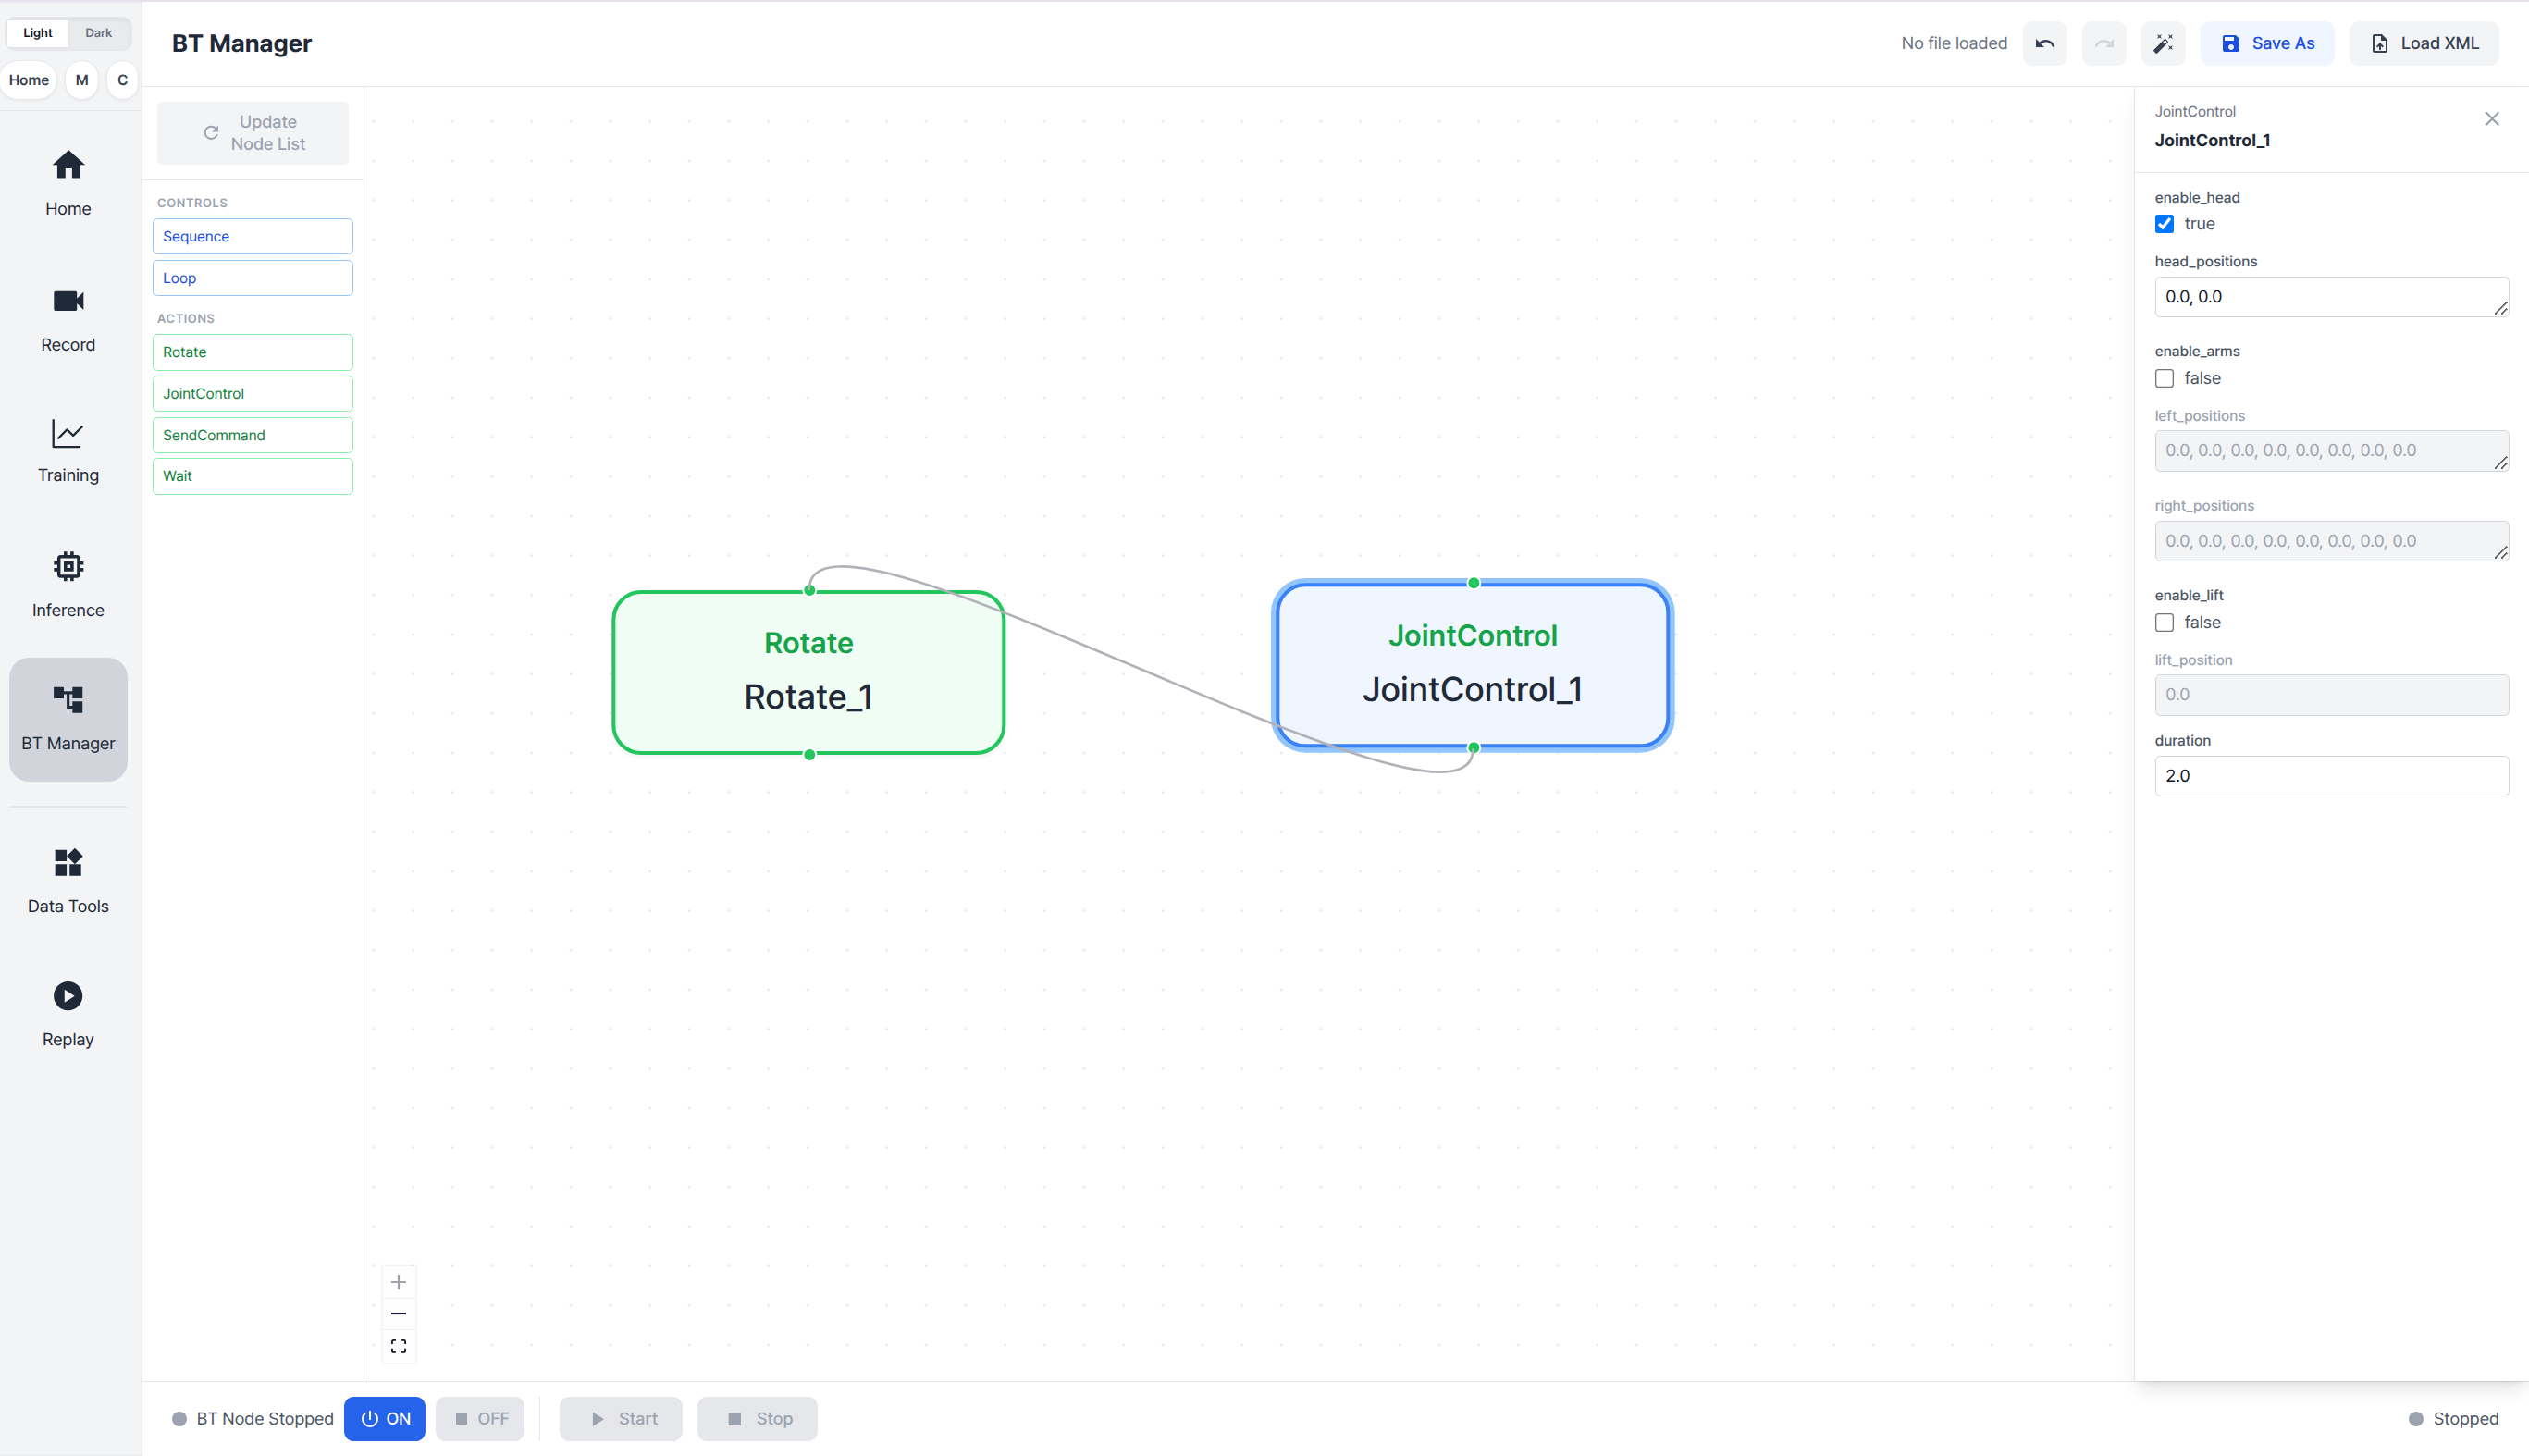
Connecting Nodes
Each node has small circular handles at the top and bottom. Click a handle to create an edge, then drag the edge to another node's circular handle to connect the two nodes as shown below.
Editing Node Parameters
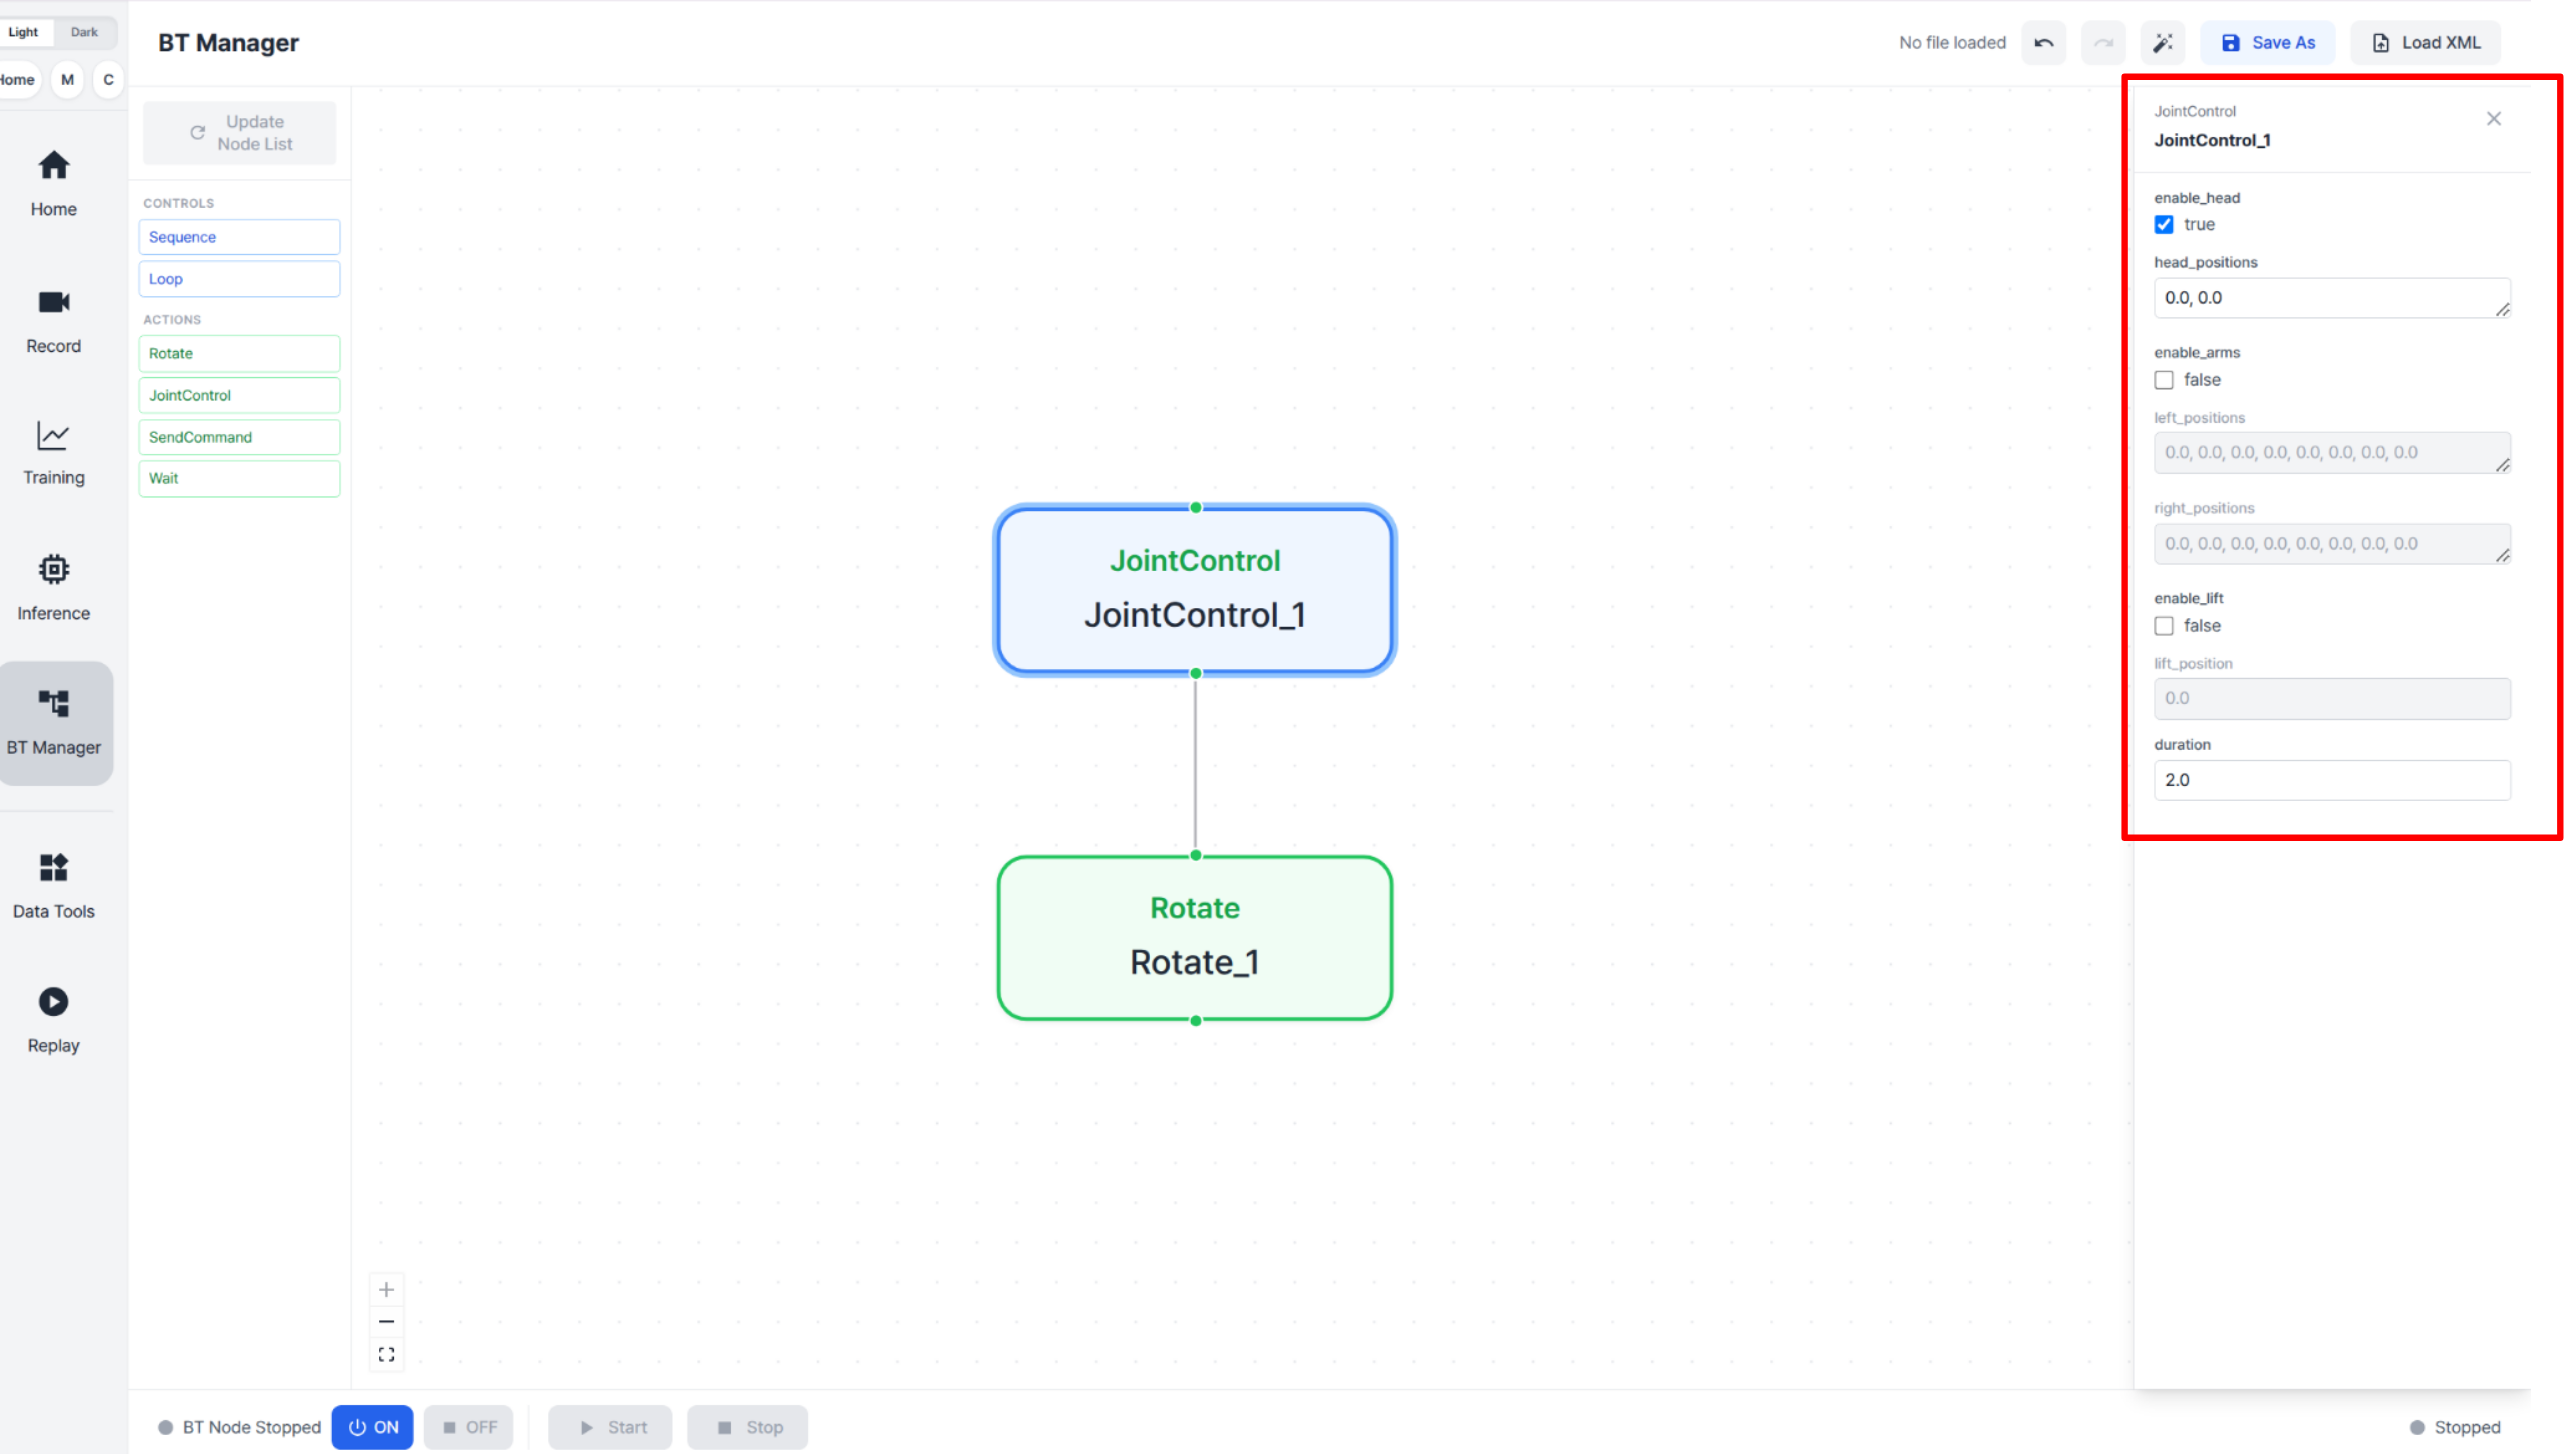
Click a node to open the parameter panel on the right side, as shown below. Edit the node's parameters in this panel.
Auto Layout
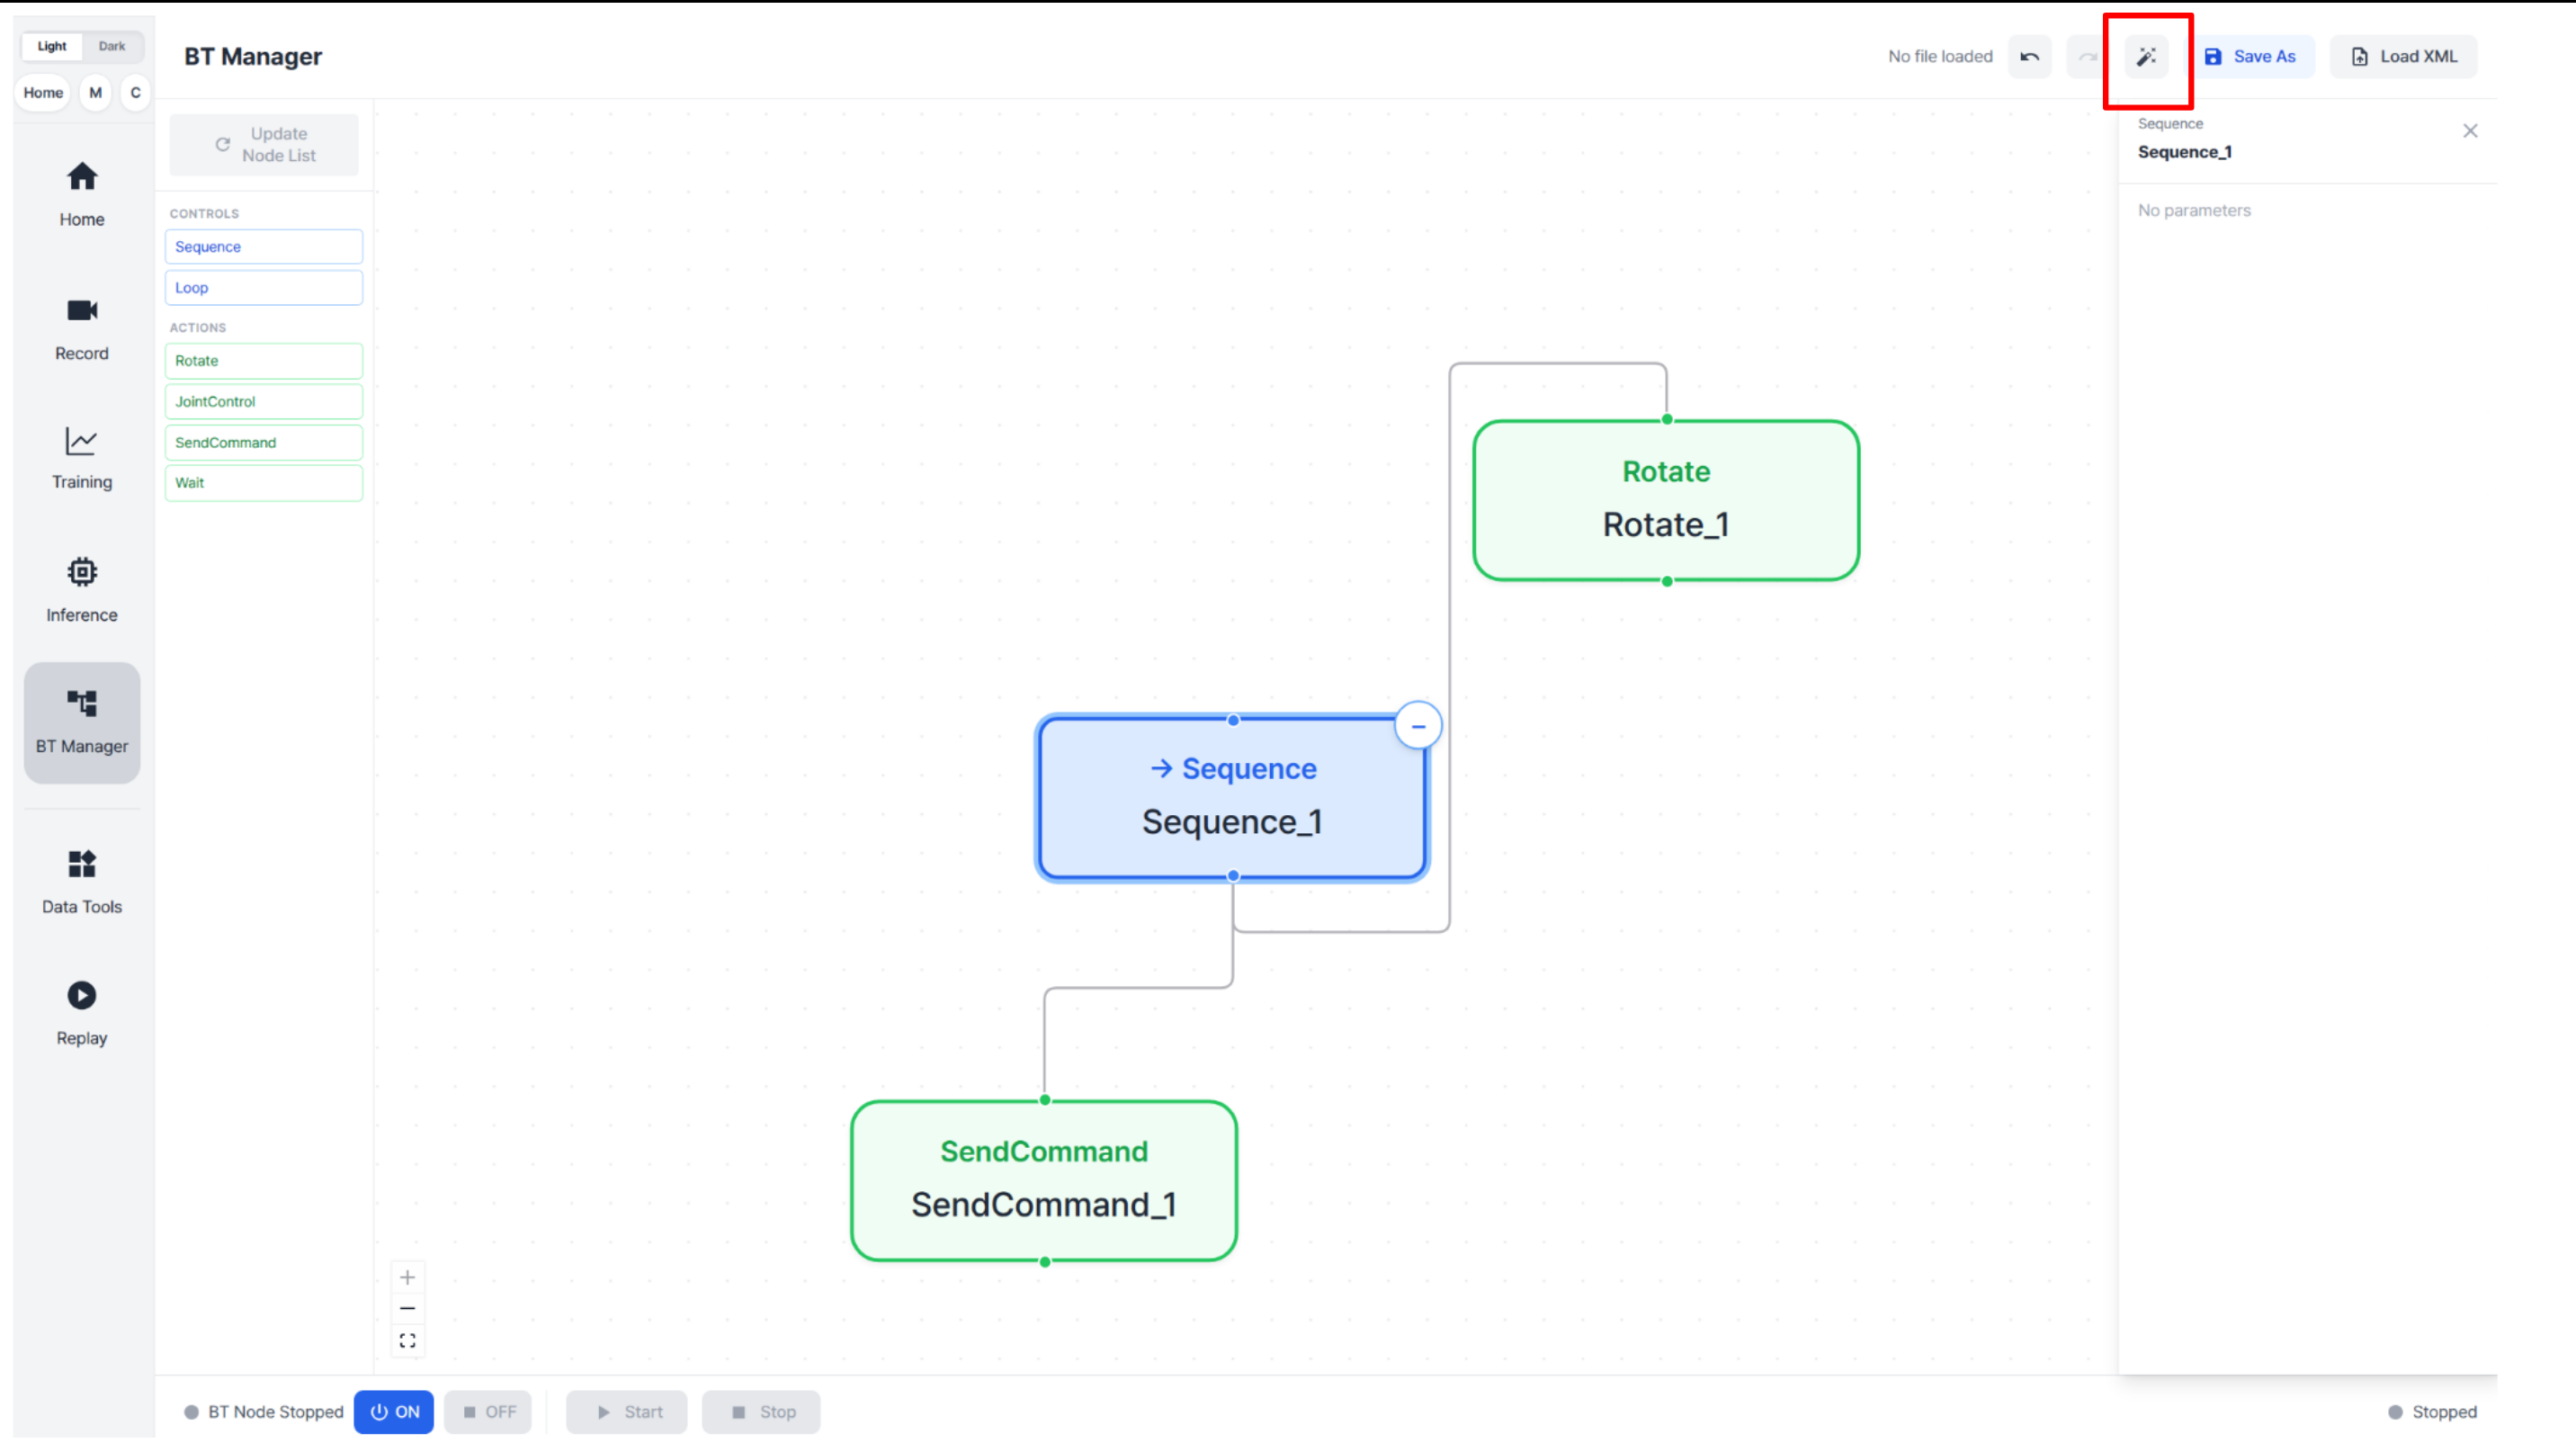
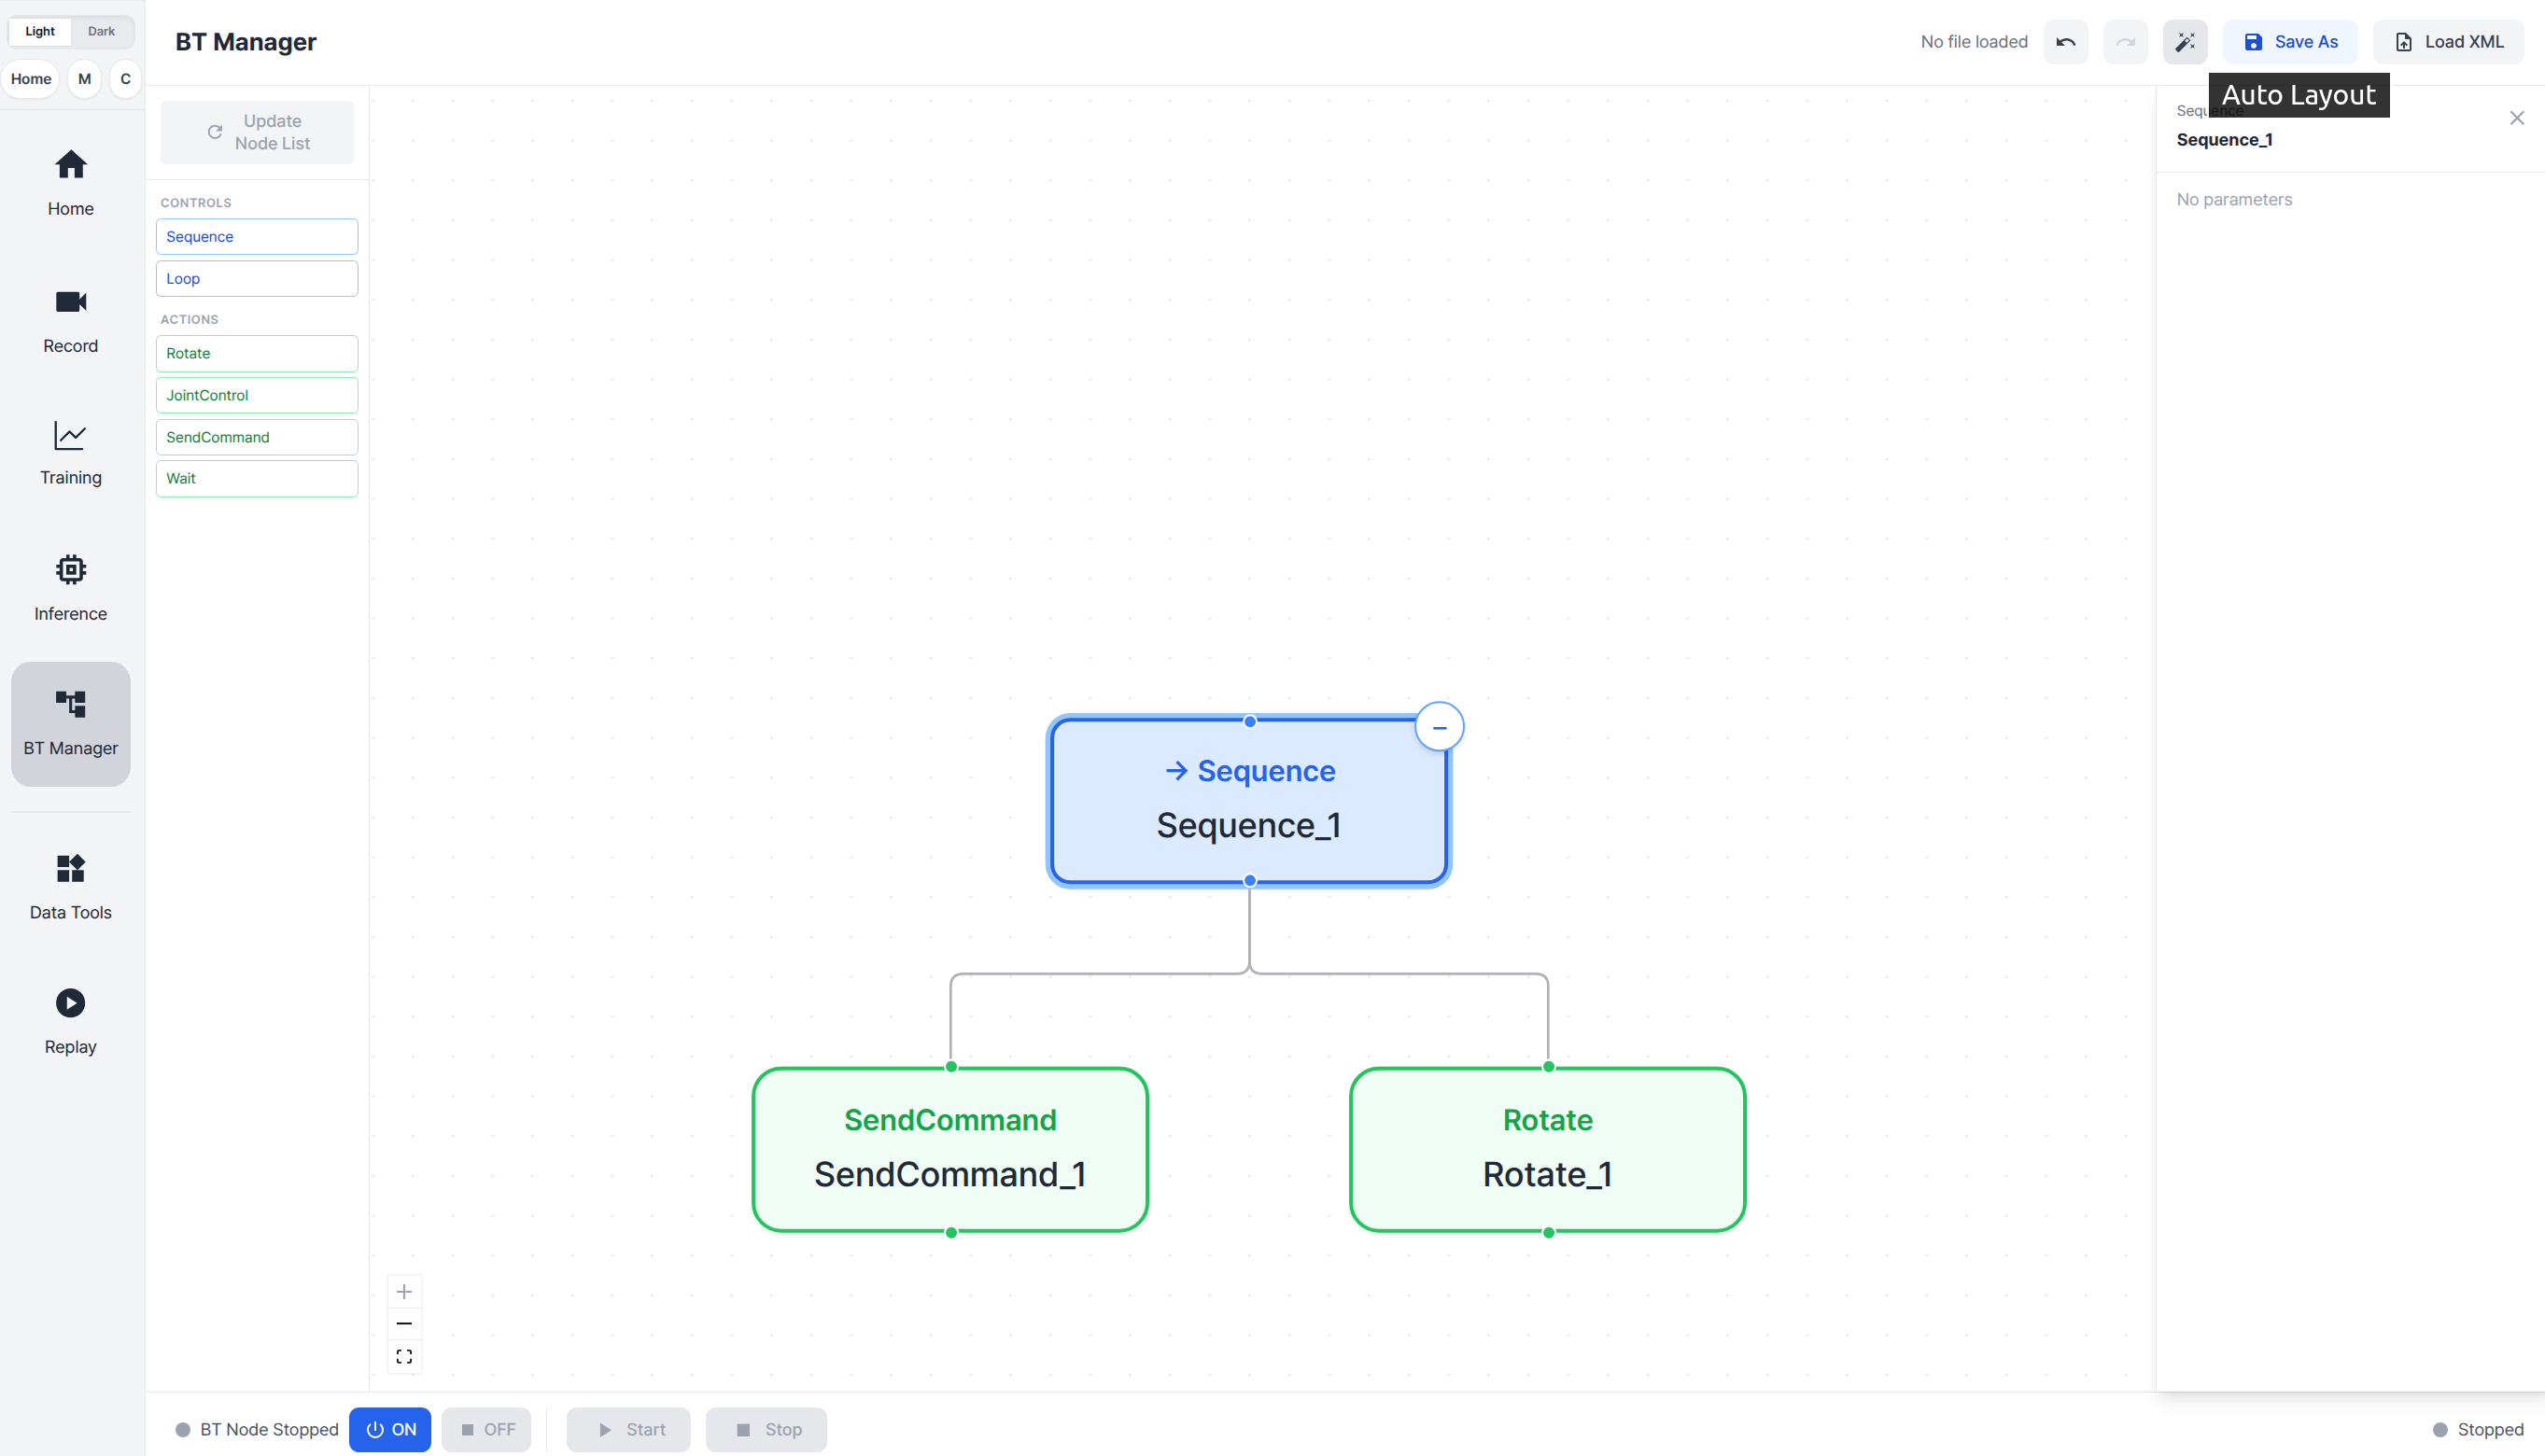
Click the button shown in the upper-right corner of the image below to automatically arrange the behavior tree graph.
Undo and Redo
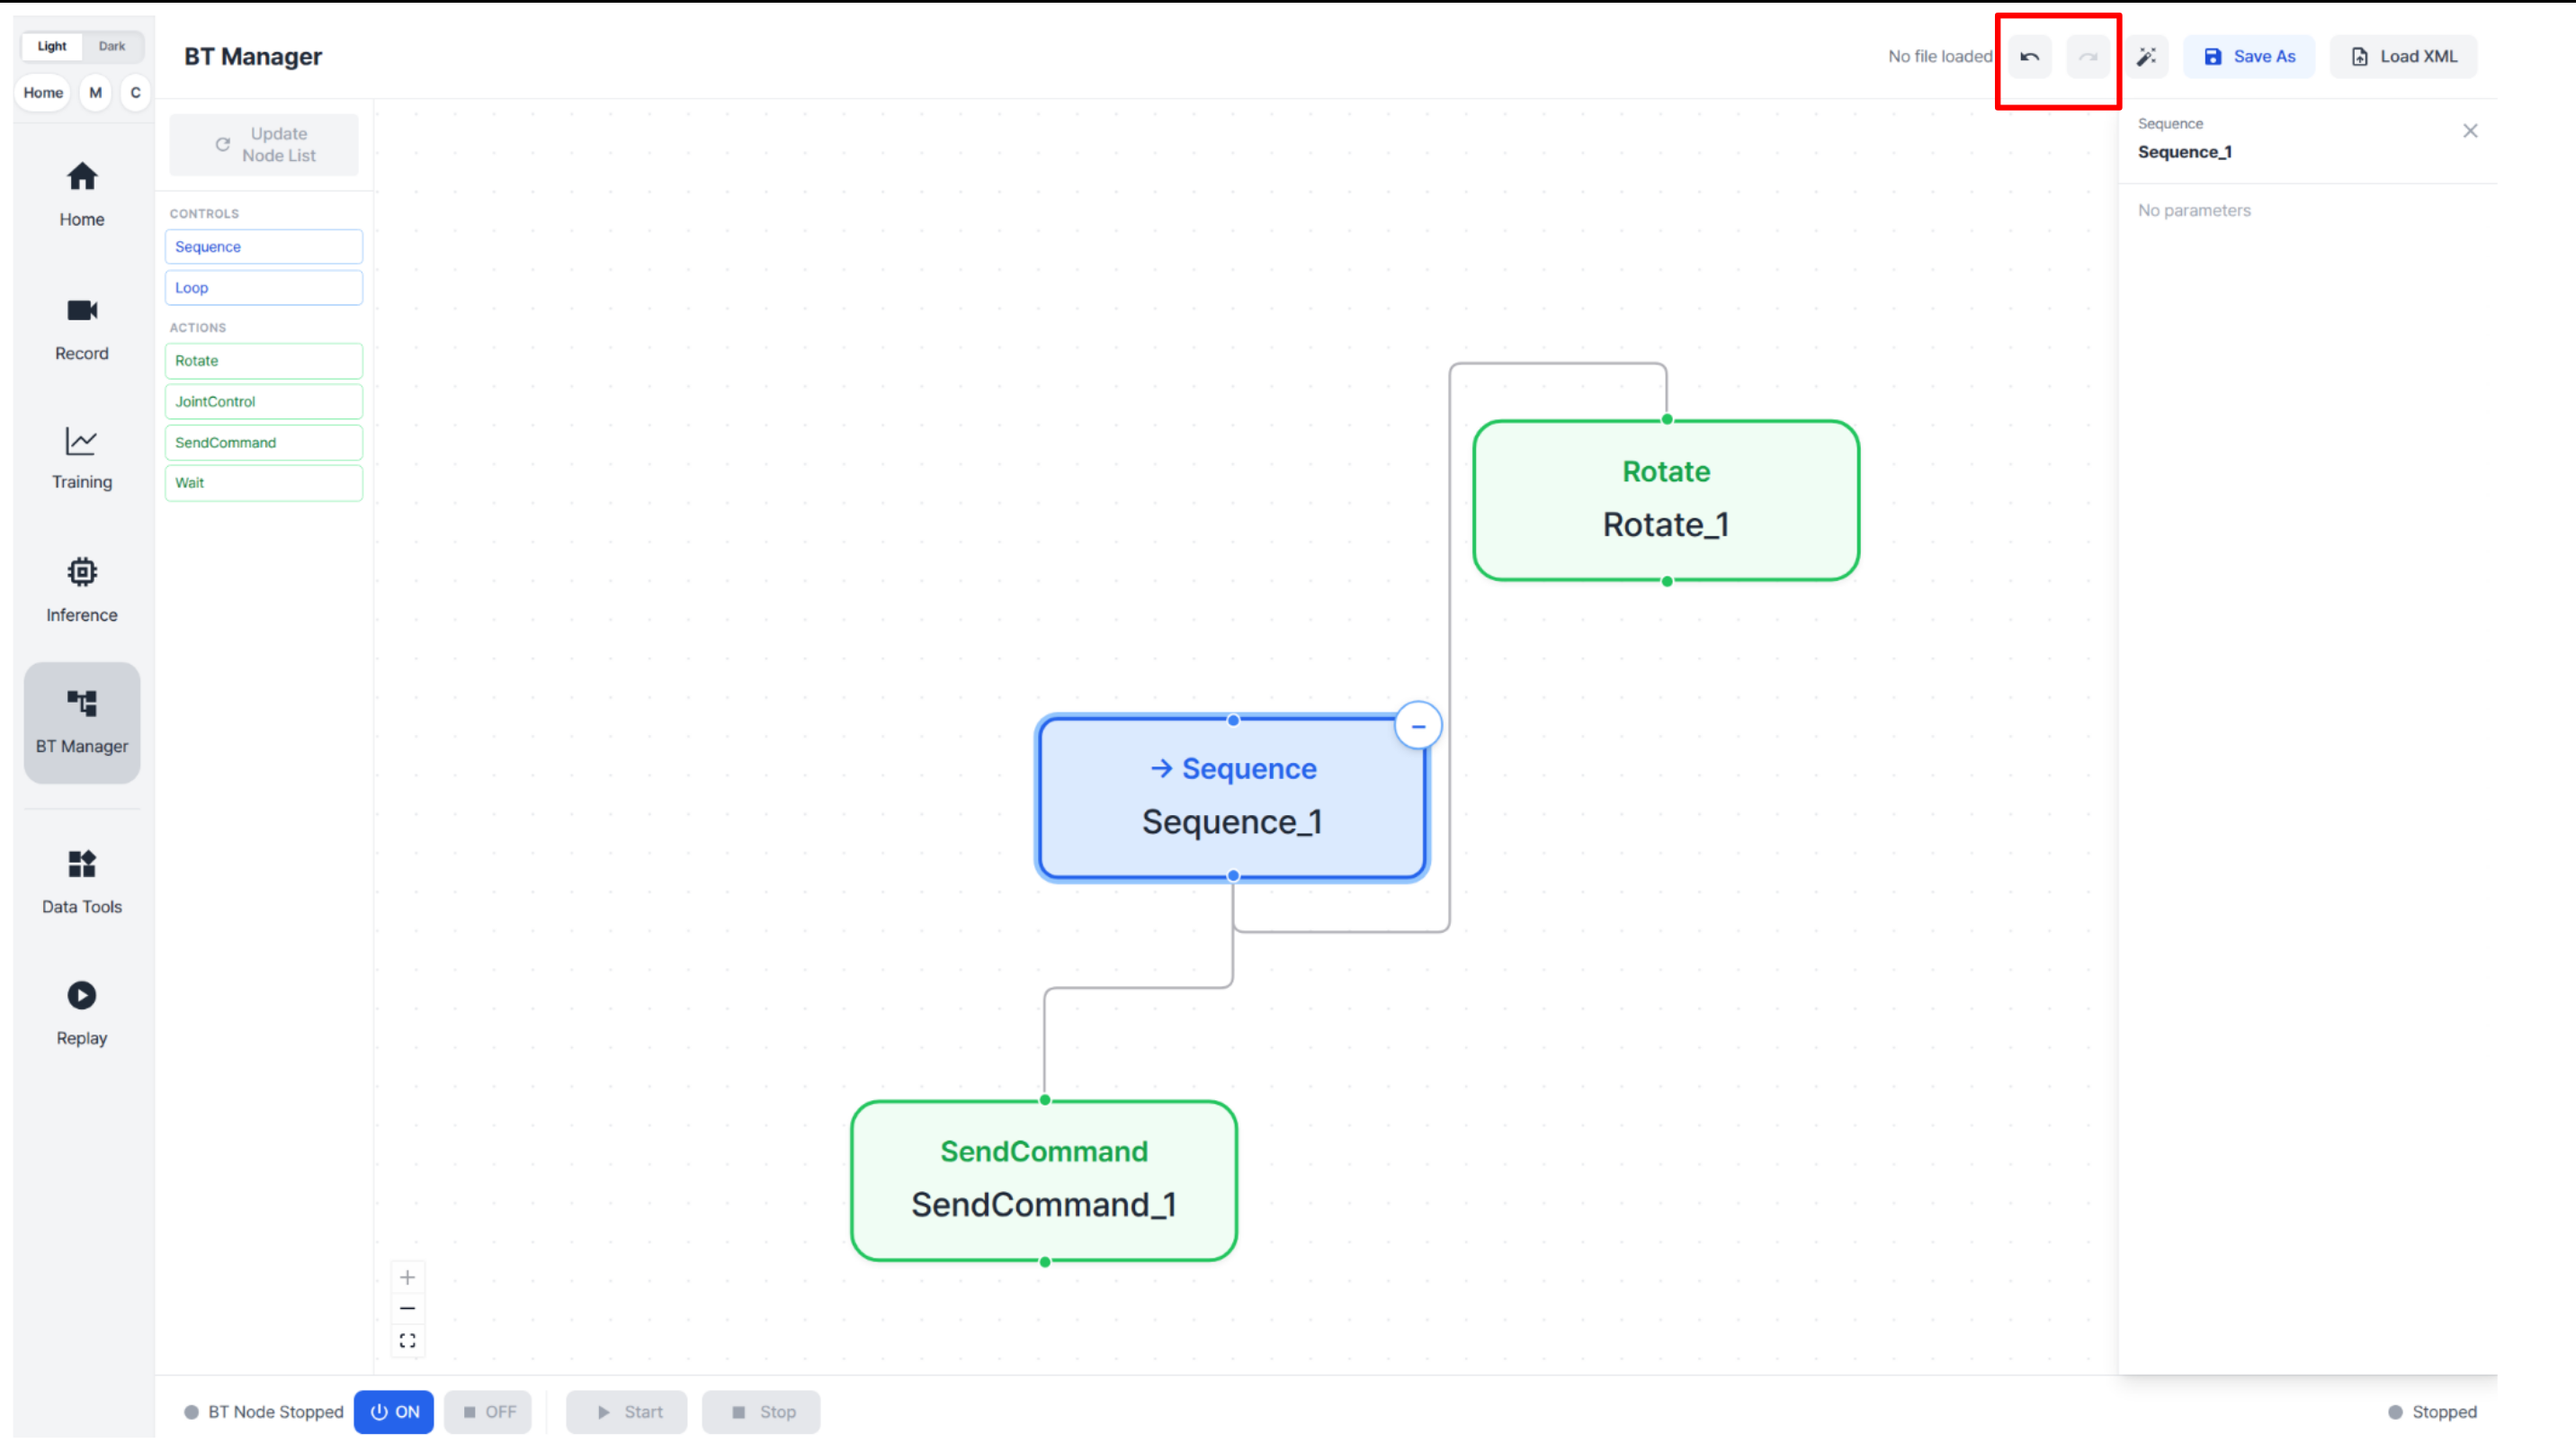
The buttons shown below are Undo and Redo. If you accidentally delete a node or make an unwanted change, click Undo to restore the previous state. If you prefer the state after the undo operation, click Redo to apply it again.
Saving the Tree
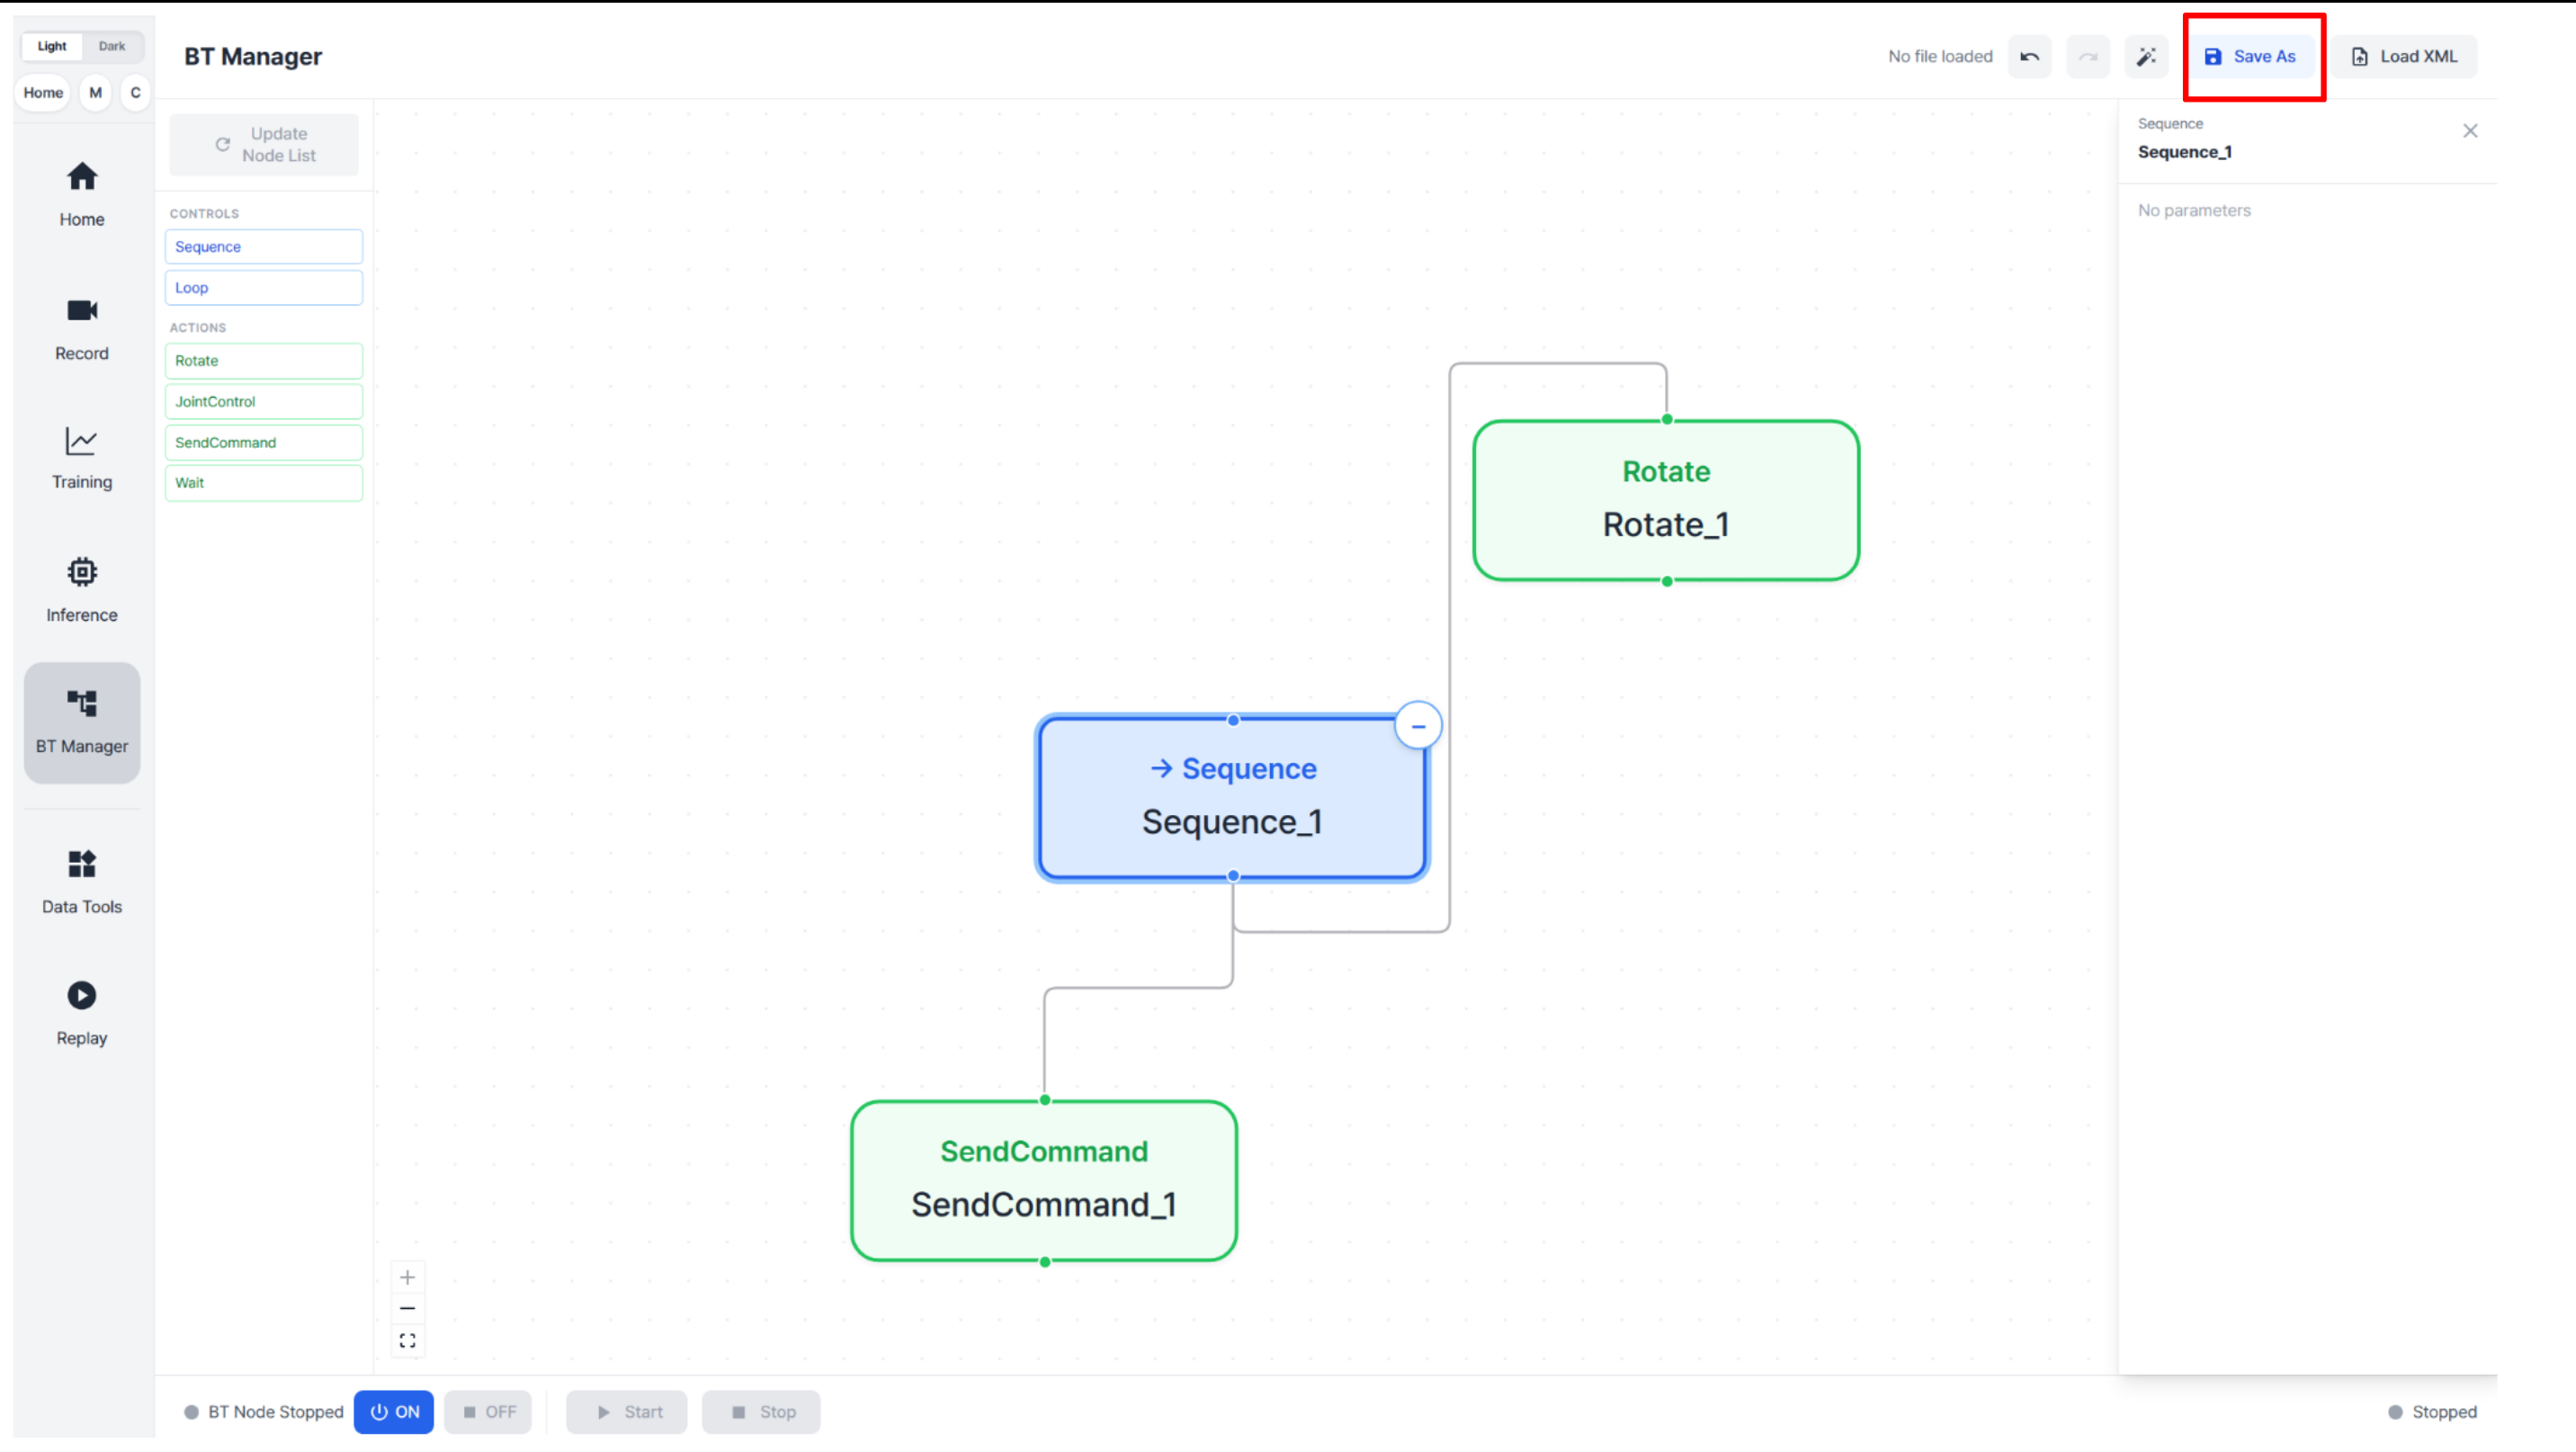
Use the button shown below to save the behavior tree you created as an XML file.
Loading a Behavior Tree
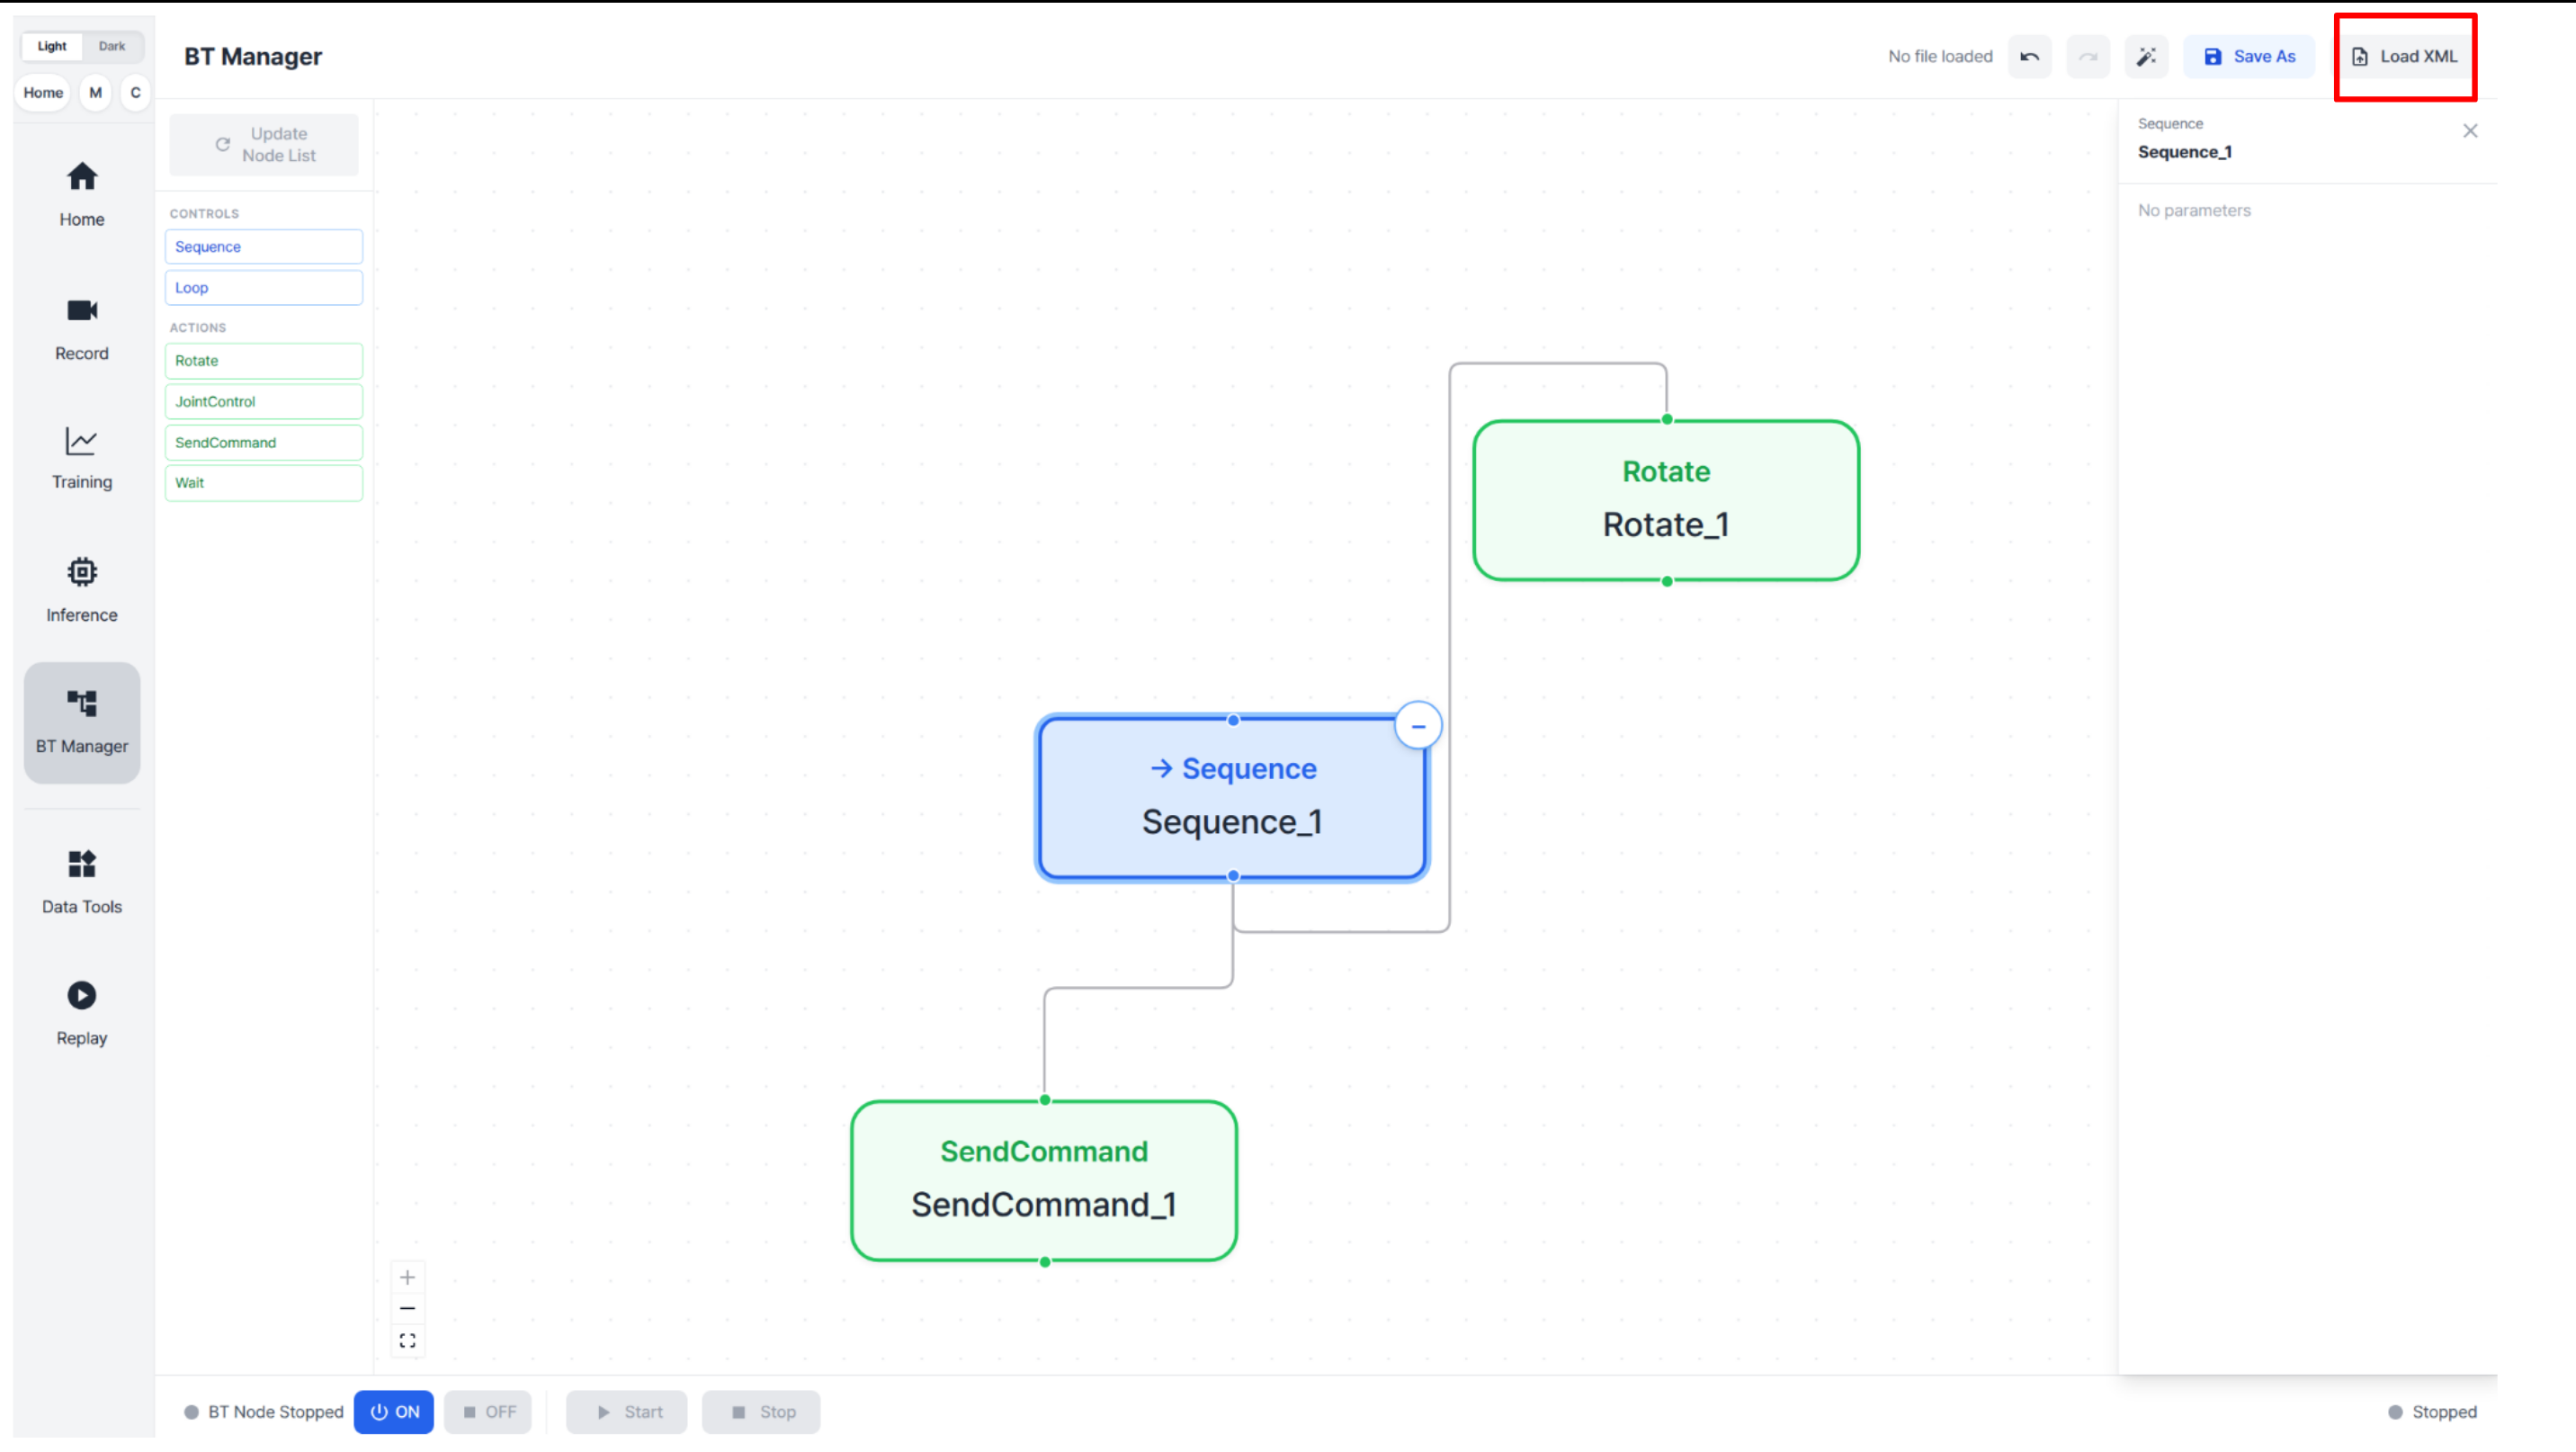
Use the button shown below to load a saved behavior tree XML file.
Running a Behavior Tree
XML Format
BT Manager stores trees as BehaviorTree.CPP-style XML.
<?xml version="1.0" encoding="UTF-8"?>
<root BTCPP_format="4" main_tree_to_execute="MainTree">
  <BehaviorTree ID="MainTree">
    <Sequence name="DemoSequence">
      <Wait name="WaitReady" duration="2.0"/>
    </Sequence>
  </BehaviorTree>
</root>
The runtime uses the XML tag name to find the matching Python class. For example:
<Wait name="WaitReady" duration="2.0"/>
maps to the Python class:
class Wait(BaseAction):
    ...
Cyclo Intelligence does not require a TreeNodesModel section in the BT XML. In the previous Groot-based workflow, TreeNodesModel was used to describe which nodes and input ports were available. In Cyclo Intelligence, BT Manager gets that information directly from the running BT node through /bt/nodes/catalog. The catalog is generated automatically by scanning the Python action and control classes in the orchestrator package.
Built-In Control Nodes
Sequence
Runs child nodes from left to right.
- Returns
RUNNINGwhile the current child is running. - Returns
FAILUREwhen a child fails. - Returns
SUCCESSwhen all children succeed.
<Sequence name="MainSequence">
  <Wait name="WaitA" duration="1.0"/>
  <Wait name="WaitB" duration="1.0"/>
</Sequence>
Loop
Repeats child nodes like a sequence.
max_iterations="0"loops forever.- A positive value stops after that many complete iterations.
<Loop name="RepeatTask" max_iterations="3">
  <Wait name="Hold" duration="1.0"/>
</Loop>
Built-In Action Nodes
SendCommand
SendCommand controls the Cyclo Brain inference lifecycle from a BT.
Supported commands:
| Command | Behavior |
|---|---|
LOAD | Start inference, wait until the policy is inferencing, then pause it |
RESUME | Resume a loaded policy |
STOP | Pause inference without unloading the policy |
CLEAR | Finish inference and unload the policy |
A typical policy workflow is:
<SendCommand name="LoadModel"
  command="LOAD"
  model="groot:n17"
  policy_path="/workspace/model/groot/your_model_path"
  task_instruction="Pick up the paper cup."
  inference_mode="robot"
  inference_hz="15"
  control_hz="100"
  chunk_align_window_s="0.3"/>

<SendCommand name="ResumeInference"
  command="RESUME"
  task_instruction="Pick up the paper cup."/>

<SendCommand name="StopInference" command="STOP"/>

<SendCommand name="UnloadModel" command="CLEAR"/>
LOAD is a preparation step. It loads the selected policy and leaves it paused in memory. Use RESUME later in the tree to begin policy execution.
JointControl
JointControl sends joint trajectory commands for head, arms, and lift.
It can control one or more groups at the same time.
<JointControl name="InitPosition"
  enable_head="true"
  head_positions="0.5, 0.0"
  enable_arms="true"
  left_positions="0.75, 0.0, 0.0, -2.3, 0.0, 0.0, 0.0, 0.0"
  right_positions="0.75, 0.0, 0.0, -2.3, 0.0, 0.0, 0.0, 0.0"
  enable_lift="true"
  lift_position="-0.1"
  duration="2.0"/>
The node publishes trajectories once, then monitors /joint_states until the enabled joints reach the target positions.
Rotate
Rotate rotates the mobile base by a target angle.
<Rotate name="TurnLeft" angle_deg="90.0"/>
The node reads /odom, publishes velocity commands to the mobile base command topic, and succeeds when the target angle is reached.
Wait
Wait blocks the tree for a fixed duration.
<Wait name="Hold" duration="3.0"/>
Example Tree
<?xml version="1.0" encoding="UTF-8"?>
<root BTCPP_format="4" main_tree_to_execute="MainTree">
  <BehaviorTree ID="MainTree">
    <Sequence name="DemoSequence">
      <SendCommand name="LoadModel"
        command="LOAD"
        model="groot:n17"
        policy_path="/workspace/model/groot/your_model_path"
        task_instruction="Pick up the paper cup."
        inference_mode="robot"
        inference_hz="15"
        control_hz="100"
        chunk_align_window_s="0.3"/>

      <JointControl name="InitPosition"
        enable_head="true"
        head_positions="0.5, 0.0"
        enable_arms="true"
        left_positions="0.75, 0.0, 0.0, -2.3, 0.0, 0.0, 0.0, 0.0"
        right_positions="0.75, 0.0, 0.0, -2.3, 0.0, 0.0, 0.0, 0.0"
        enable_lift="true"
        lift_position="-0.1"
        duration="2.0"/>

      <Loop name="RepeatPickPlace" max_iterations="3">
        <SendCommand name="ResumeInference"
          command="RESUME"
          task_instruction="Pick up the paper cup."/>
        <Wait name="HoldInference" duration="3.0"/>
        <SendCommand name="StopInference" command="STOP"/>
      </Loop>

      <SendCommand name="UnloadModel" command="CLEAR"/>
    </Sequence>
  </BehaviorTree>
</root>
Custom Nodes
Custom BT nodes are Python classes placed under:
orchestrator/orchestrator/bt/actions/
orchestrator/orchestrator/bt/controls/
The BT registry scans these folders automatically. Editing __init__.py is not required for BT Manager discovery or XML execution.
A custom action should subclass BaseAction and implement tick().
from orchestrator.bt.actions.base_action import BaseAction
from orchestrator.bt.bt_core import NodeStatus

class MyAction(BaseAction):
    def __init__(self, node, duration: float = 1.0):
        super().__init__(node, name='MyAction')
        self.duration = duration

    def tick(self) -> NodeStatus:
        return NodeStatus.SUCCESS
The class name becomes the XML tag:
<MyAction name="Example" duration="1.0"/>
Constructor parameters become editable BT Manager ports. Type hints and default values are used to build the node catalog.
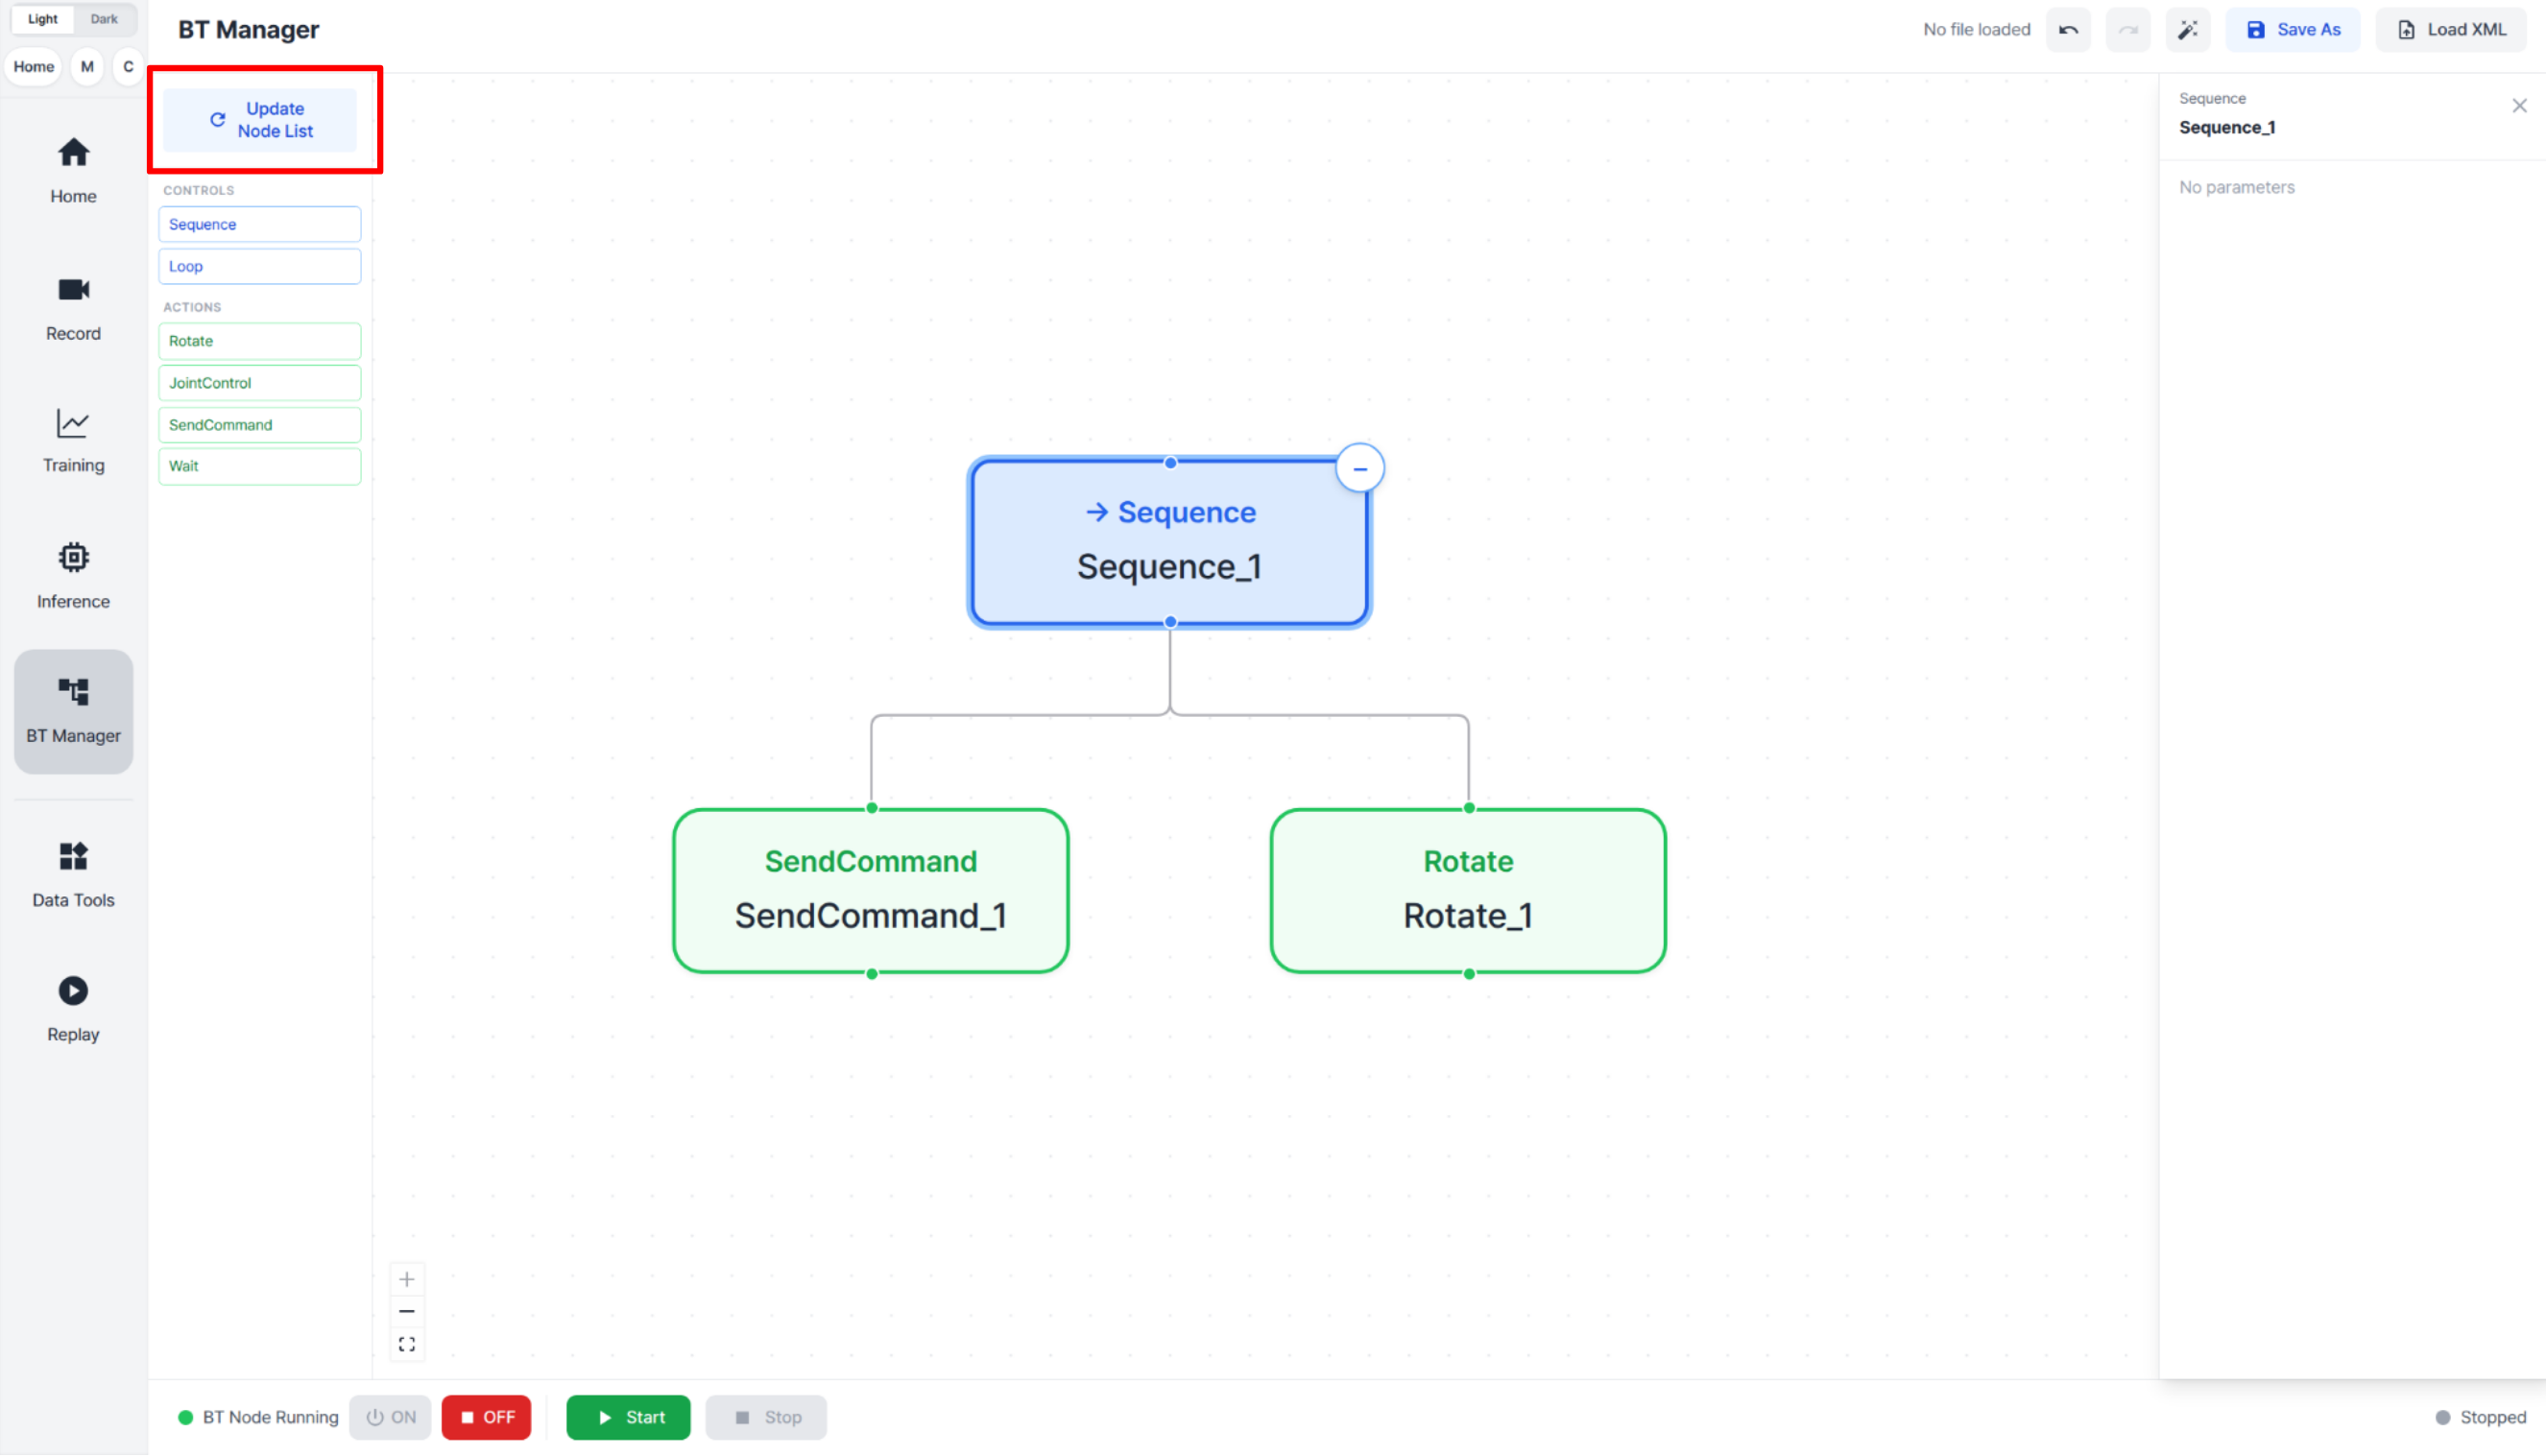
After adding or deleting a node file, refresh the node list in BT Manager. Click the update button shown below to rebuild the node catalog. Newly added node classes will appear in the list, and deleted node classes will be removed from the list.