MuJoCo Sim2Sim
MuJoCo Sim2Sim lets you run the K1 deployment software with a simulated K1 instead of the real robot. The software responsible for Damping, ReadyPose, Locomotion, Mimic, and safety checks remains unchanged. The same Sim2Real software can control either the real K1 or the simulated K1.
Only the hardware interface changes. On the real robot, it exchanges commands and feedback
with the K1 motors and sensors. In MuJoCo, mujoco_hardware_interface exchanges the same
commands and feedback with the K1 model.
Architecture
There is no simulation-specific copy of the control logic
Everything above the orange line is the same software. With the real K1,
dynamixel_hardware_interface sends commands to the actuators and reads the robot sensors. With
the simulated K1, mujoco_hardware_interface sends the same commands to MuJoCo and returns
simulated joint and IMU states. The shared software above the hardware interface does not need to
know whether it is controlling the real K1 or the simulated K1.
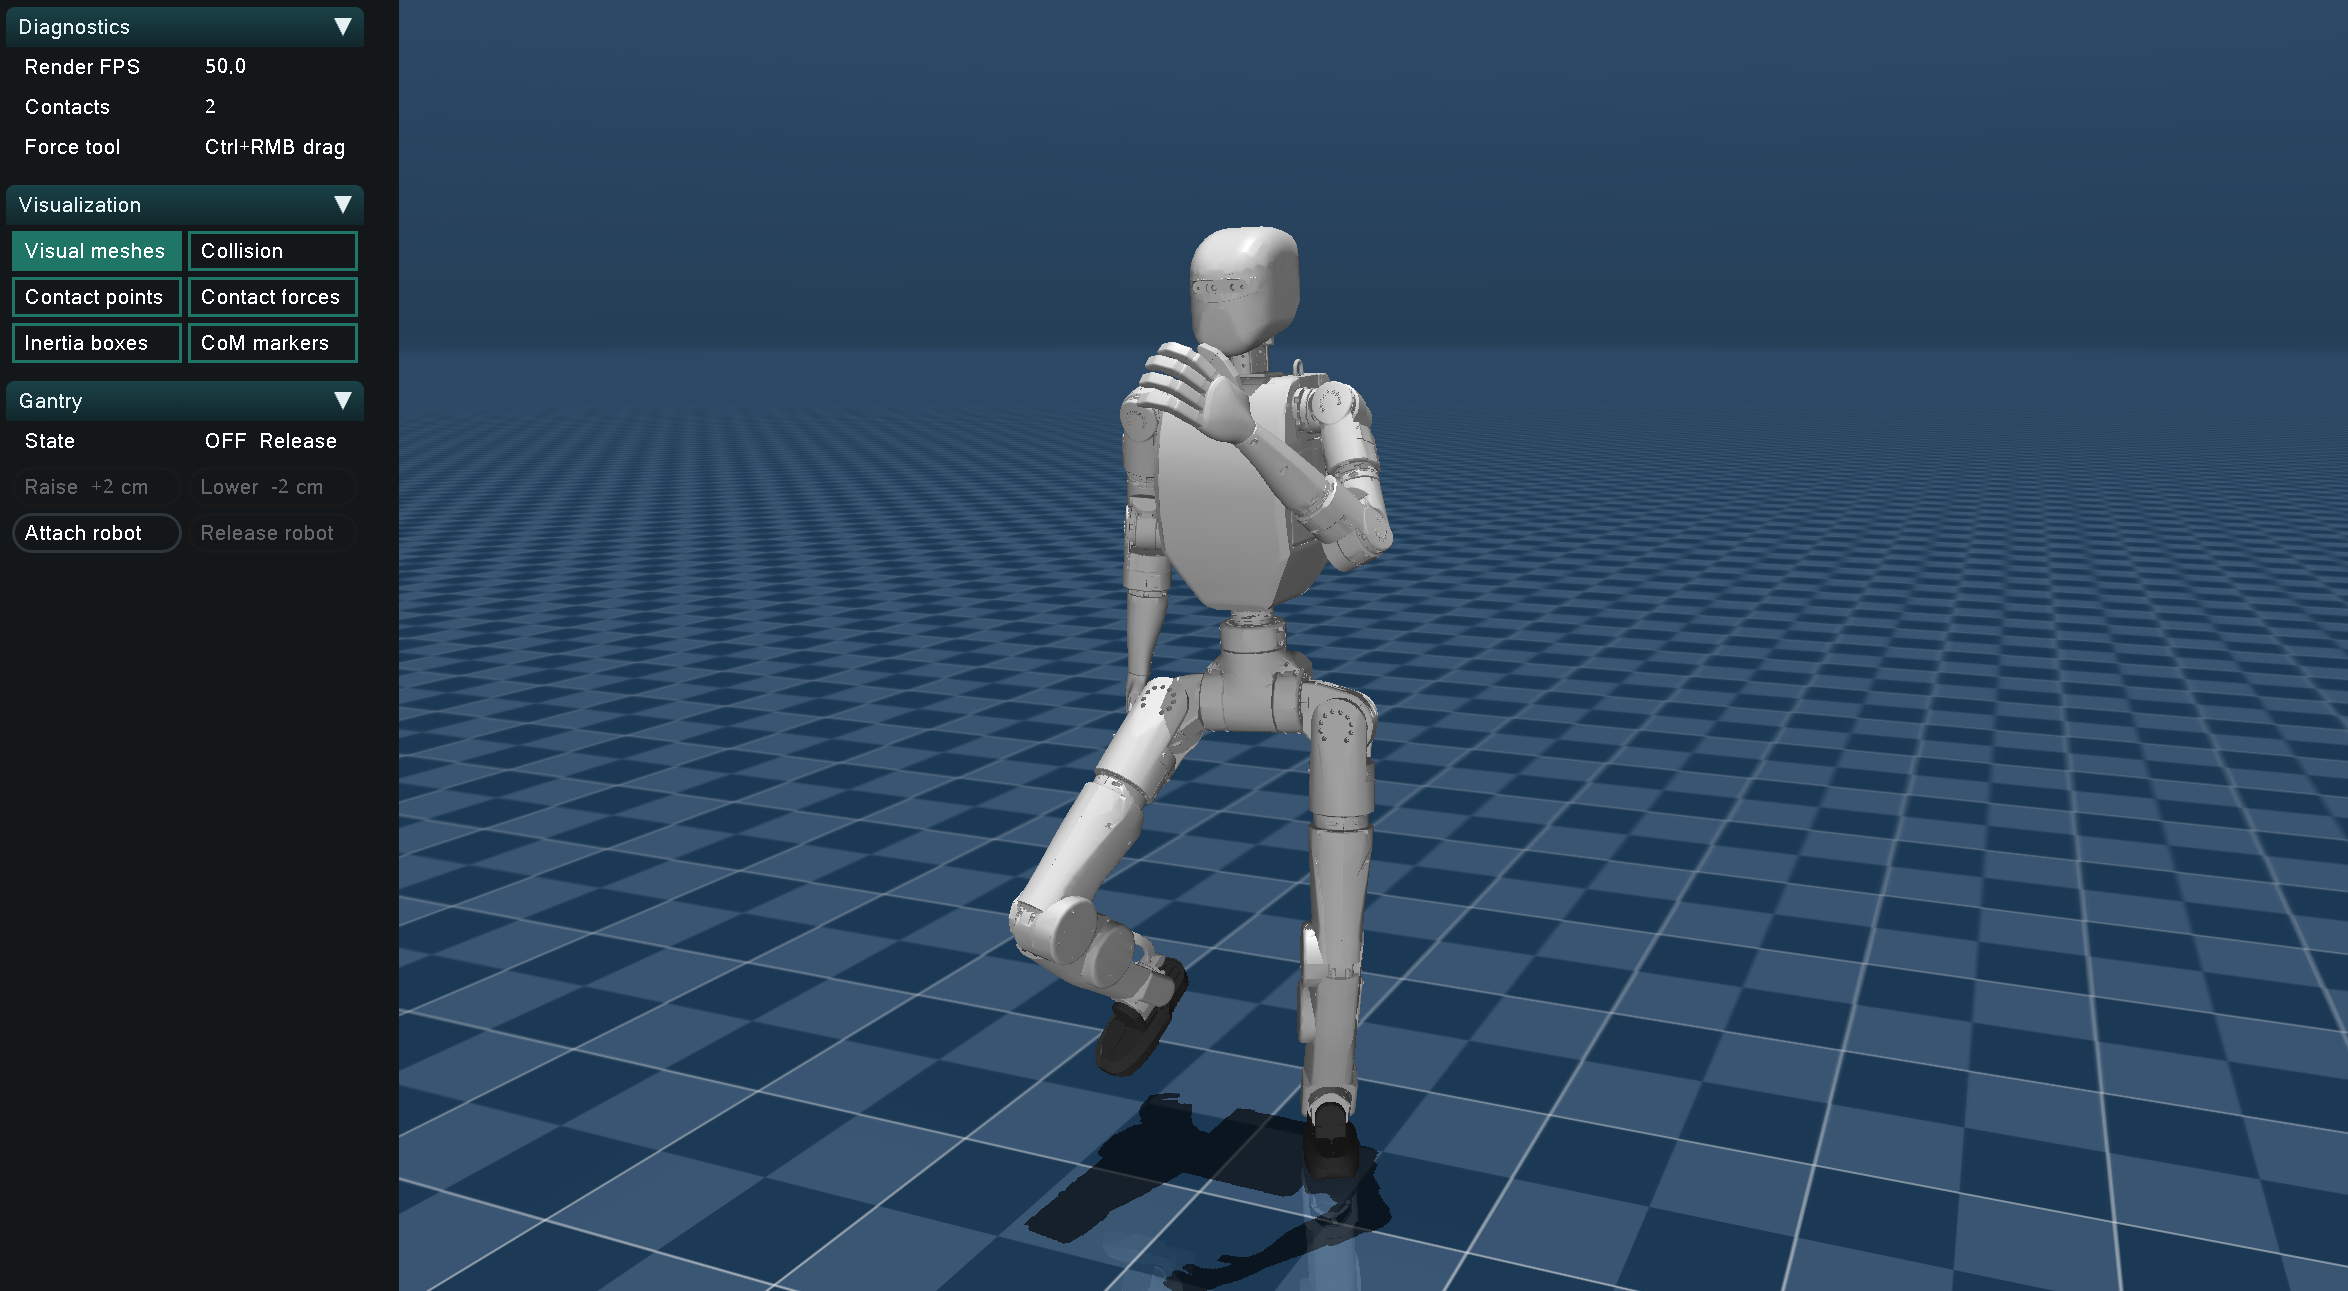
The simulator includes a gantry that can attach, release, raise, and lower the robot. This makes it possible to test the same deployment sequence used with the real robot, including locomotion and mimic motions.
Set up
Clone the repository and start its development container:
git clone https://github.com/ROBOTIS-GIT/ai_sapiens.git
cd ai_sapiens
./docker/container.sh start
./docker/container.sh enter
Inside the container, install tmux if needed and move to the workspace source directory:
apt update && apt install -y tmux
cd ~/ros2_ws/src/ai_sapiens
The tmux installation is only required if it is not already available in the container.
Run the simulator
Choose one input method:
./run_k1_tmux.sh --sim --radiomaster-usb  # K1 RadioMaster transmitter
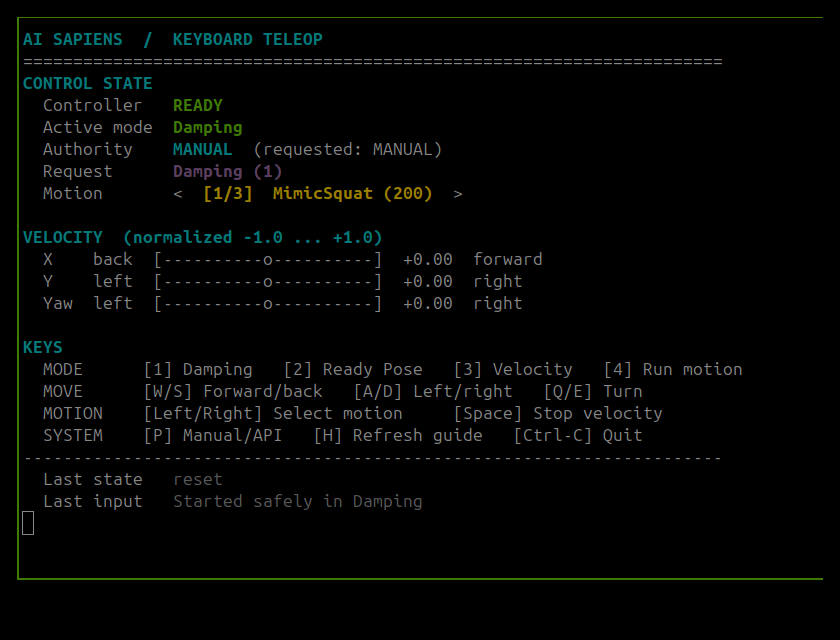
./run_k1_tmux.sh --sim --keyboard         # PC keyboard
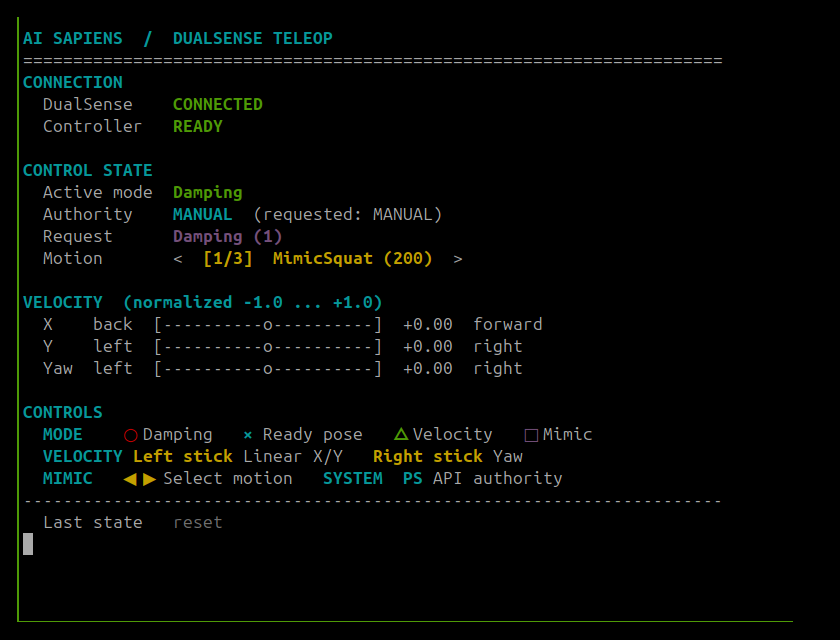
./run_k1_tmux.sh --sim --dualsense        # PlayStation DualSense
The joystick-based modes use /dev/input/js0 by default. To select another device,
append an option such as --device=/dev/input/js1.
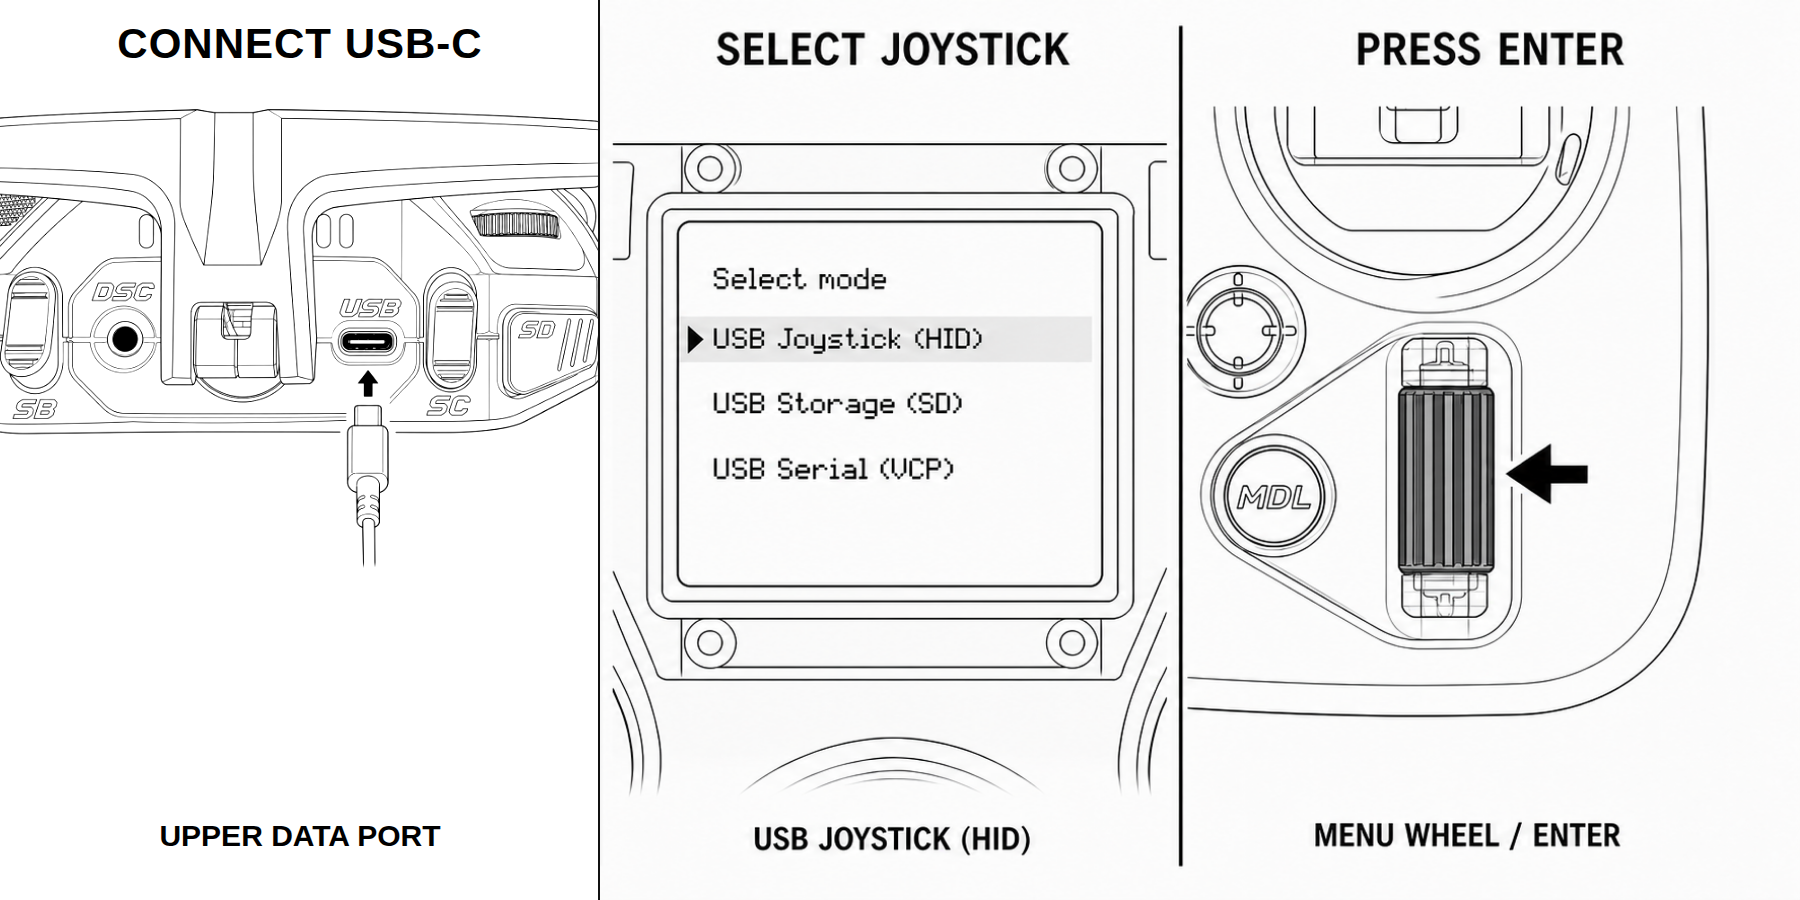
Turn on the RadioMaster Pocket, then connect its upper USB-C data port to the PC.
When EdgeTX opens the USB mode menu, select USB Joystick (HID) and press the
Menu Wheel / ENTER inward to confirm.How to connect the RadioMaster Pocket as a USB joystick
Before starting the simulation, place SC in the up position for Damping. Operate the transmitter
as you would on the real robot. See
Using the Remote Controller
for mode switching, velocity control, and mimic selection.
Use your own policy
Sim2Sim uses the same policy assets and ai_sapiens_sim2real configuration used for the real K1.
No separate model conversion or simulation-specific policy configuration is required.
- Follow
How to Deploy Your Own Cyclo Lab-Trained Policy
to export the policy, place its files under
assets/k1, and bind it to a mode ink1_config.yaml. - Start MuJoCo with one of the
--simcommands above, then select the mode assigned to your policy.
The policy runs through the same Sim2Real node used with the real K1, while
mujoco_hardware_interface exchanges its commands and feedback with MuJoCo.
Test the deployment flow
Use the same mode sequence as on the real robot:
- Change from Damping to ReadyPose.
- Lower the gantry until both feet touch the ground.
- Start Locomotion, then release the robot from the gantry.
- Run the required Mimic motions while locomotion is active.
- If the robot falls or enters a failsafe state, attach it to the gantry again. If the gantry is lowered, raise it until both feet are clear of the ground, then restart from step 1.
Controls
- Gantry panel: Use the buttons in the MuJoCo viewer to raise, lower, attach, or release the robot.
- Gantry keyboard shortcuts: With the MuJoCo viewer focused, press
↑or↓to raise or lower the gantry, and pressAorRto attach or release the robot. - Teleoperation terminal: When keyboard or DualSense teleoperation is selected, displays the available controls and the current mode and mimic selection.
View teleoperation terminal examples